# Statuses and Feedback
In Kitsu, statuses serve as indicators reflecting the current state or progress of a task. You can easily see the current status at a glance and add comments to update team members when a status changes.
# The Comment Panel
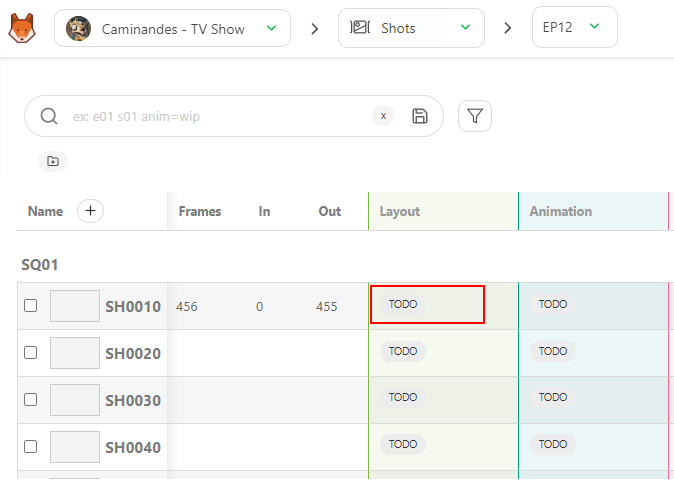
To change the status of a task and write a comment, click on the status of the task.
A panel will appear on the right where you can write a comment, change the status, and attach a file.
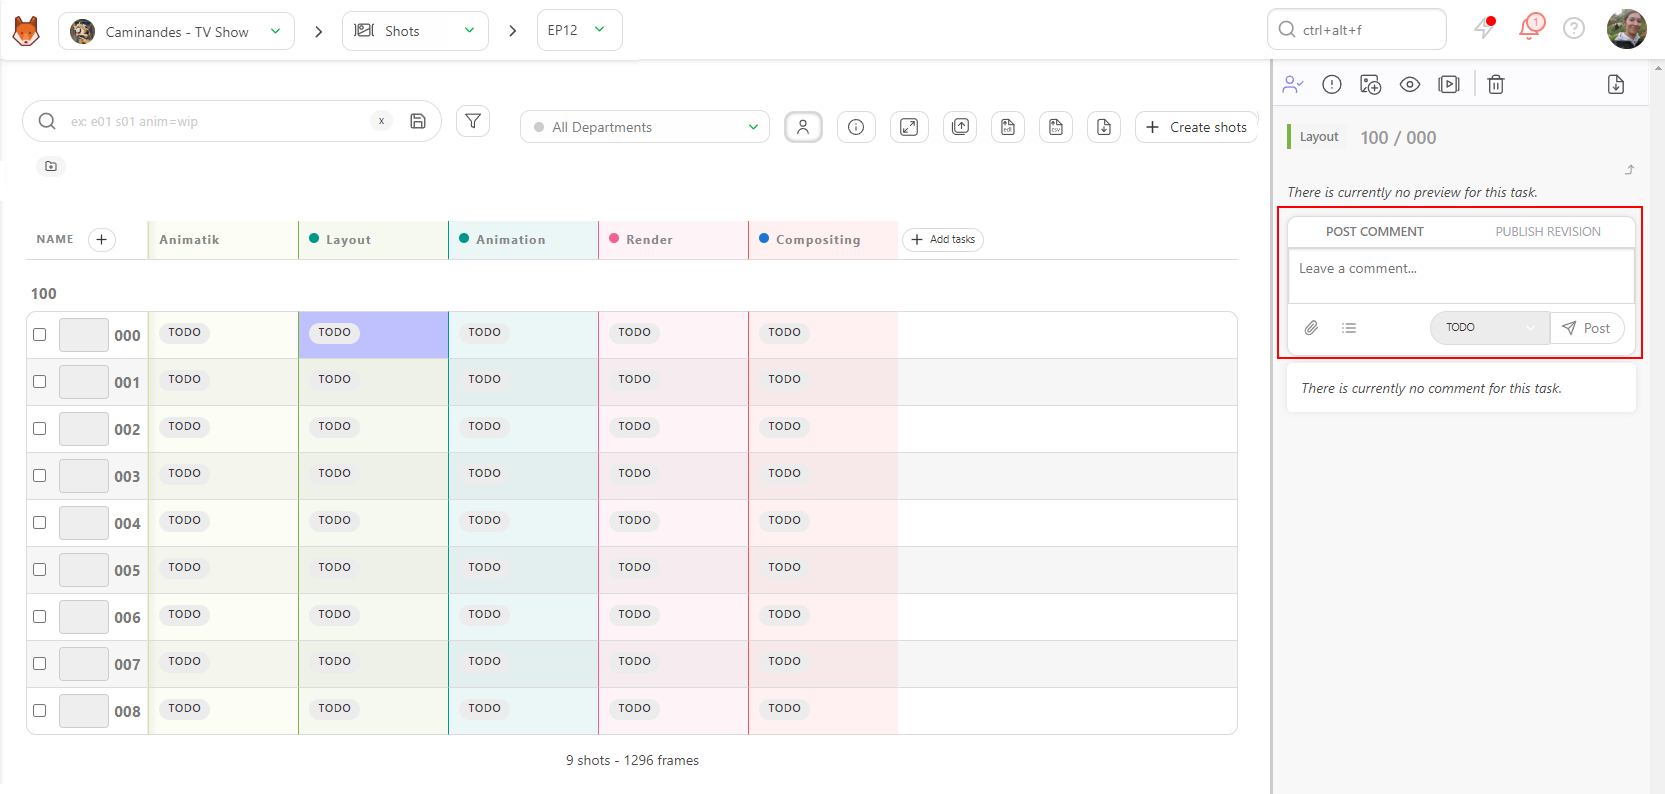
The Comment Panel is split into two tabs:
- POST COMMENT
- PUBLISH REVISION
You can change the Status, from the POST COMMENT tab.
Comments support the use of Markdown, which is a markup language used for formatting plain text in a simple, readable way. It allows users to add basic formatting elements such as headings, lists, bold and italic text, links and much more. For specific syntax, you can refer to the markdown guide website: Markdown Guide (opens new window).
# Tagging Team Members
You can also tag a team member in the comments to notify them directly. To do this, type @, which will open a submenu with a list of team members. Select the person you wish to notify, and upon submitting your comment, they will receive a notification.
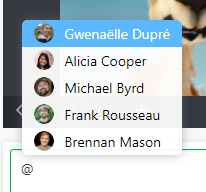
You can also tag an entire department by typing '@' followed by the department's name.

# Adding Checklists
You can also add checklist items to keep track of miscellaneous items that don't warrant their own task. To add a checklist to your comments, click the Add checklist button. The first item of the checklist will appear.
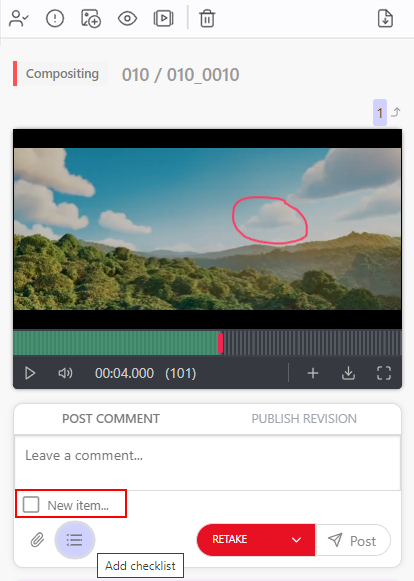
Hit Enter or click the button again to add more checklist items, and give each one a name.

# Adding Attachments
To attach a file as a picture, click on the Add attachment button.

Select a file from your hard drive or paste a screenshot.
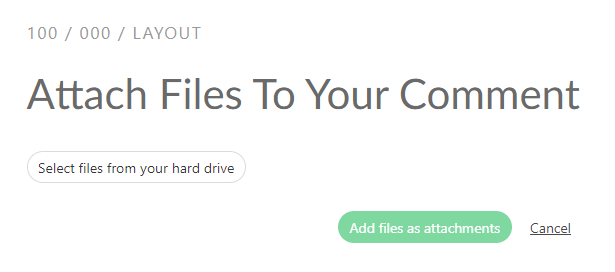
Validate the attachment by clicking on Add file as attachment.
Next, select the Status you wish to change the task to from the dropdown menu.

Finally, click the Post button to submit your comment and status update.
# Changing Statuses In Bulk
# Updating Multiple Statuses at Once
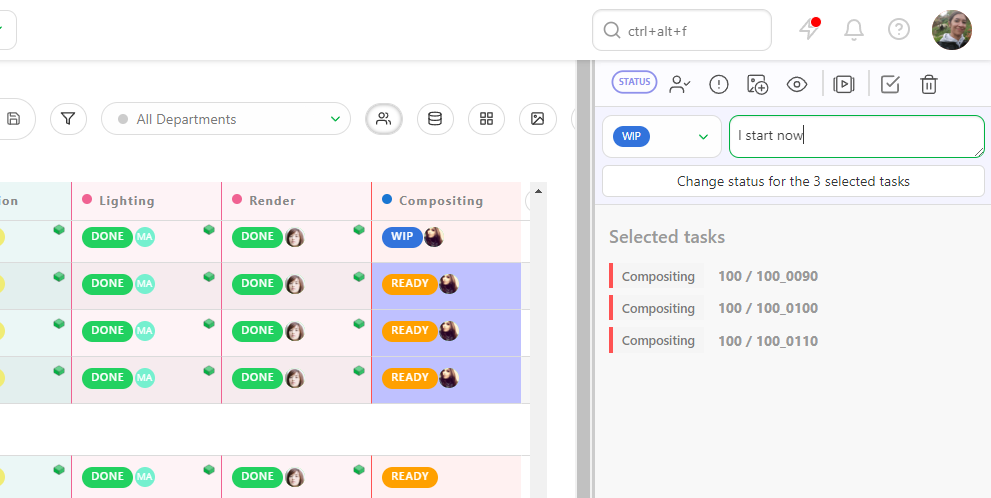
You can also change the status for multiple tasks at once.
Select multiple shots or assets by pressing Ctrl / Cmd or Shift and select the tasks you wish to include.
Then, go to the action menu's Change status section.

Choose the new status for your selected tasks (1). You can also add a comment for all the selected tasks (2). Save the new status with the Confirm button.
# Artist Board Statuses
# Customizing Statuses Used on the Artist Board Page
When you assign a task to an artist, it will appear on their to-do page when they log in.
While the default view shows their tasks in a traditional list view, they can also choose to display their tasks in a board view. Each Status will be be represented by a column, and the assigned tasks will be cards that can be dragged from status to status as the tasks progress.
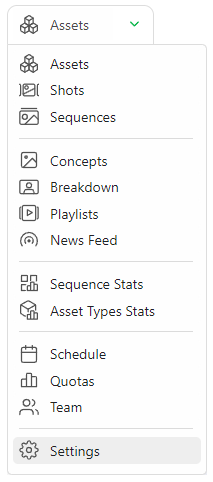
To customize the board view, go to the settings page of your production.
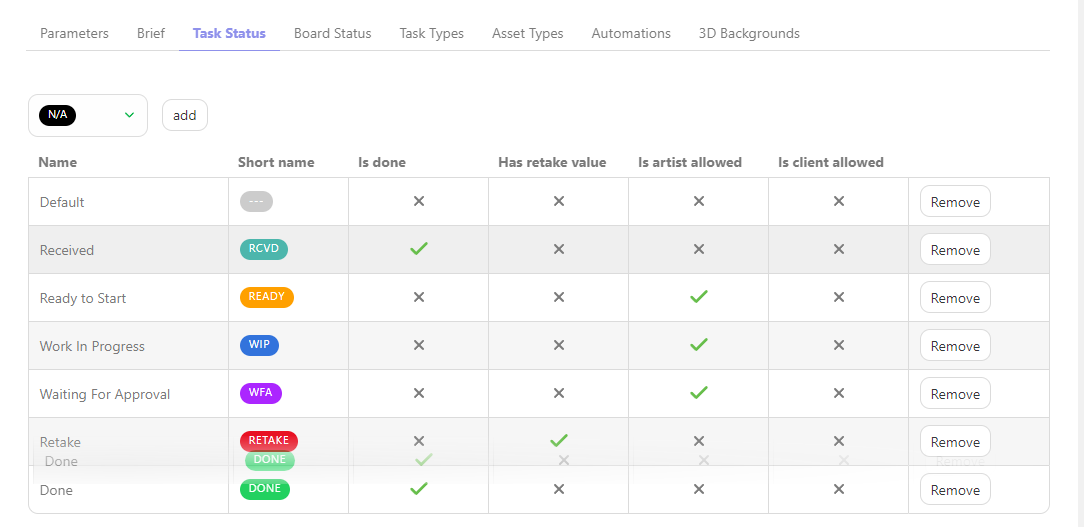
Then go to the Task Status tab. You will see a list of the statuses used in your production.
These statuses will be used as the columns on the board page. You can drag and move the statuses to change their order as they appear in the board view.
Next, click on the Board Status section.

Here you can customize which permission roles can see what statuses on their Board page.
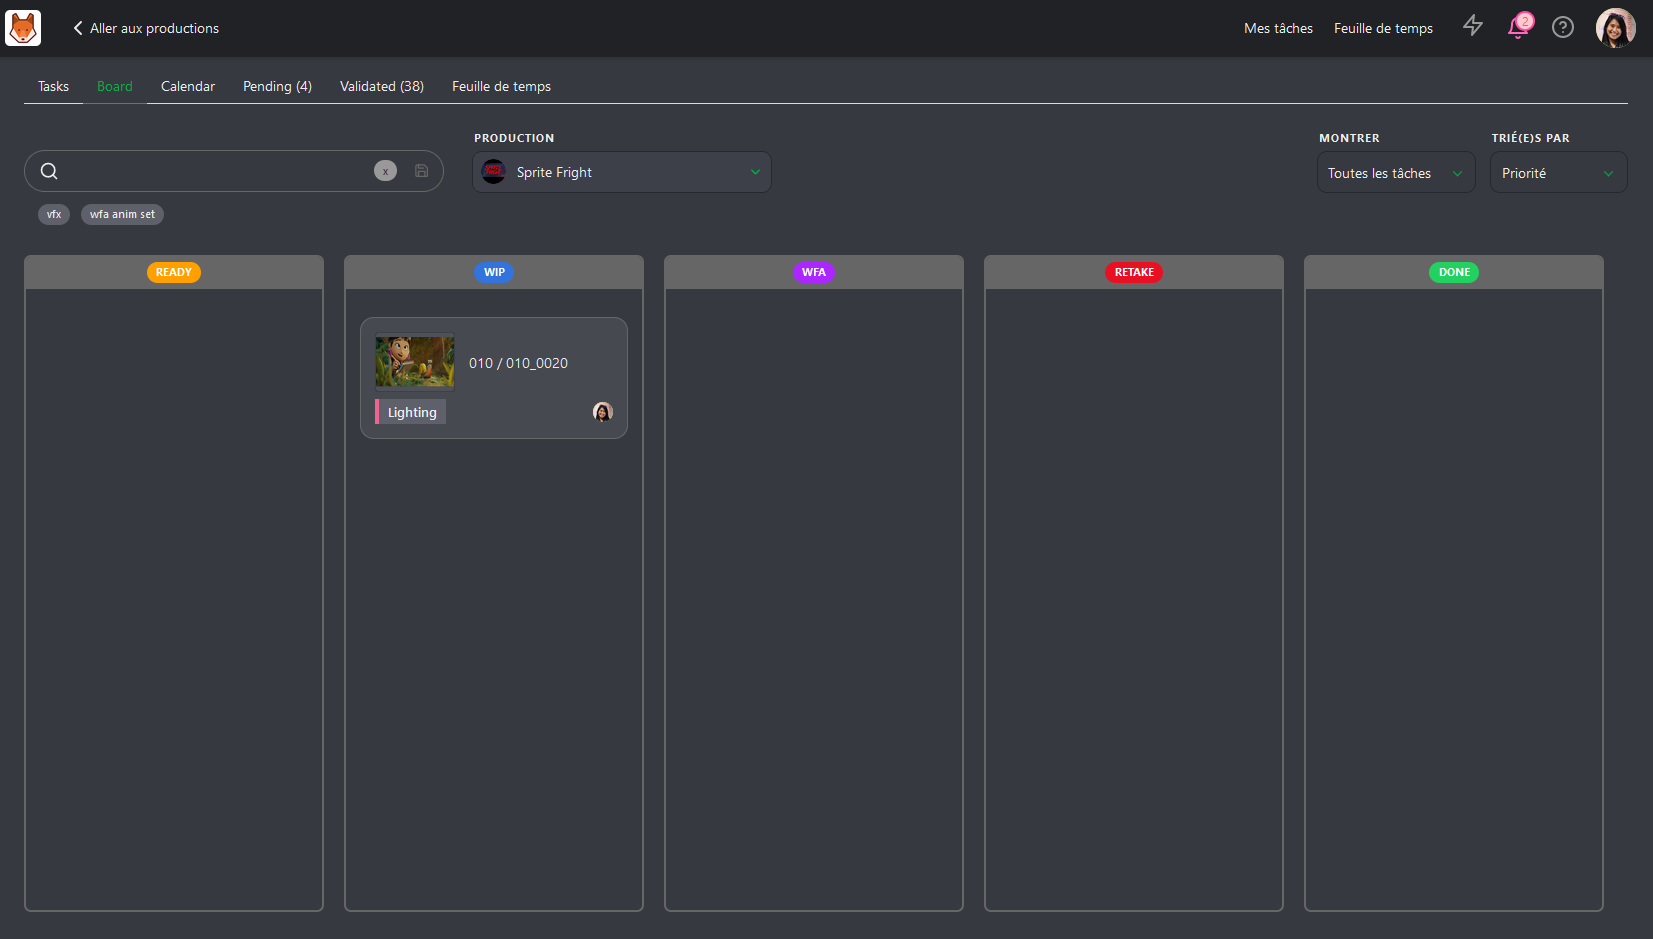
To access this view, select the Board tab from the My Tasks page. Your team will see a page that looks similar to this
TIP
Customizing which statuses appear in the Board view is set per permission role. It cannot be customized on an individual user basis.