# Getting Started as an Artist
This guide will help you get started and understand the Kitsu's key features as an artist.
# Initial Setup and Profile Customization
Start by setting up your profile to update your personal details and customize Kitsu’s interface. This will help your team recognize you and allow you to tailor notifications and settings to fit your workflow.
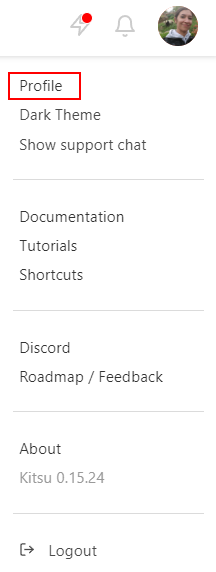
Access Your Profile:
Click your avatar at the top right of the screen, then select Profile.Customize Your Experience:
- Update your name, email, phone number, timezone, and website language.
- Upload an avatar photo to help others recognize you.
- Choose notification preferences (email or Slack).
- Customize the Theme color and toggle the Support Chat visibility.
Pro Tip
This section also provides quick links to Documentation, Tutorials, our Discord community, YouTube channel, and our public Roadmap, ensuring you have access to helpful resources at any time.
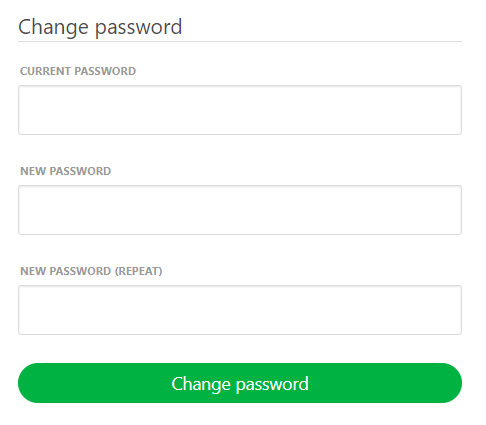
For security purposes, it’s highly recommended to replace the default password with a strong and unique one.
# Managing Your Assignments
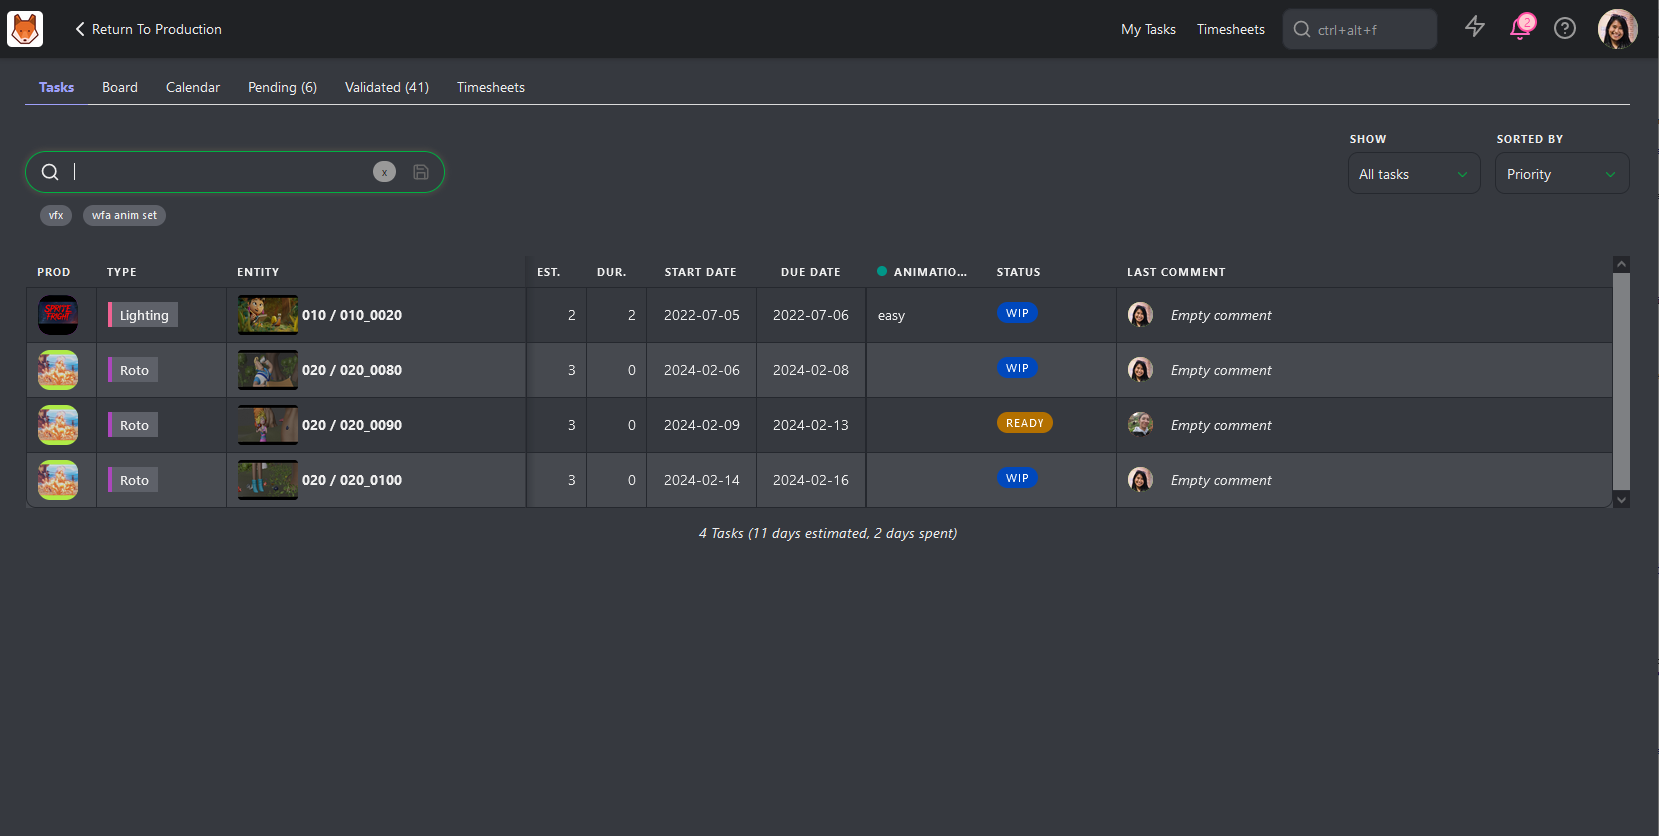
Your My Tasks page is your main hub for assignments and opens automatically upon login. Here you can see a list of tasks you are assigned along with some key information.
# Key Information Available:
- Production: The project your task is associated with.
- Entity: The specific asset or shot assigned to you.
- Estimates & Duration: Time-related information for your tasks.
- Due Date: The deadline for completing your task.
- Status and Priority: Key details to understand task urgency.
# Additional Features:
- Under the Show dropdown, you can choose to display All Tasks or focus on those Due This Week.
- Under the Sorted By dropdown, you can sort tasks by Name, Priority, Status, Estimation, or Last Comment.
- Use these filters to narrow down your list of tasks, or use the search box to find a specific task.
You can access My Tasks via:
- The shortcut at the top of the screen.
- The User section of the main menu under MY TASKS.
- Clicking the Kitsu logo.
# Updating Task Progress
Once you've made progress on your task, you'll want to update your team on its status.
# Updating Task Statuses
- Click the task’s Status icon on the My Tasks page or the relevant asset page.
- Add comments to provide updates or ask questions.
- Change the status (e.g., from "Ready" to "WIP").
- Click Post to save changes.
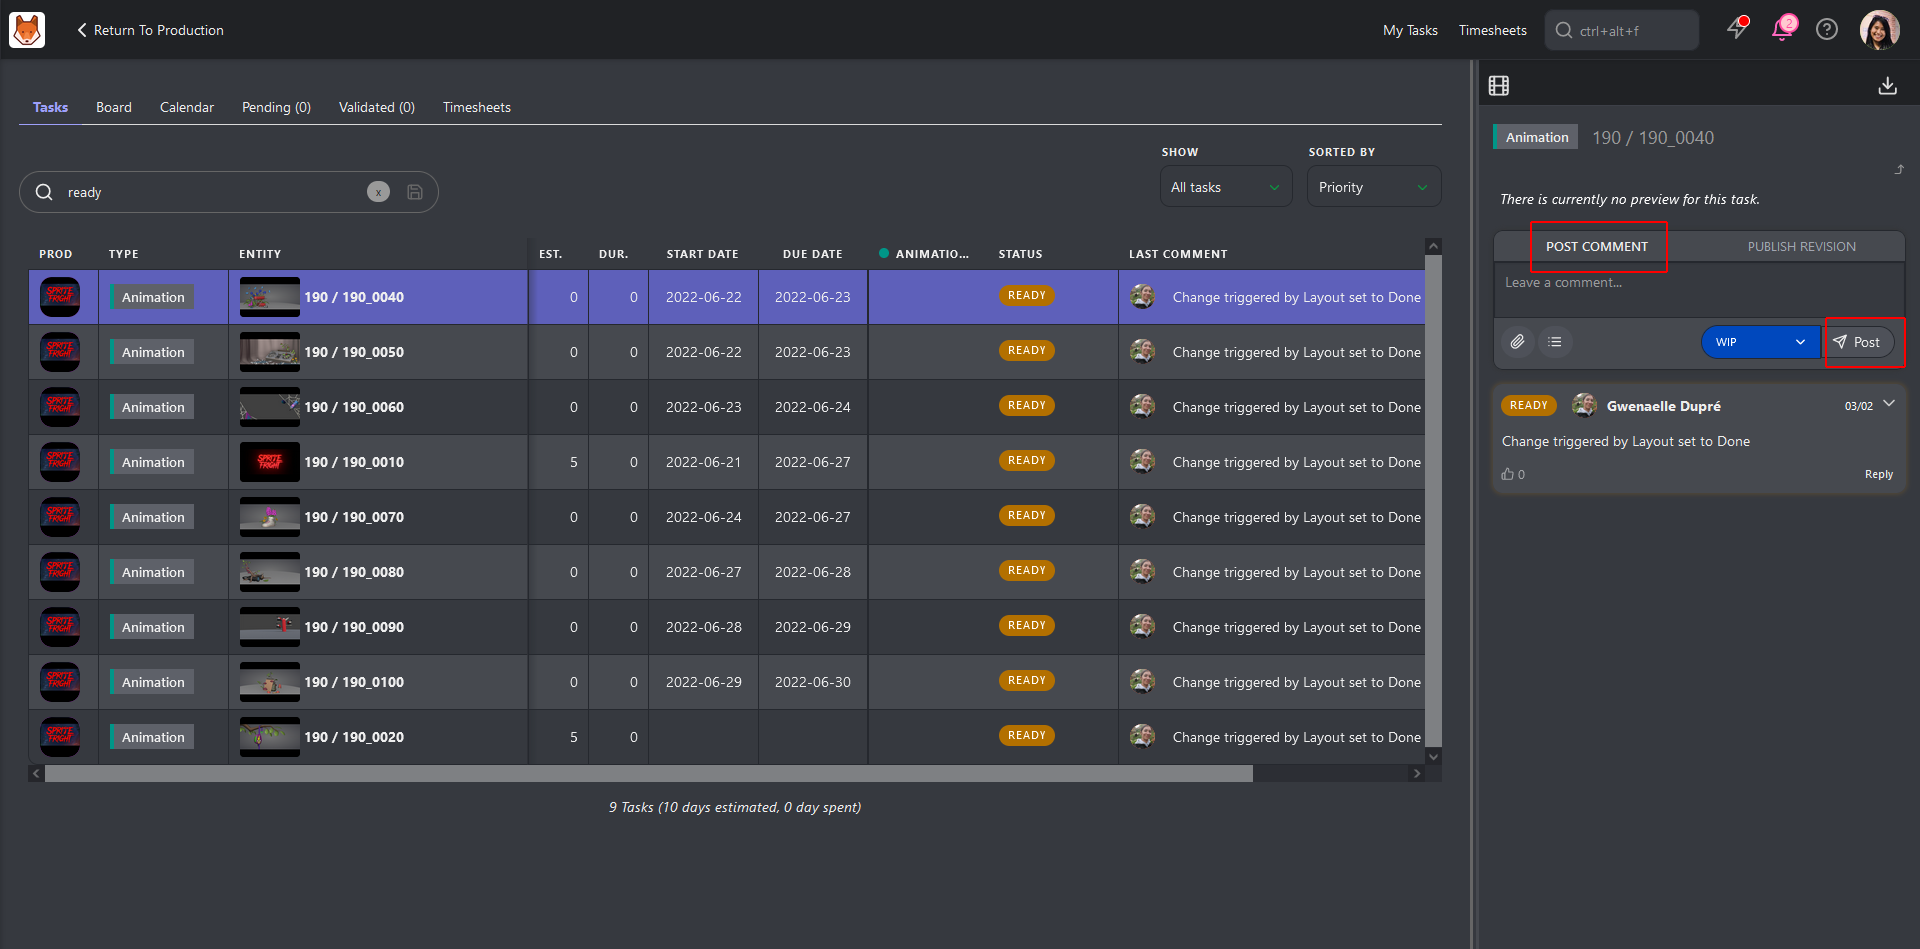
You can edit your most recent comment by clicking the History button and selecting Edit.
# View Your Assignments (Board View)
The Board Tab displays tasks organized in columns based on their status. Each task card includes:
- A Thumbnail
- Task type name
- Entity name
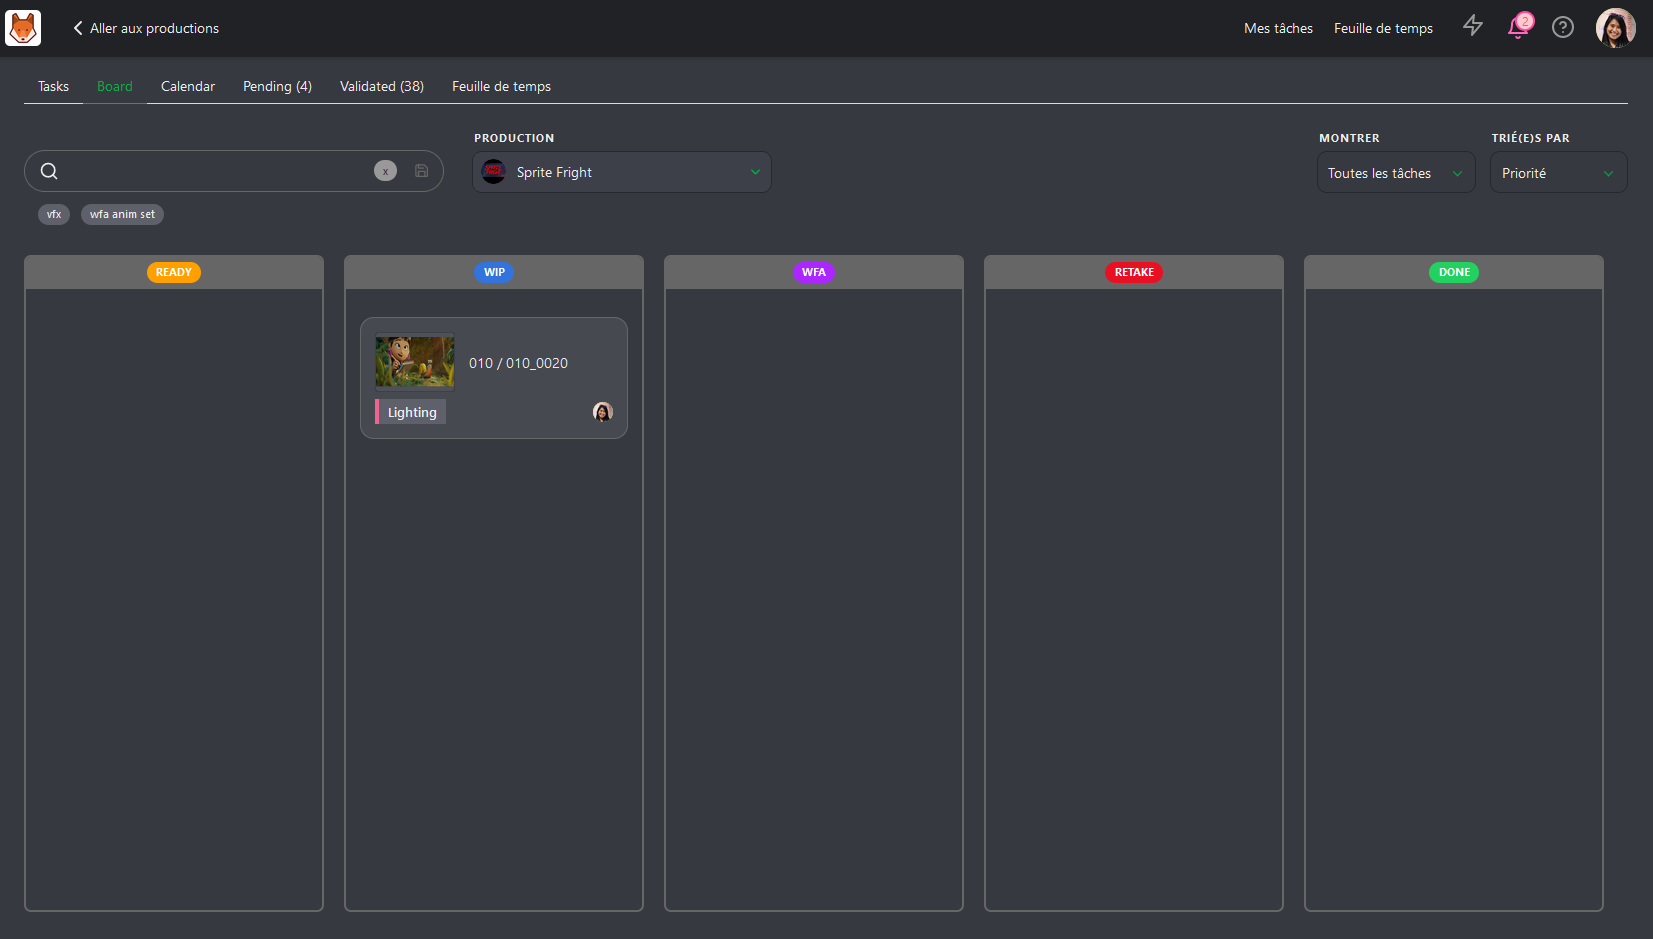
- Clicking a card opens a panel on the right to view or add comments.
- To update a task’s status, drag it to the desired column.
# View Your Assignments (Calendar View)
The Calendar View displays tasks according to their Start and Due Dates. Tasks spanning multiple days are visually extended across the calendar.
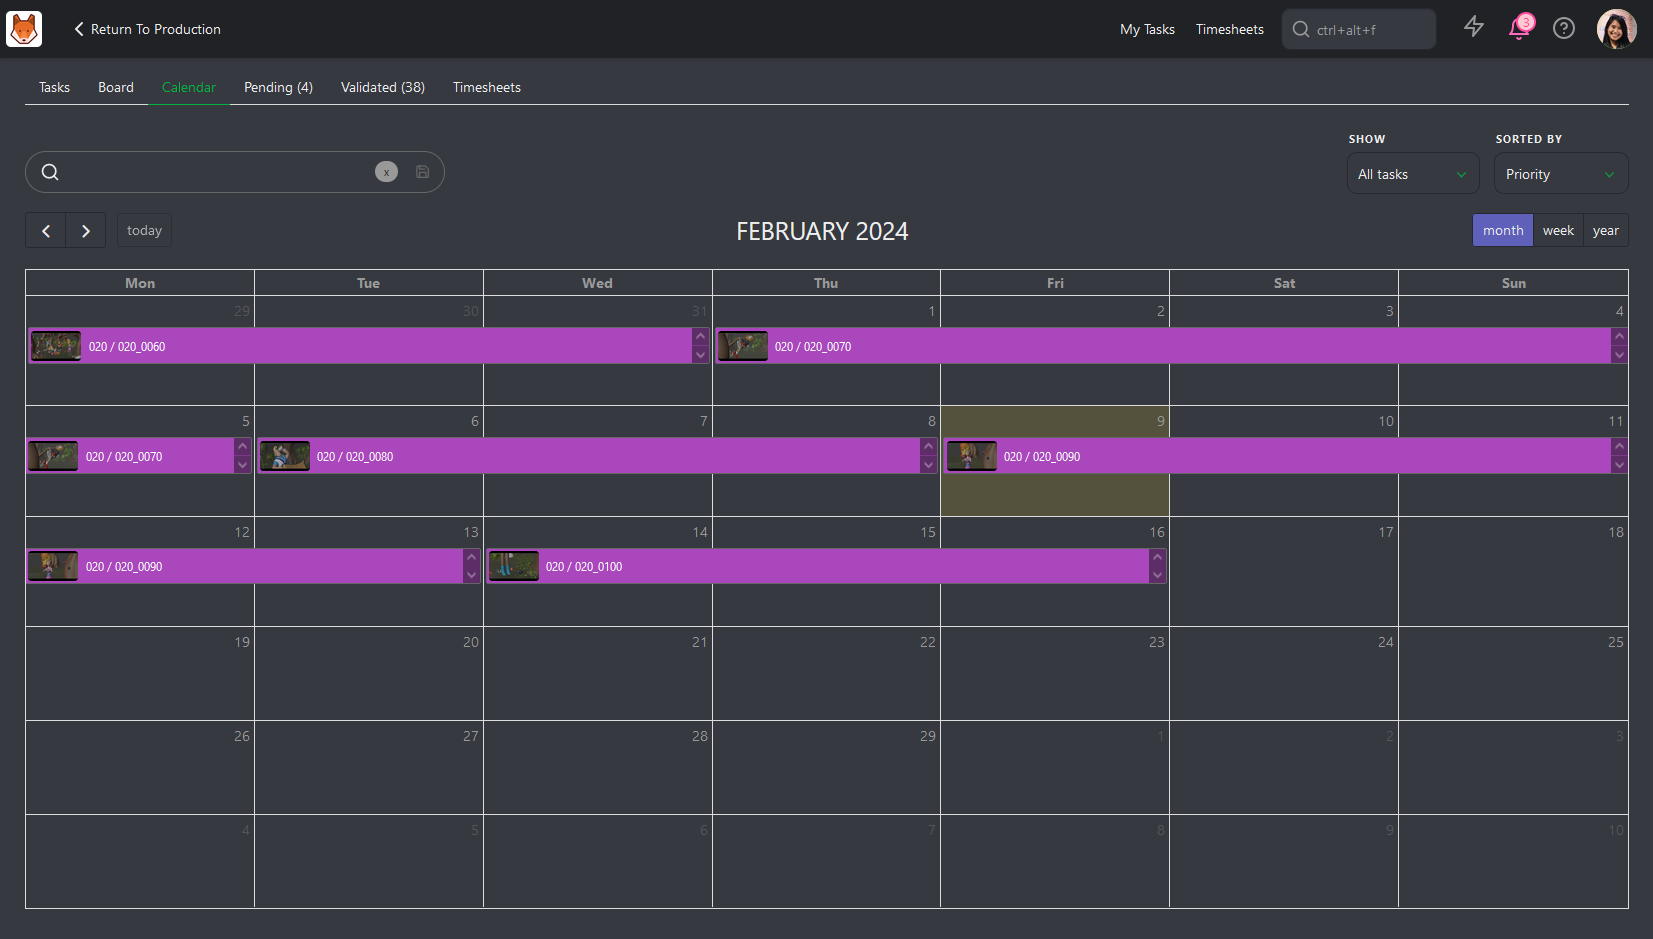
- Clicking a task opens the right-side panel for updates and comments.
- Like other views, you can sort and filter tasks here.
# Share Your Concepts
If you're a Concept Artist, you can upload and share concepts for review.
# Uploading Concepts:
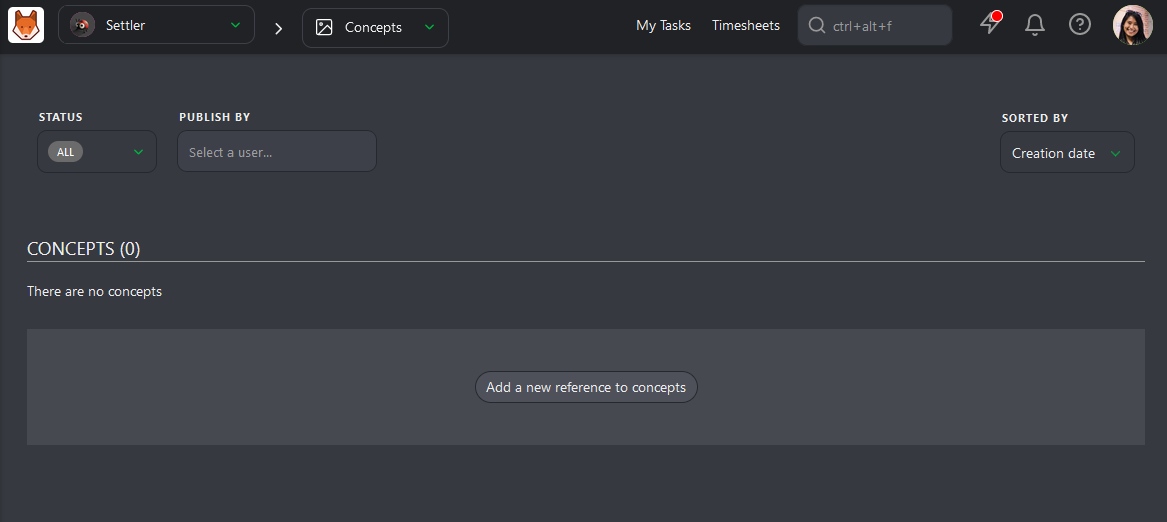
- From the Todo Page, click Return to Production to access the dashboard.
- Navigate to the Concepts page via the main menu.
- Click Add a new reference to concepts and upload your files.
# Linking Concepts to Assets:
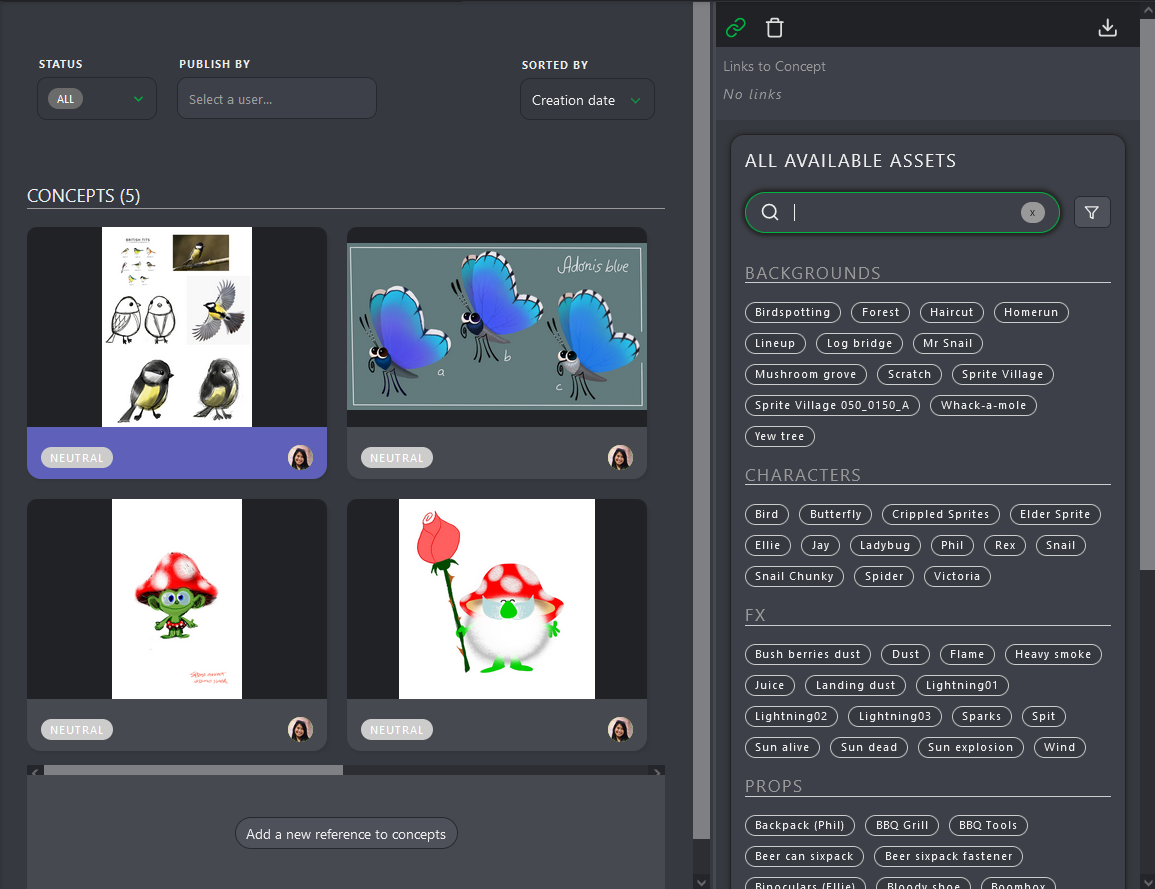
Once a concept has been uploaded, you'll want to link it to an asset to ensure it is associated with the correct production element, making it easier for your team to reference and provide feedback within the proper context.
- Open the concept’s comment panel and click Link.
- Select the assets you want to associate with the concept.
# Request a Review
Once your task has been completed, you can submit it for review. To do this:
- Change the task status to Waiting for Approval (WFA).
- Attach a preview file by dragging it into the upload area or clicking Attach Preview.
- Click Post to finalize your submission.
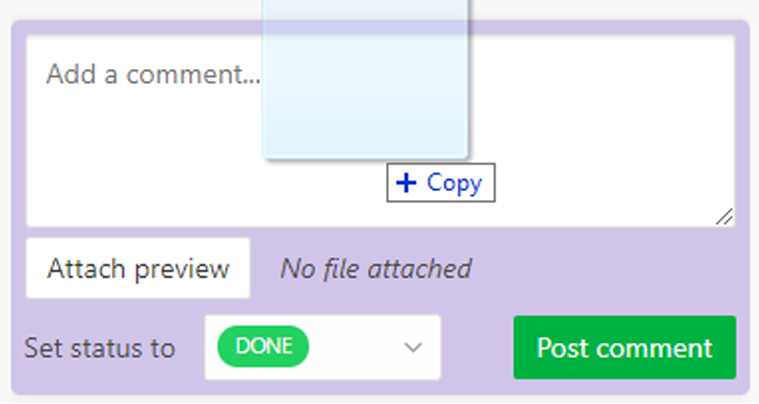
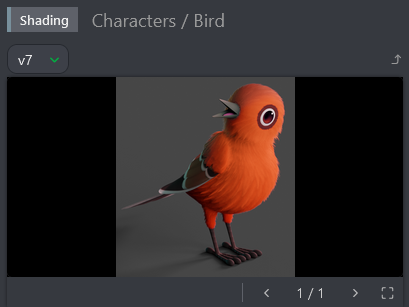
Previous revisions are saved and remain accessible for reference.
# Complete Your Timesheet
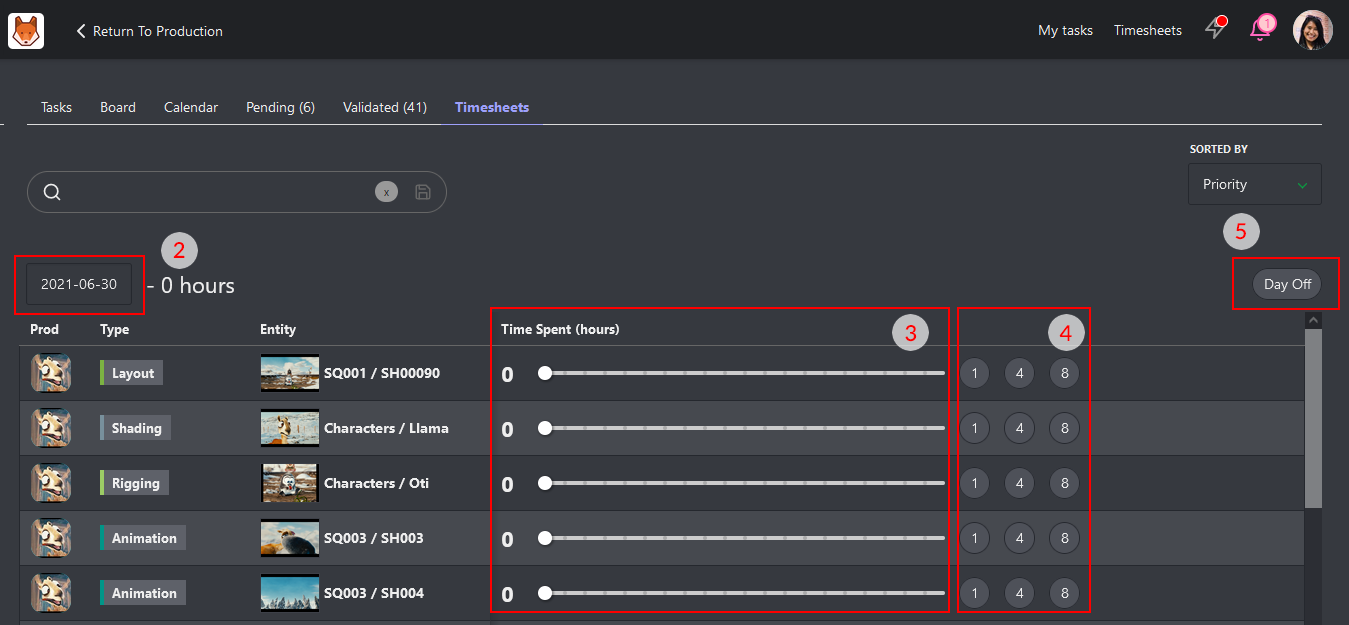
If your production requires it, you can log your time spent using the Timesheets tab or the Timesheets shortcut button at the top of the screen.
# How to Log Time:
- Use the slider next to each task to record hours spent.
- For quick input, use the 1, 4, or 8 hours buttons.
# Missed a Day?
Click the date picker to backfill entries. You can also mark days as Day Off if you weren't working on that day.