# Status, publish and review
# Publish a Concept
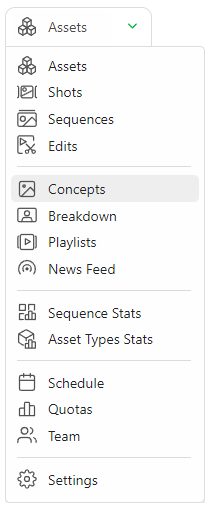
To publish a Concept, go to the Concept page with the navigation menu.
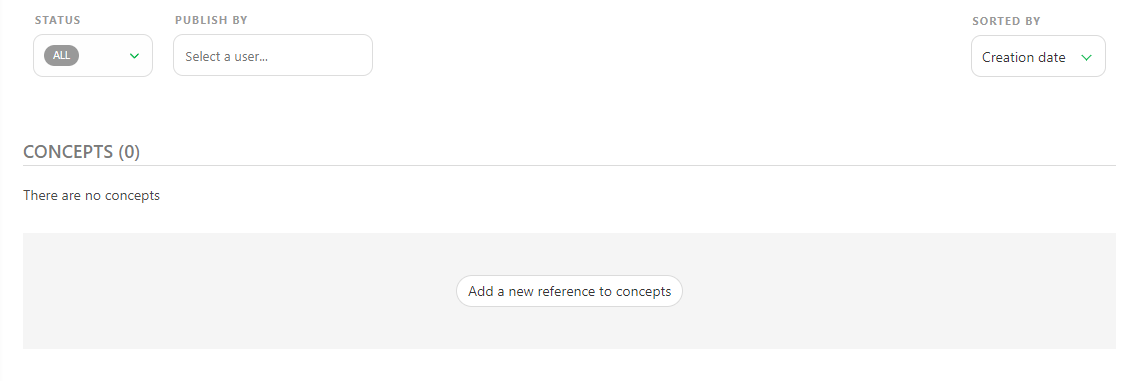
To upload a concept, click the Add a new reference to concepts button.
You can upload one or several concepts at the same time.
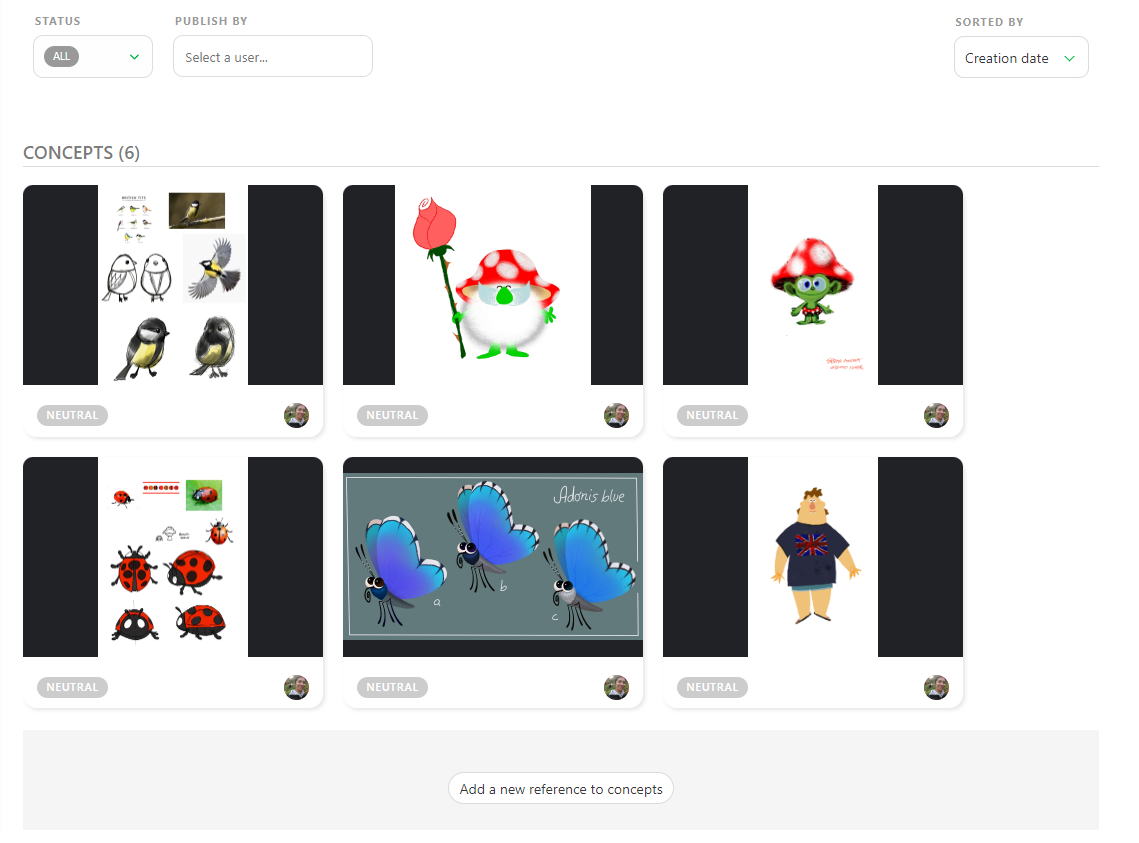
Once you upload your previews, the concept page will look like this.
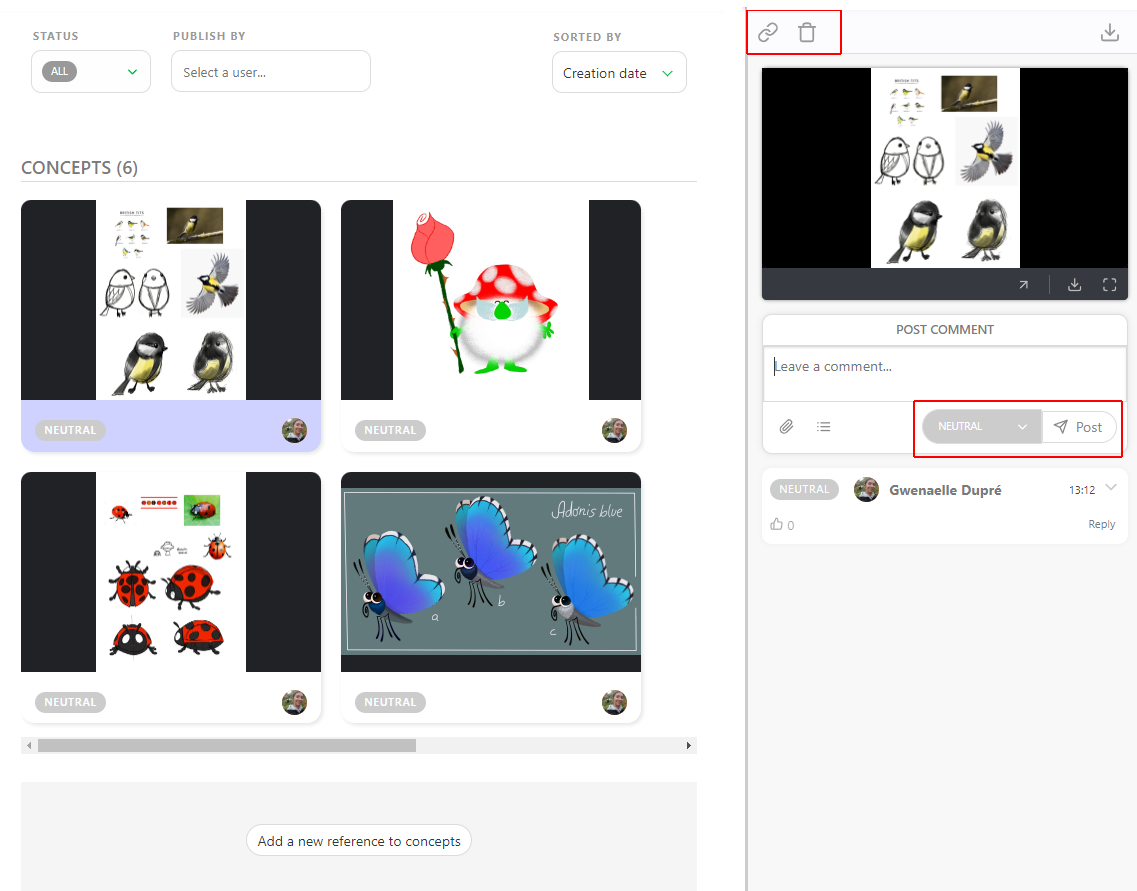
You can interact with the concept in two ways: click on the picture to see an enlarged view. The second is to click on the status part to open the Comment Panel on the right.
You have two options on the comment panel: link a concept with an existing asset or delete the concept. You can also comment and change the status of the asset.
The idea is to have one version per Concept. If it's not approved, you need to upload a new concept, not to have multiple versions of the same concept.
One concept is one task.
# Link a Concept to an Asset
Once concepts are uploaded, you can link them to the assets.
You can see the links on the status part of the assets.
Click on the status part of the concept; it will open the comment panel on the right.
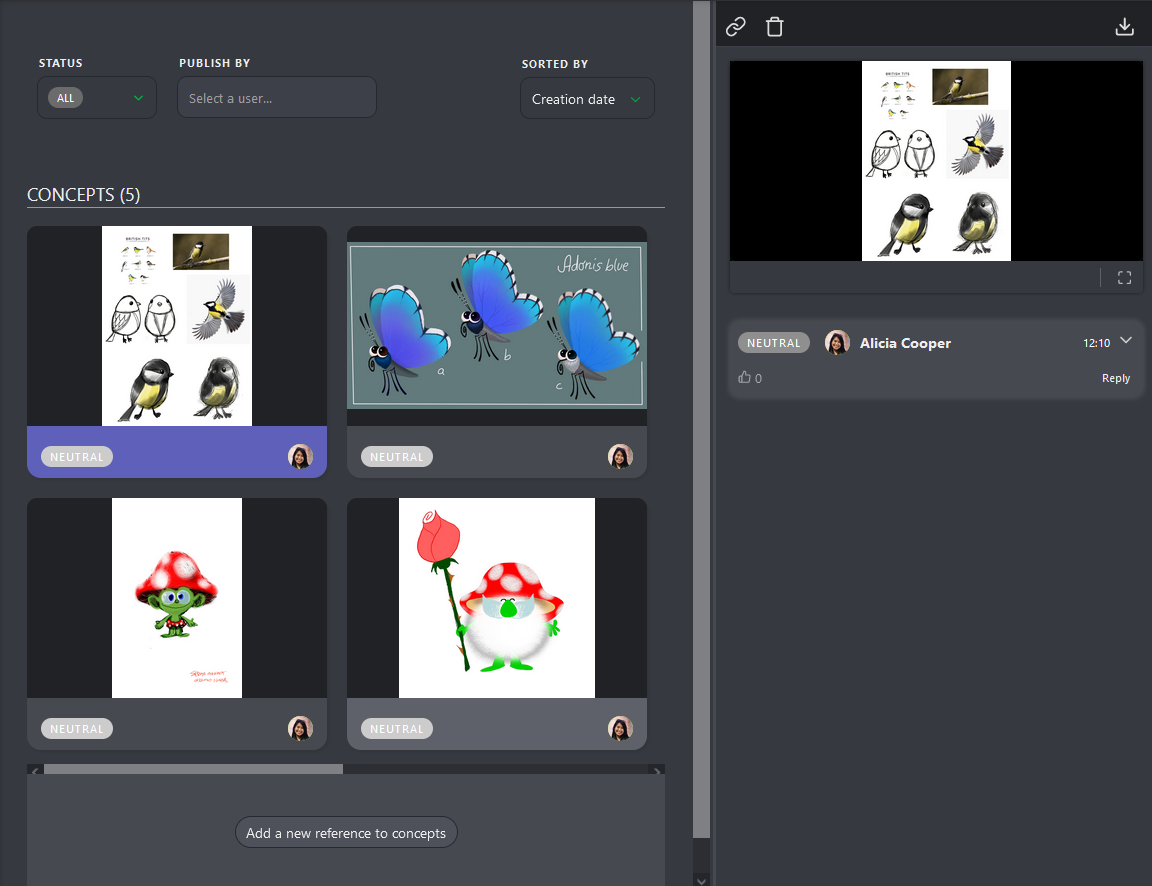
On the comment panel, you have two options on top of the panel: Link a concept to an asset and delete the concept.
To link an asset, click on the Link button.
Kitsu will display all the Assets available to link with the concept uploaded.
On top of the comment panel, Kitsu will list the linked assets. For now, there are No Links.
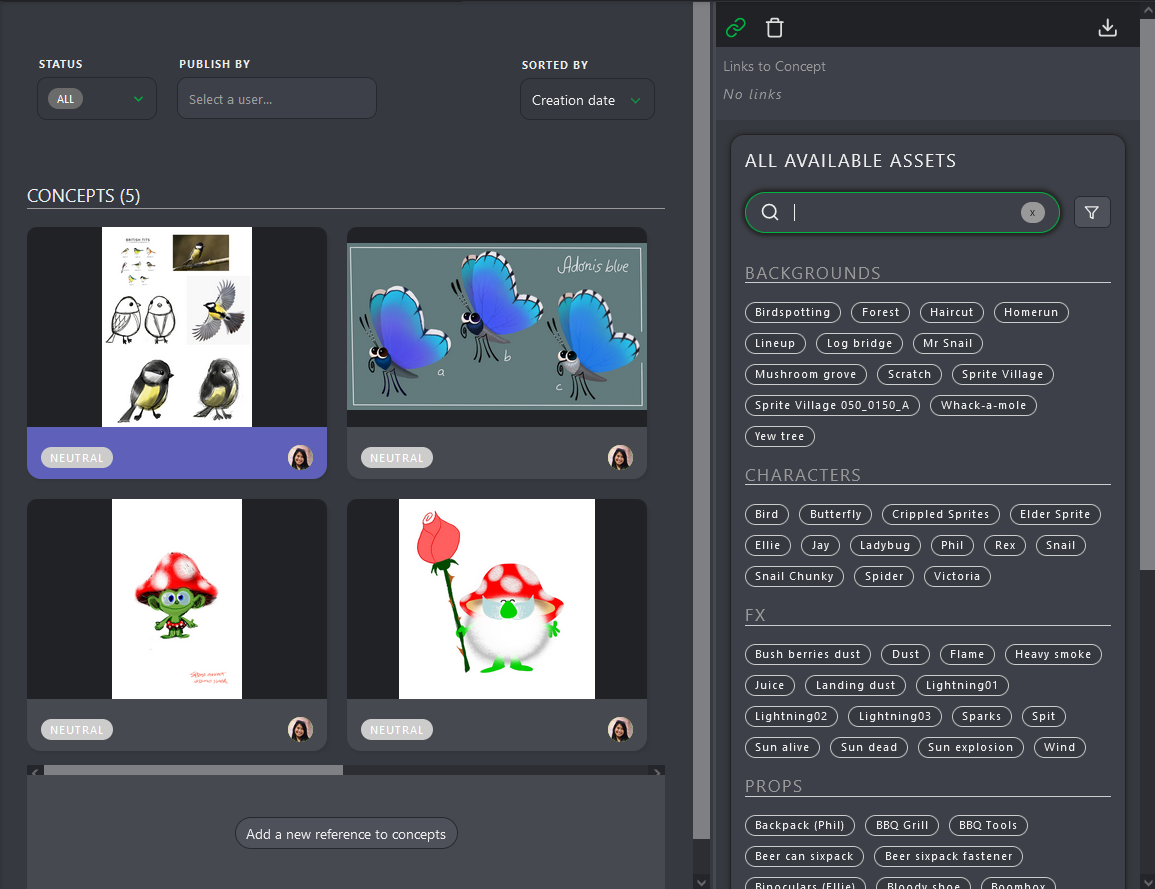
To link an asset, you have to click on it. You will see the name of the assets linked on the top of the screen, but also under the preview of the concept.
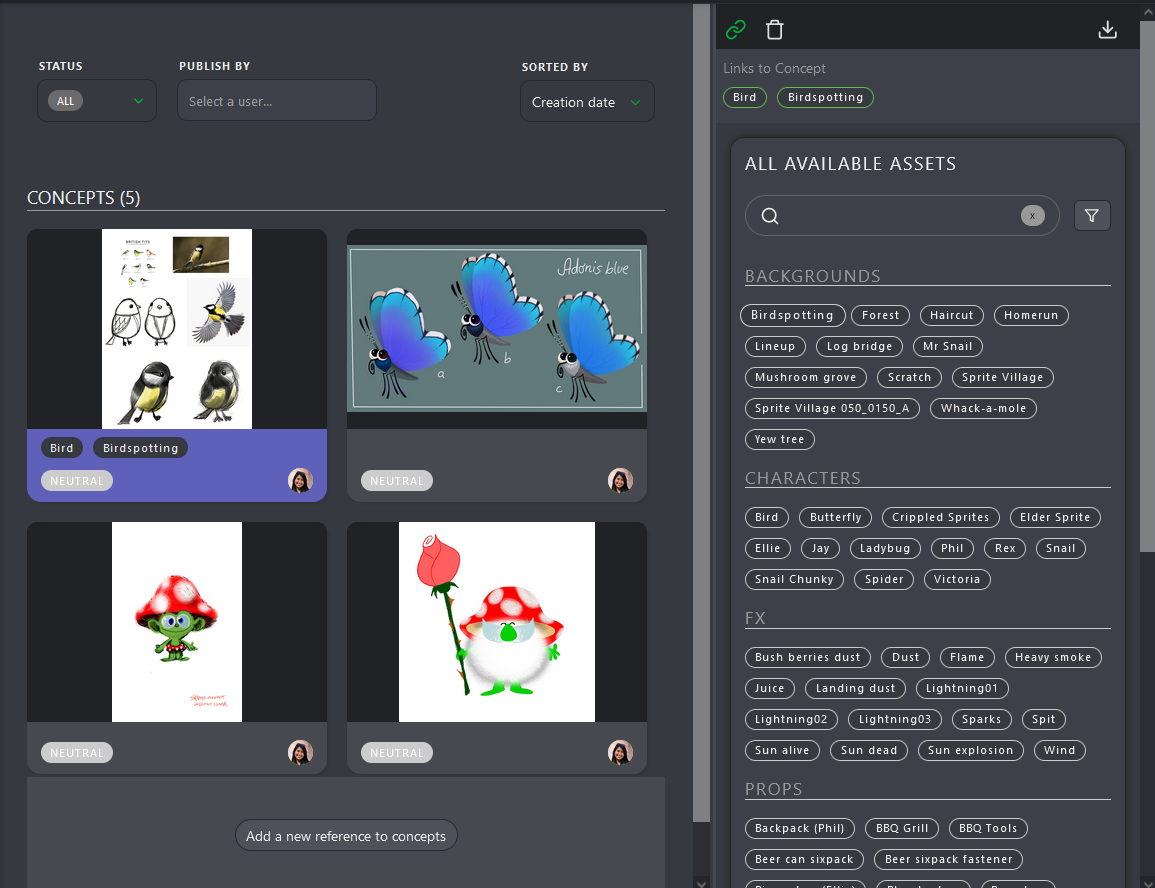
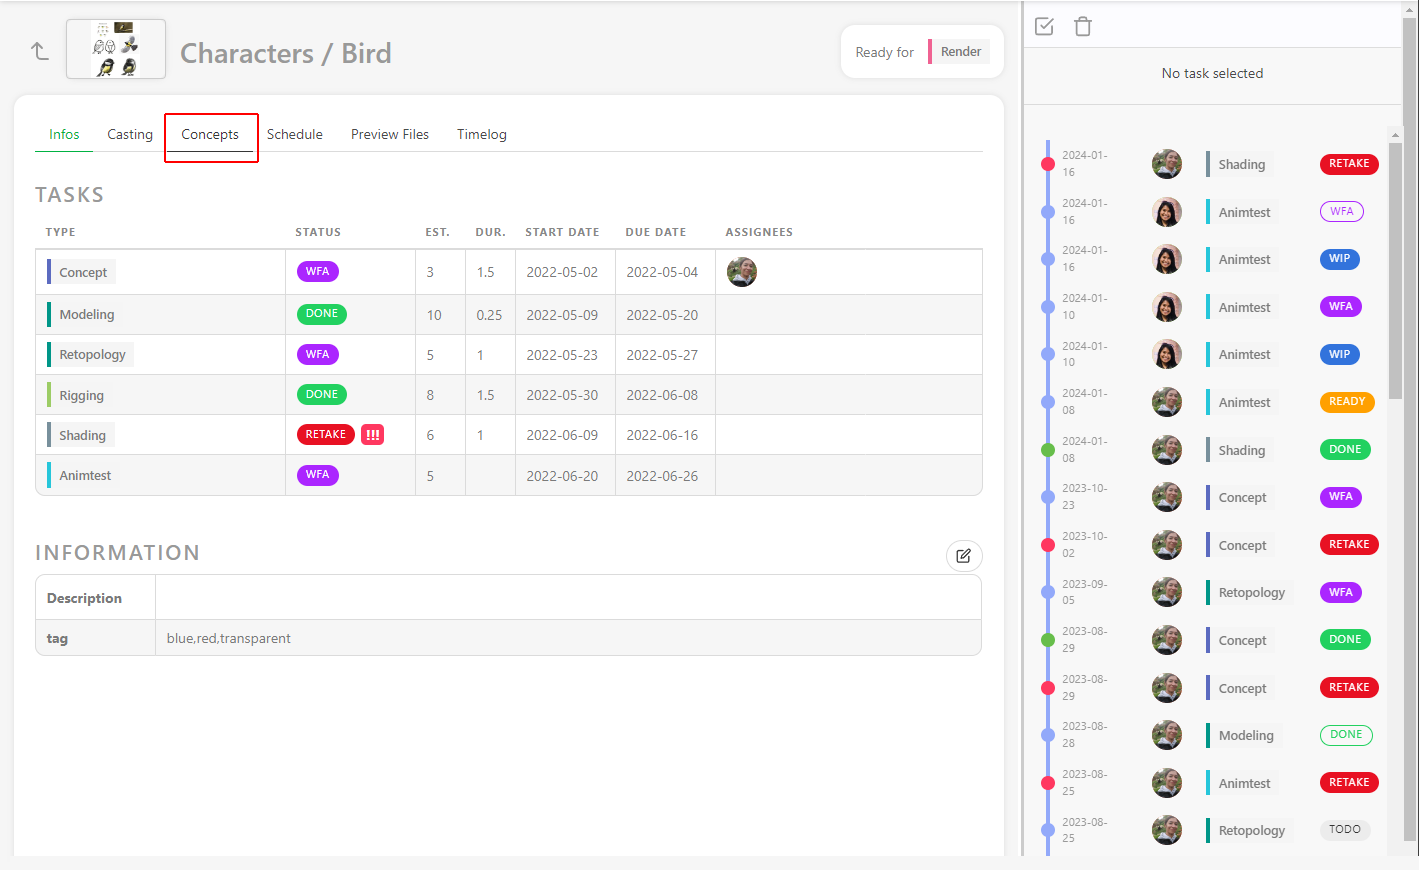
Once a concept is linked to an asset, you can see the concepts on the detail page of an asset.
Return to the asset page, and click on the asset name you want to see the concept.
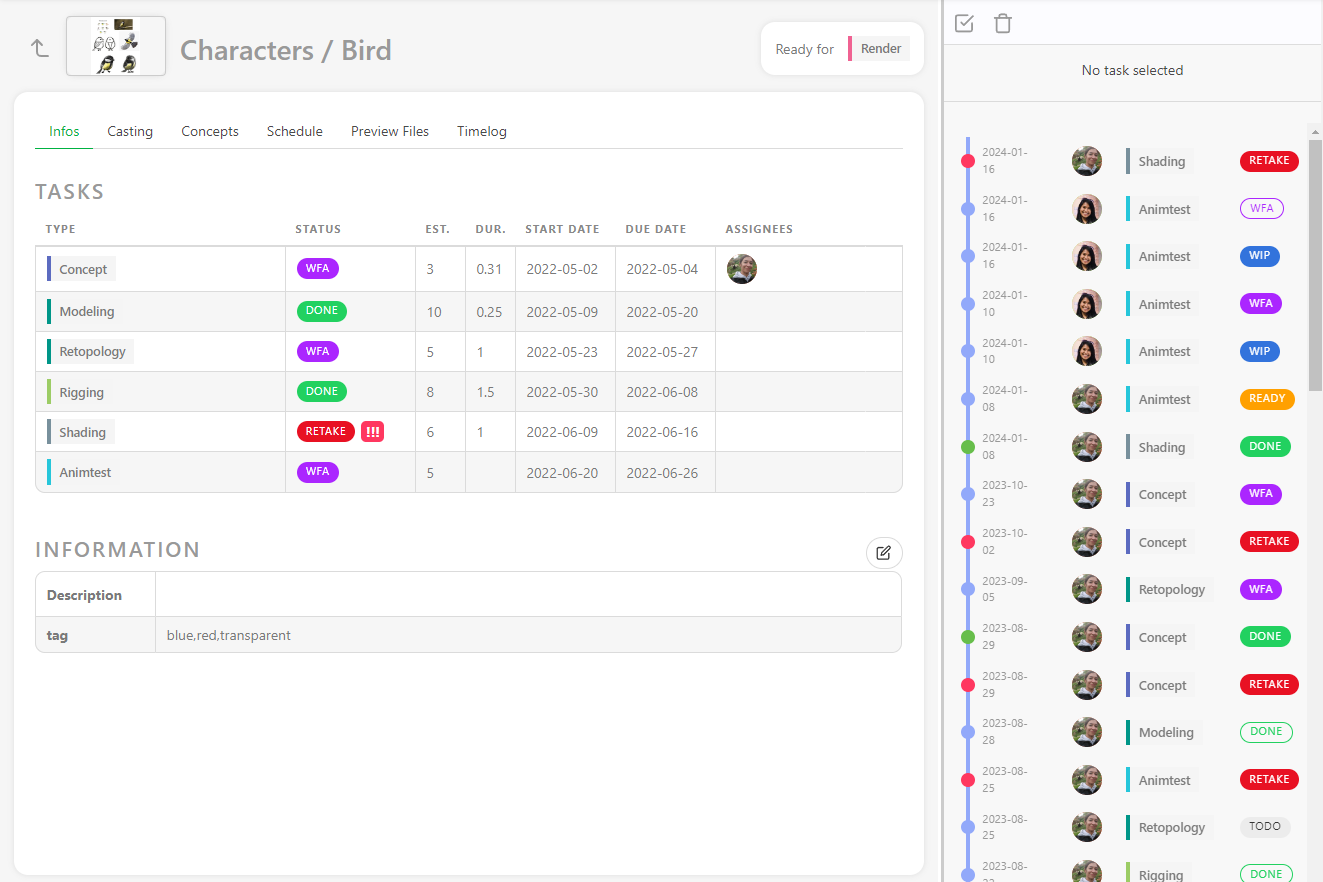
Per default, the casting detail is displayed on the second part of the screen. Use the dropdown menu to choose the concept.
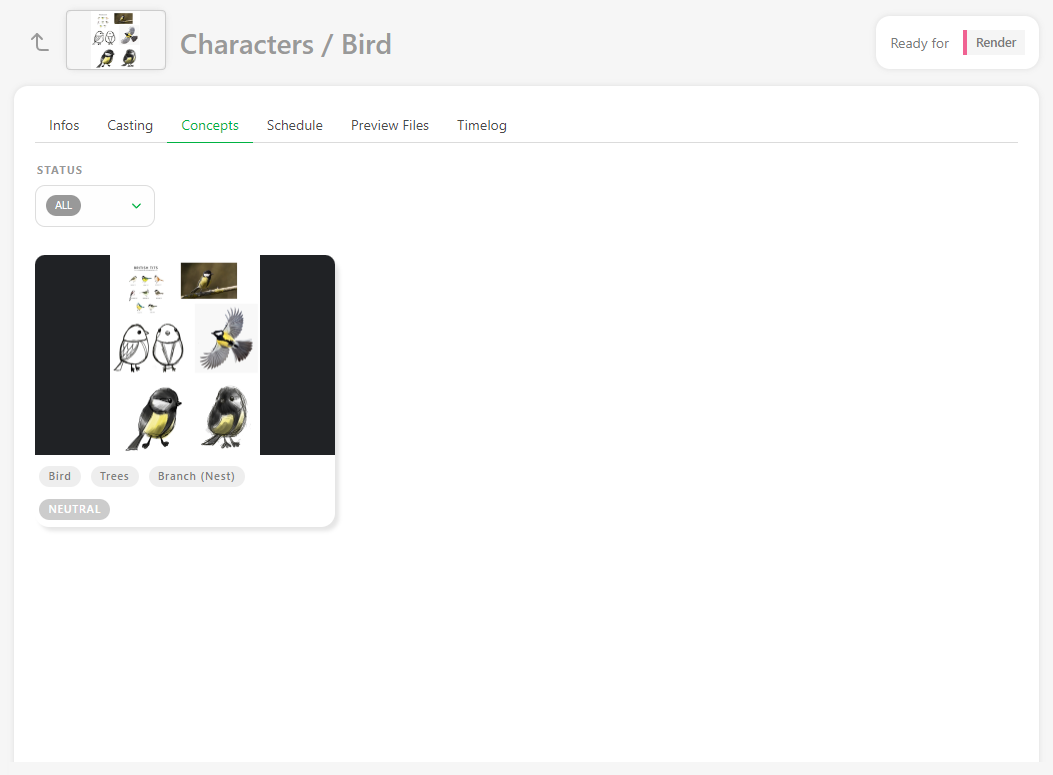
Once in the concept section, you will see all the concepts created for this asset. You can filter them per status.
# Change Status and Add a Comment
To change the status of a task and write a comment, you need to click on the status of the task.
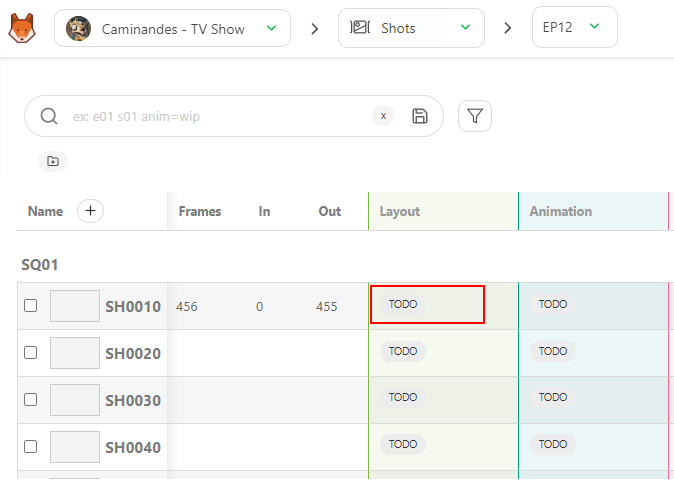
It makes a panel appear on the right, and here, you can write a comment, change the status, and attach a file.
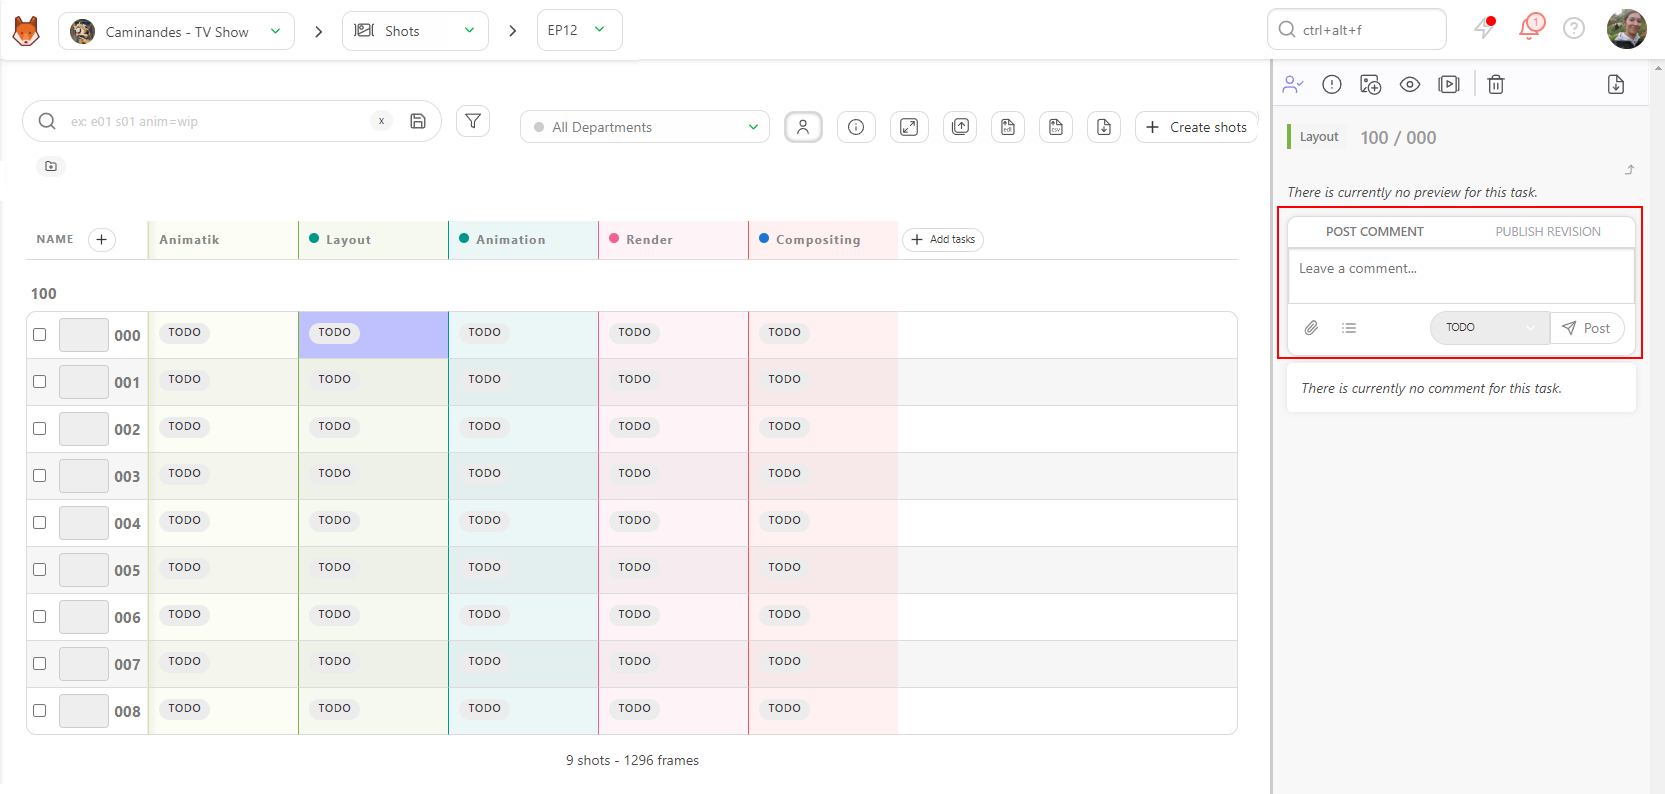
The Commen Panel is split into 2 tabs :
- POST COMMENT
- PUBLISH REVISION
To change the Status, stay in POST COMMENT tab.
The comment uses the Markdown language. If you need specific syntax, feel free to look at the markdown guide website: https://www.markdownguide.org/basic-syntax/
On the Leave a Comment... section, you can tag someone on the team in the comments. Type the @and it opens a sub-menu with the list of the team.
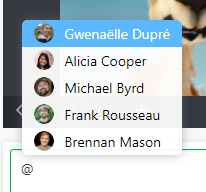
You can also tag a full department by typing '@' and the department's name.
You can add a checklist to your comments.
You need to click on the Add checklist button, and the first item of the checklist appears.
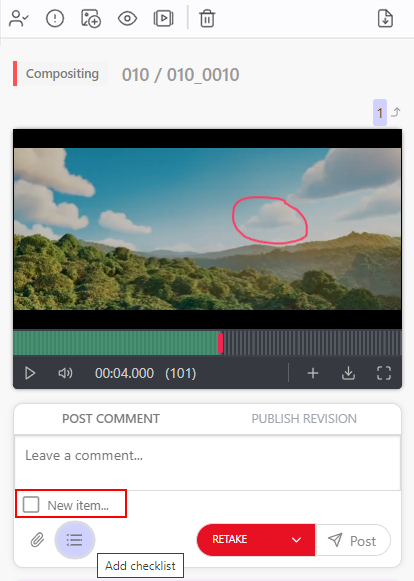
Type your comments, hit the Enter key to add another line to your checklist, or click the Add Checklist button again.
Besides your comment, you can also attach a file as a picture. Click on the Add attachment button.
Select a file from your hard drive or past a screenshot here.
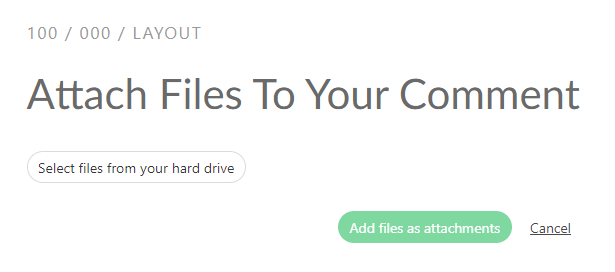
Validate the attachment by clicking on Add file as attachment.
Then select the Status that you need on the dropdown menu.
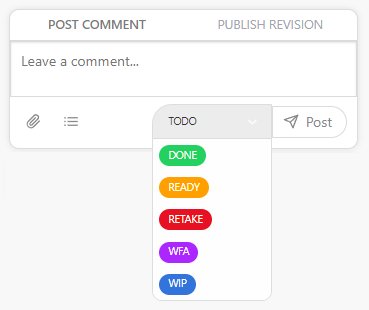
Then click the Post button to post it to the world.
# Publish a Preview as a Version
To publish a preview, picture, or video, select the PUBLISH REVISION tab on the comment panel of the task.
Kitsu will automatically switch to the Publish Revision tab when you use status with the option IS FEEDBACK REQUEST, like the WFA Status.
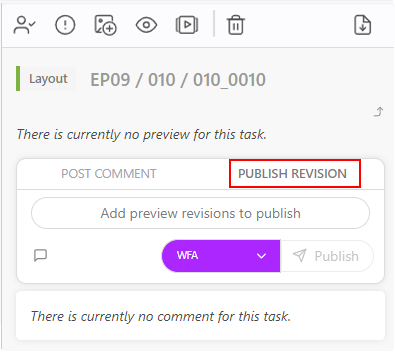
You can add one or several previews to any comments. It can be a picture (.png, .jpg, .jpeg, .gif), a video (.mp4, .mov, .wmv),
or an .glb file. You can review all the previews from the browser or mix everything.
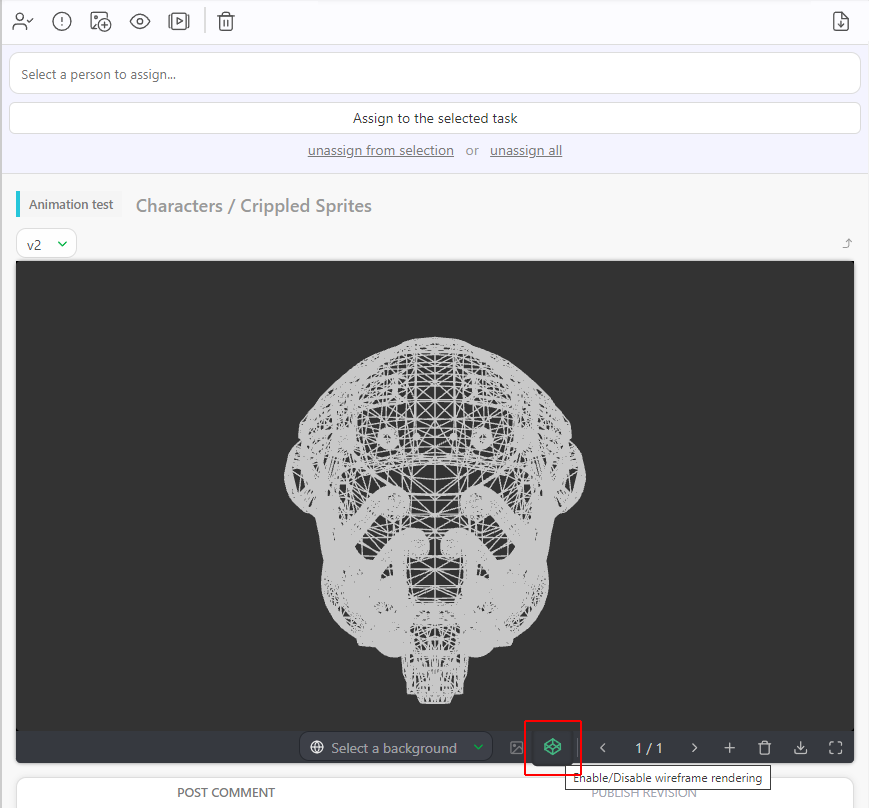
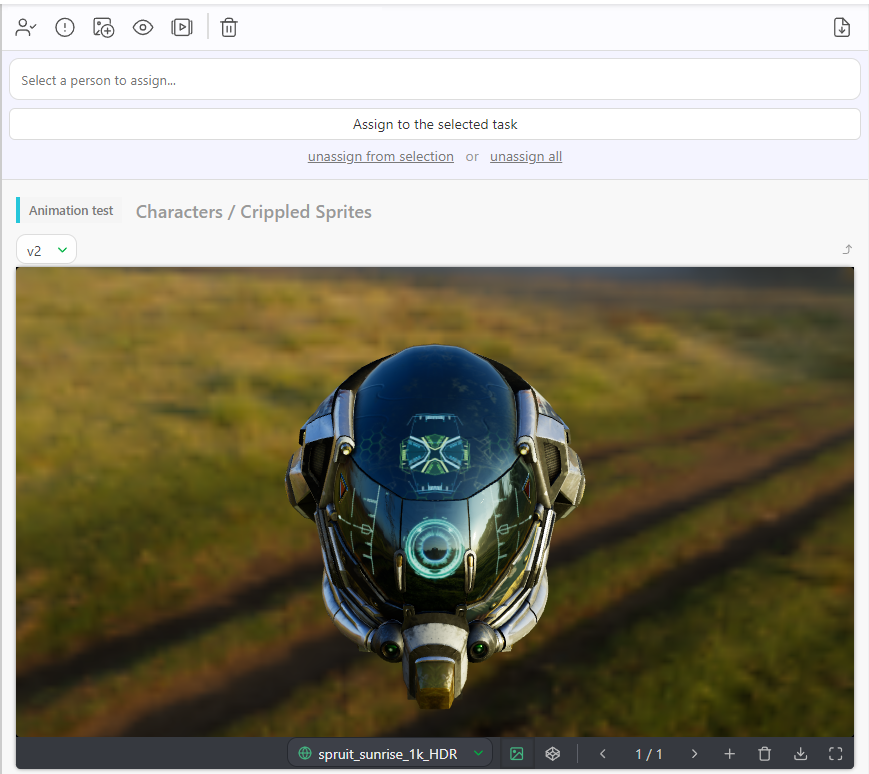
For the .glb file you can also review it as wireframe, or add a .HDR file to check the lighting. Other files like .pdf, .zip, .rar, .ma, or .mb, however, need to be
downloaded to be reviewed.
Then, click on the Add preview revision to publish button. The explorer opens and lets you choose your file or several files.
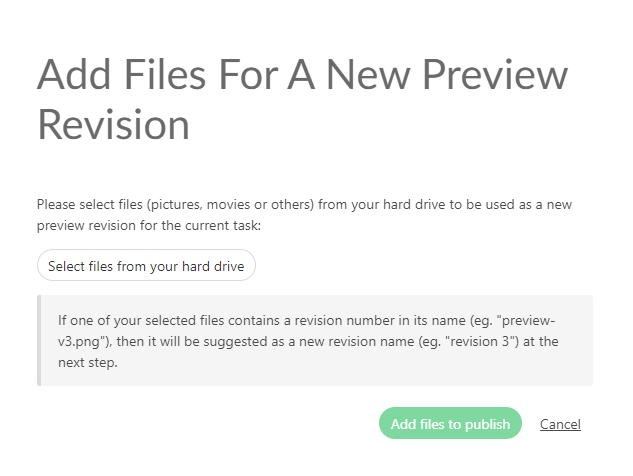
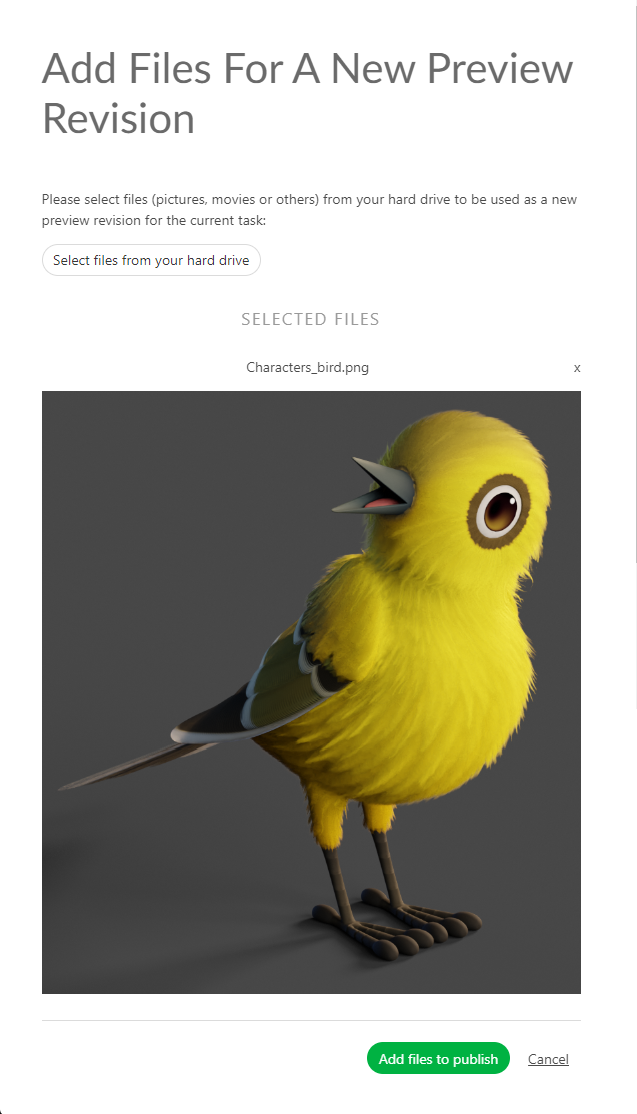
You can also copy-paste a screenshot to this screen.
You will see a preview of the attached files.
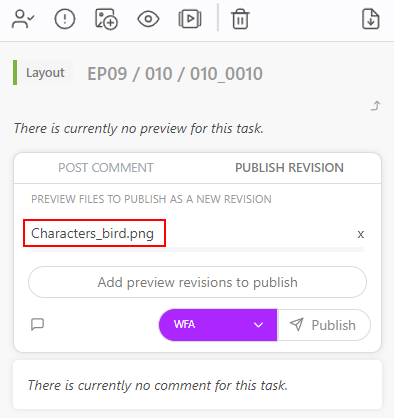
Once your file is selected, you will see its name near the Attach preview button.
You can also drag & drop the file in the comment section.
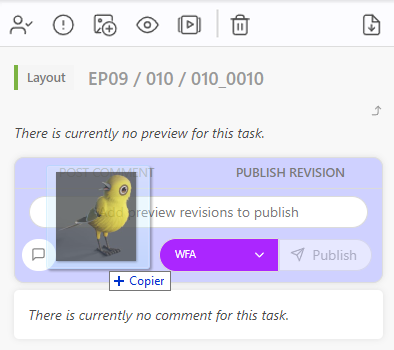
On top of your preview, you can add a Comment.
Click the Leave a Comment button to unfold the comment section.
You can select your status and publish your preview with the Post Button.
# Add a Thumbnail
To define a preview as a thumbnail, the preview MUST have been uploaded as a revision.
To publish a preview, picture, or video, select the PUBLISH REVISION tab on the comment panel of the task.
You can use the preview as a thumbnail on the asset or shot task. It helps to recognize the assets/shots on the main pages. On the list page, click on the status you want, then on the right panel, click the Preview button (1).
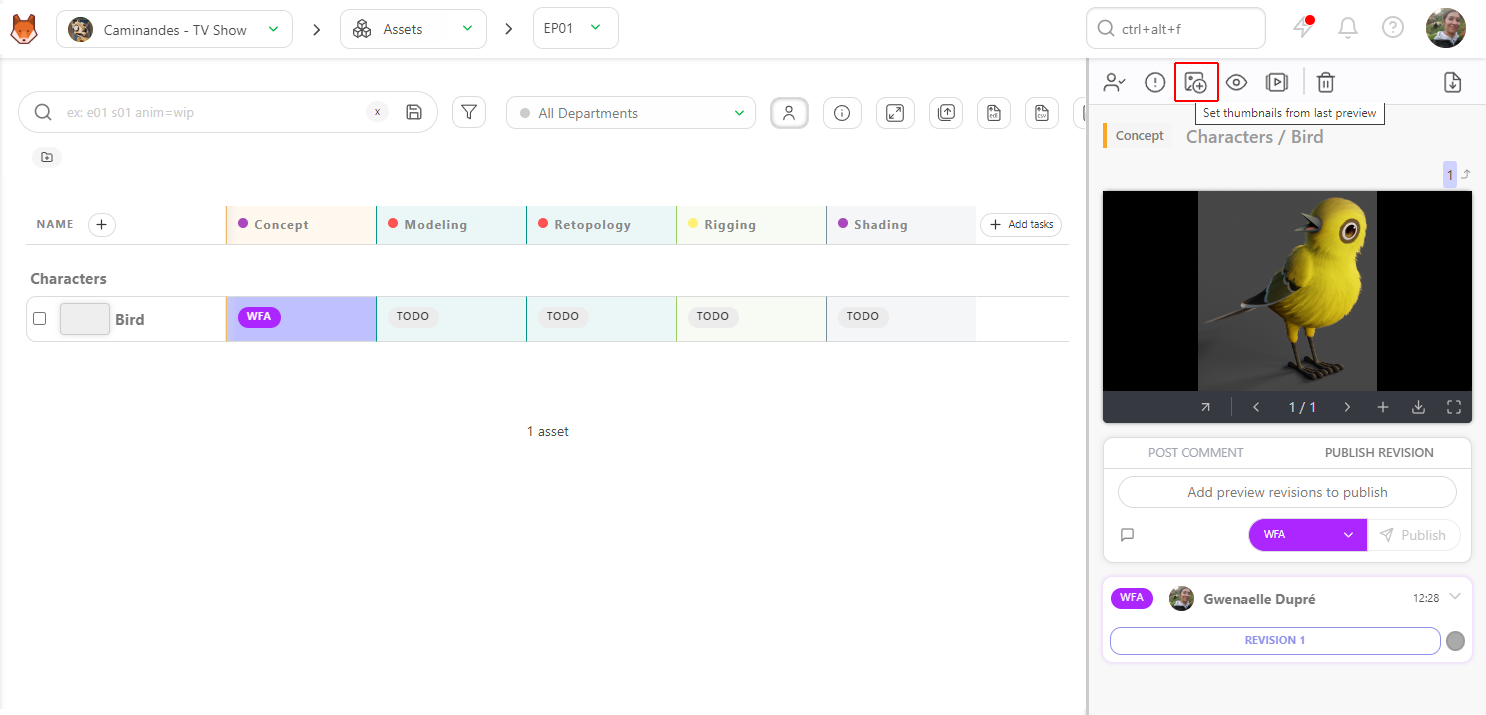
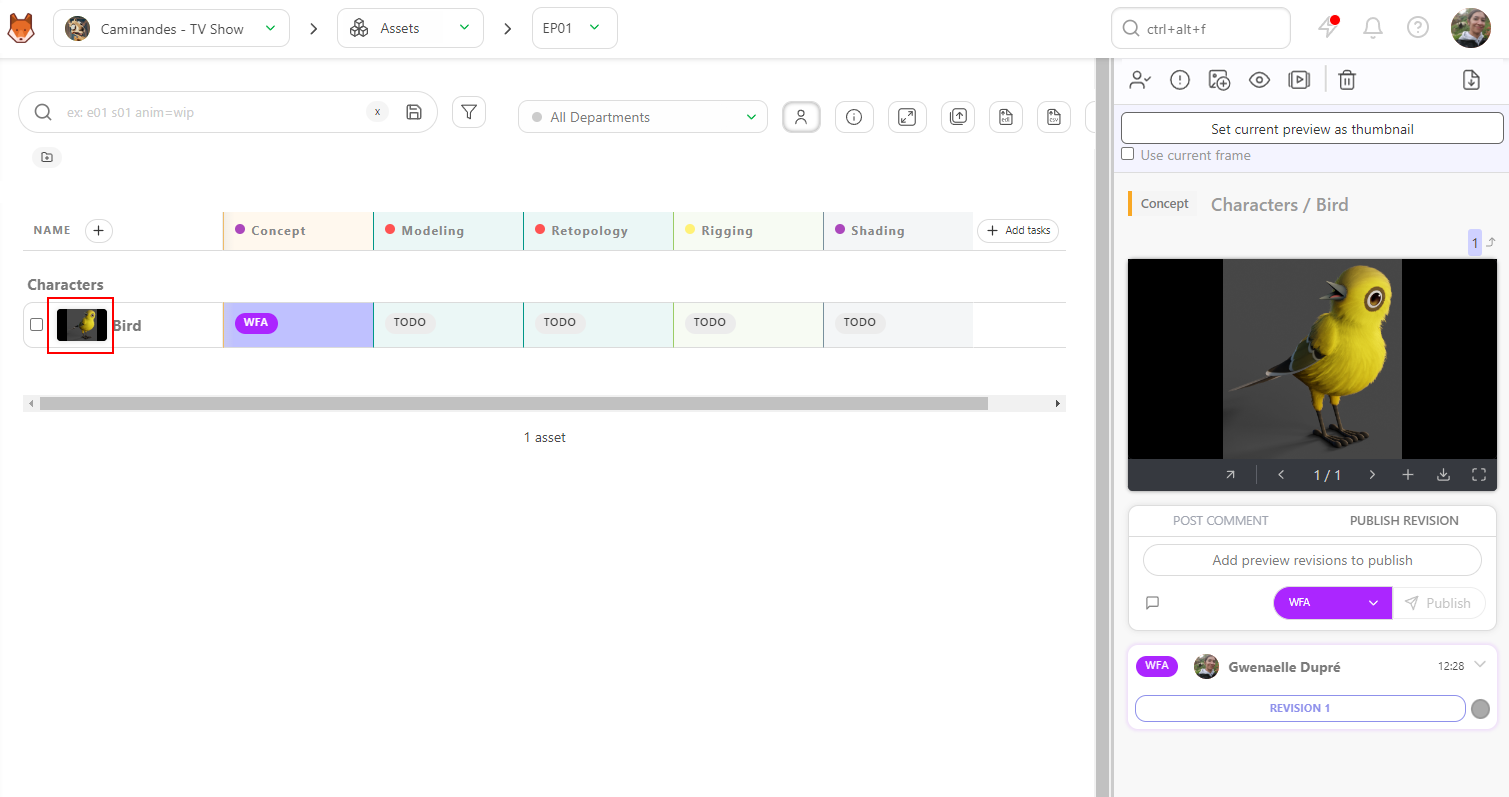
Once you have clicked on the button, you can choose if you want to pick the first or any frame; once the frame is selected, you see the thumbnail appear, and the button turns gray.
# Perform a Review
When an artist needs a review, he changes the status of his task, too .
Click on status to open the right panel and start the review.
You can watch the version from the right panel, enlarge it by grabbing the side of the panel, or even go fullscreen .
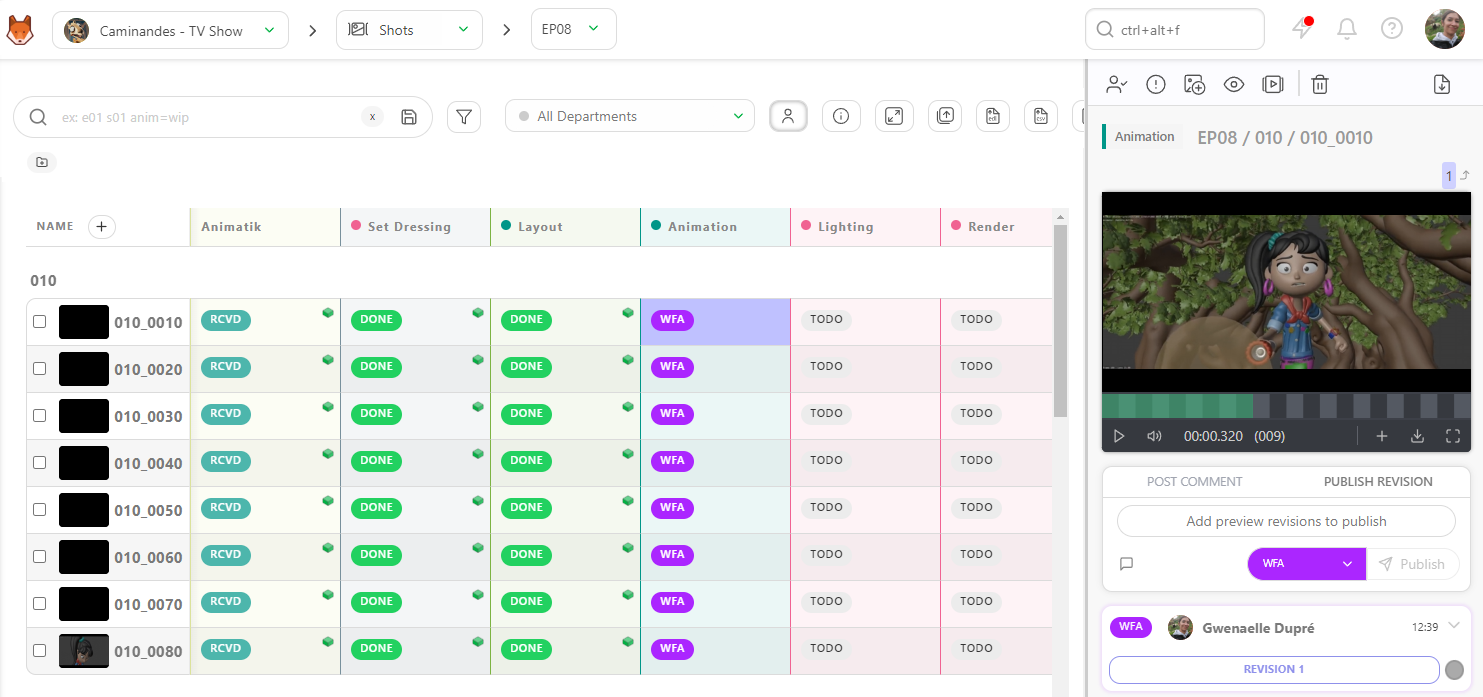
For the 3D file (.glb file) you can also review it as wireframe, or add a .HDR file to check the lighting.
You can move around the 3d file with a drag and move with your cursor, and zoom in or out with the scroll.
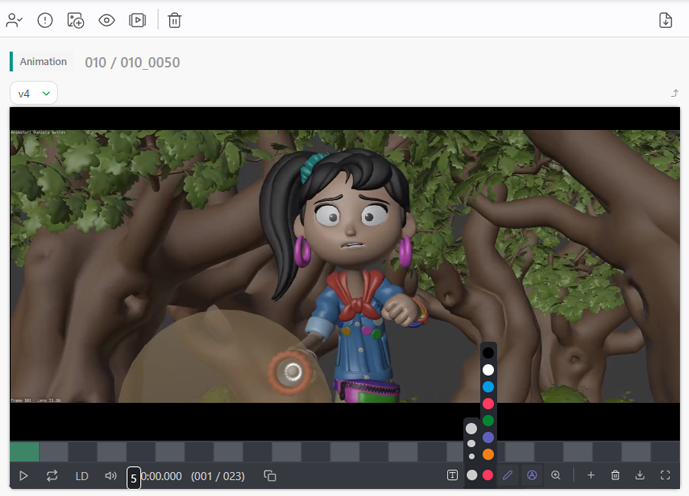
You can draw directly on the preview with the Pencil tool and select a color .
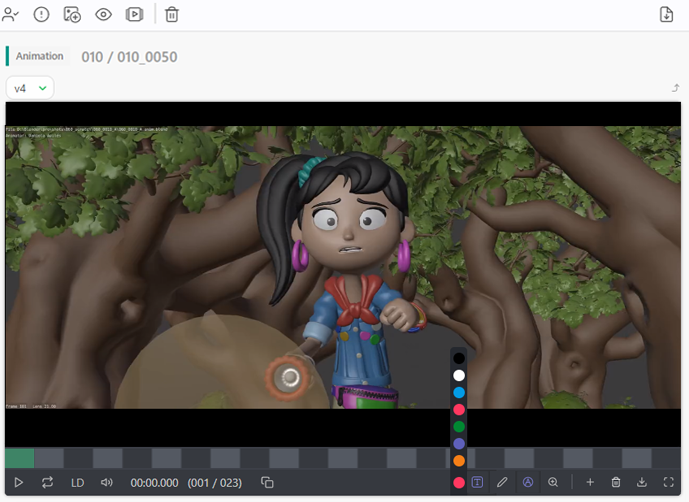
You can also add text on the frame.
If you need to see the preview without your comment, hide your annotation, you can click on the Fountain Pen button.
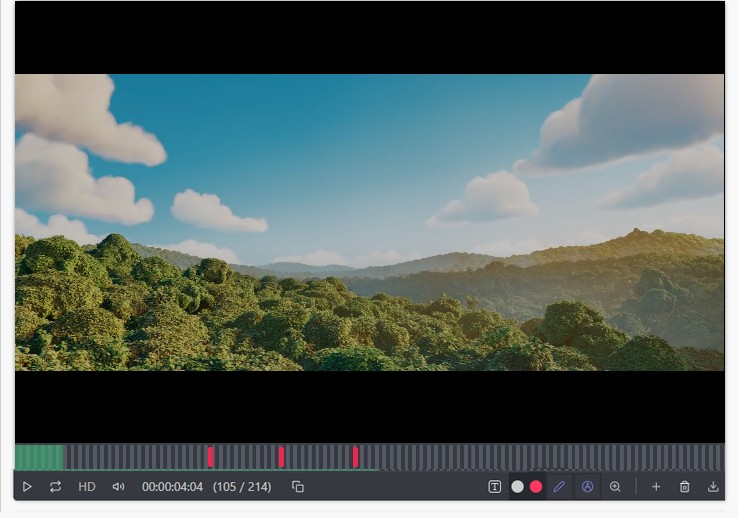
You can tag a frame (whatever version you are in), type the @and it opens a sub-menu with the team list, and start typing frame.
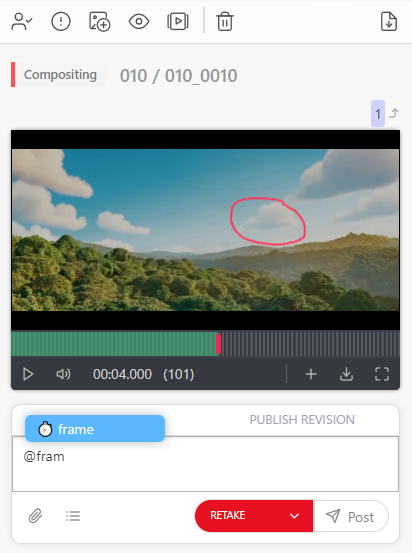
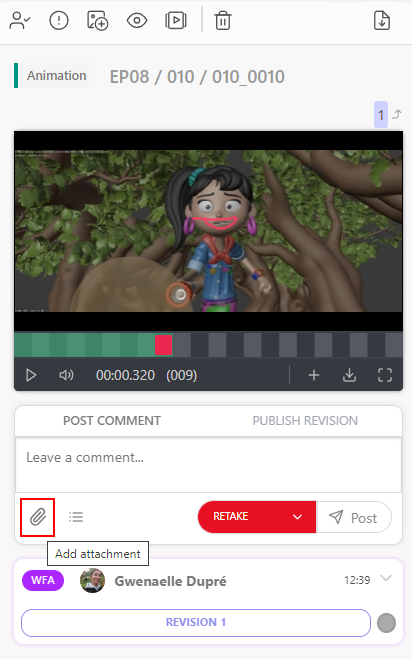
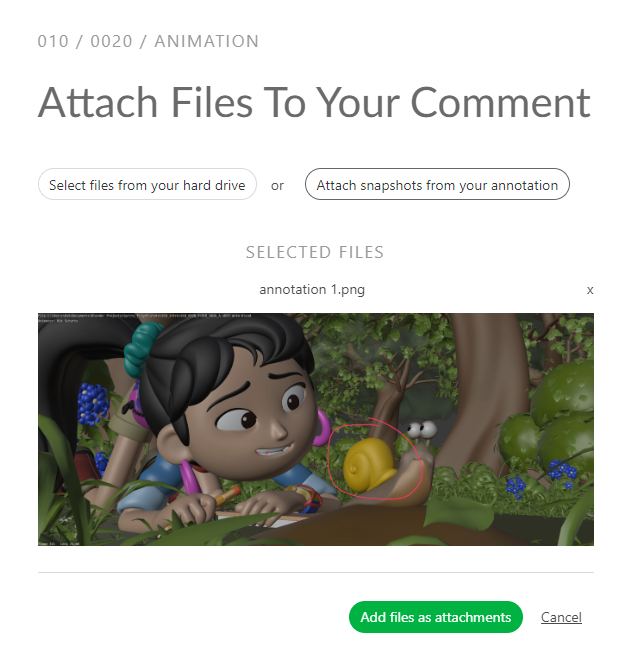
You can also export your drawings on each frame by attaching the screenshots as attachments.
Click on the Add attachment button.
You can also choose to Attach snapshots from your annotation on the attachment option.
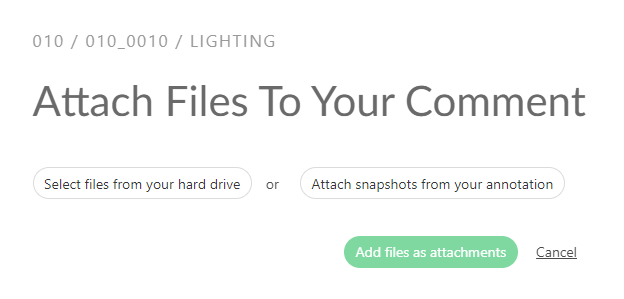
Once you click the button, Kitsu will grab all the frames with annotation and display the result. You can publish them with Confirm.
If you need to delete your line, click the pencil icon again, and the cursor changes to a multi-directional cross , and then you can select your line and move it around.
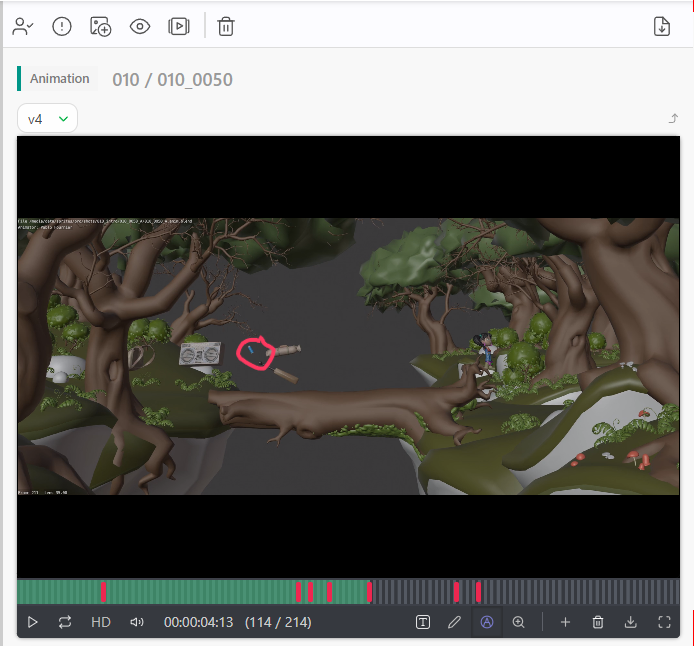
Select the line with the directional cross, then press the delete icon
If you go into Full-Screen, you can compare two task types or versions side by side when you click on the Compare button
.
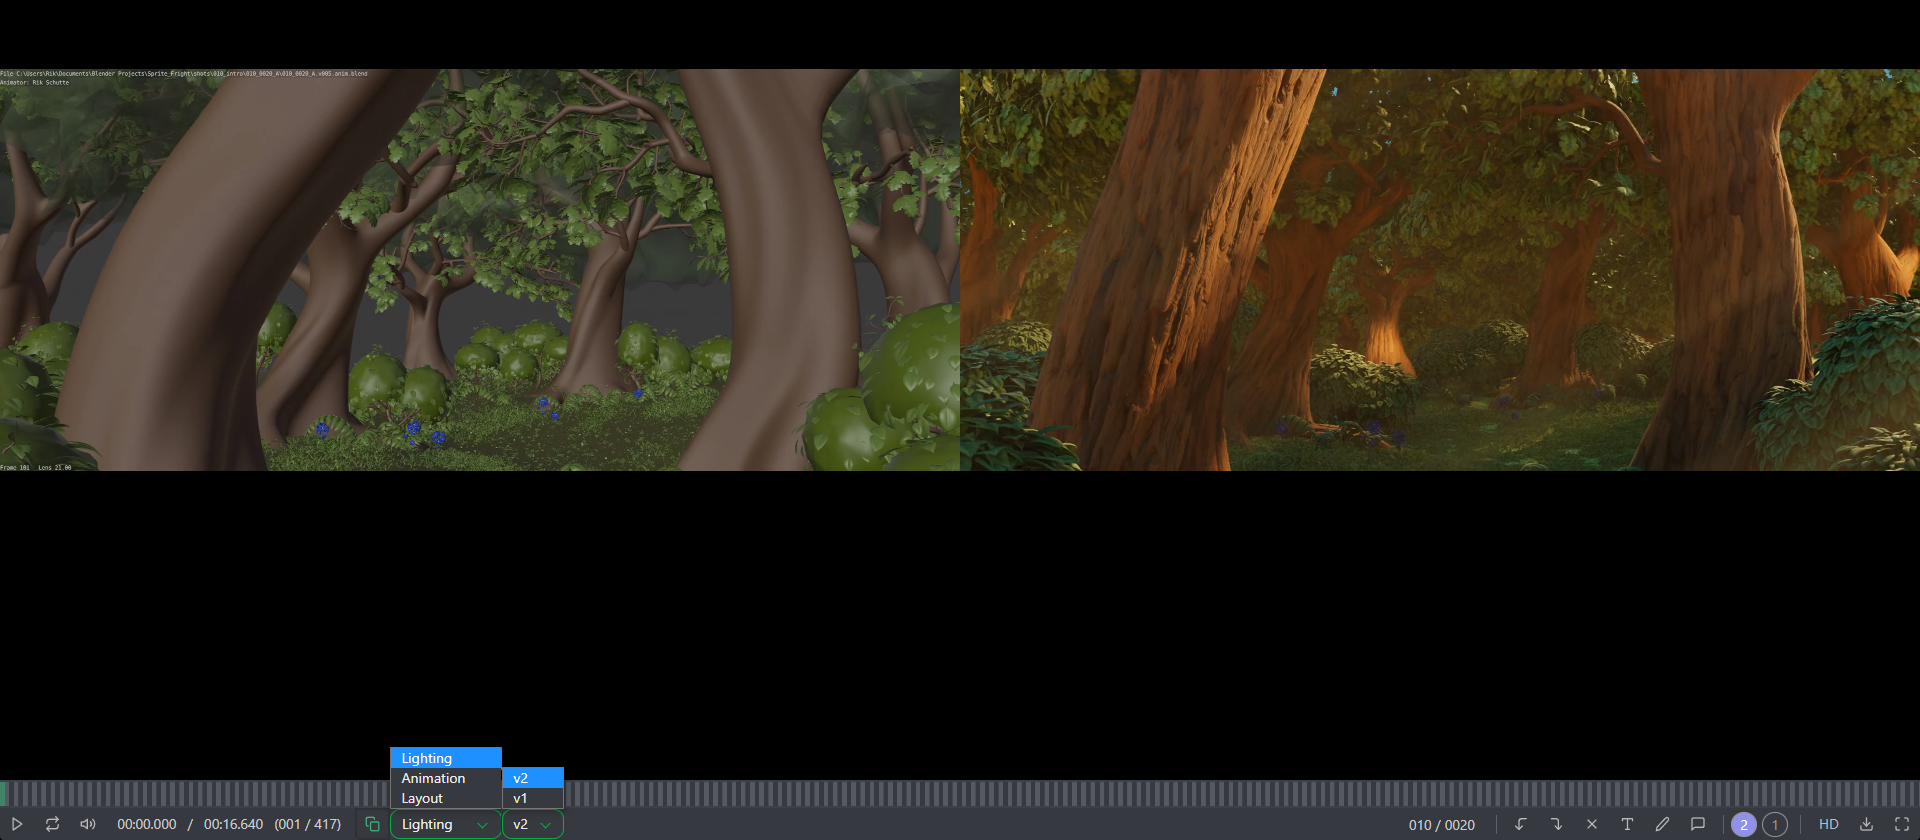
From there, you can change the status too if you want the Artist to perform some changes.
Alternatively, you can change it to to notify the Artist that his work is approved.
# Review a Concept
Once your artists upload the concept, you can review it with the supervisor or the director.
To review the concept, you use the navigation menu at the top of the screen and select the concept page.

You can see all the concepts uploaded, the status, assignation, and linked assets.
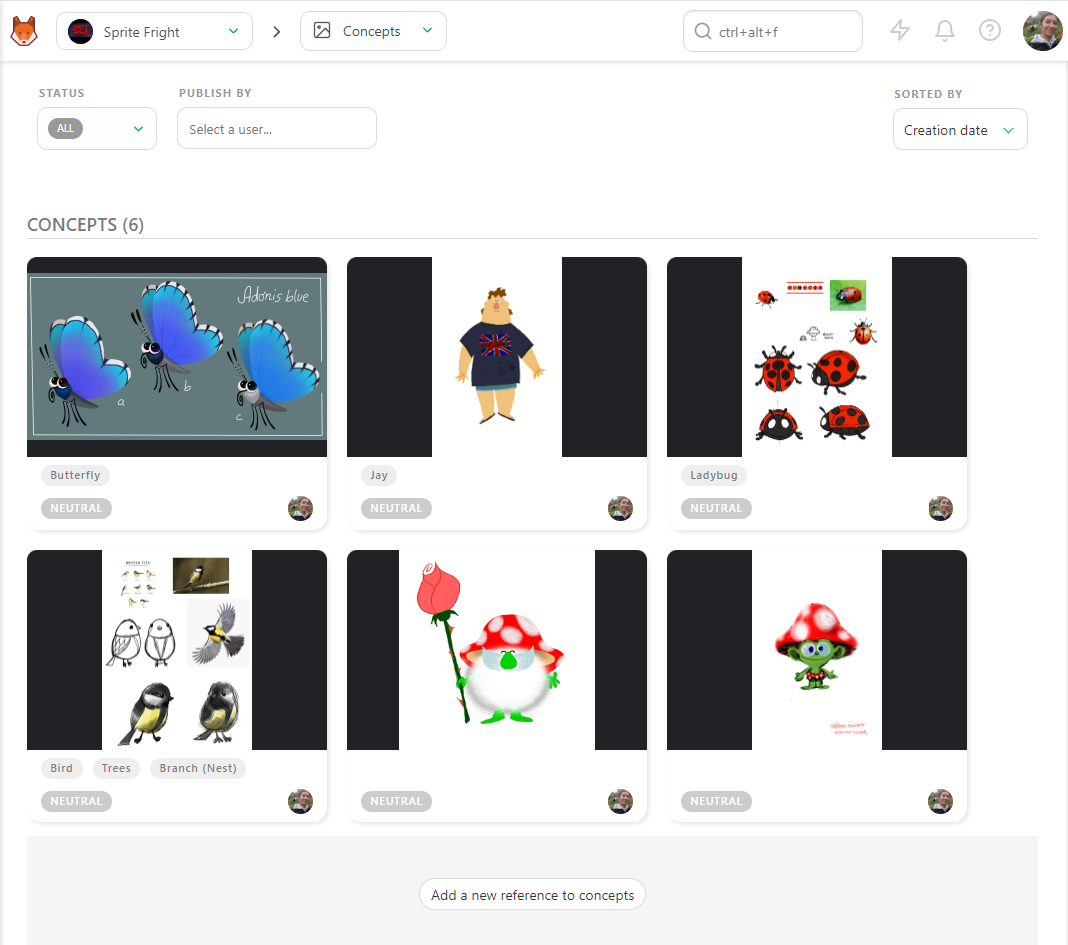
To review a concept, click the status part to open the comment panel. You can enlarge the comment panel or go fullscreen.
Then, write a comment, select the status Approved or Rejected, and validate with the Post button.
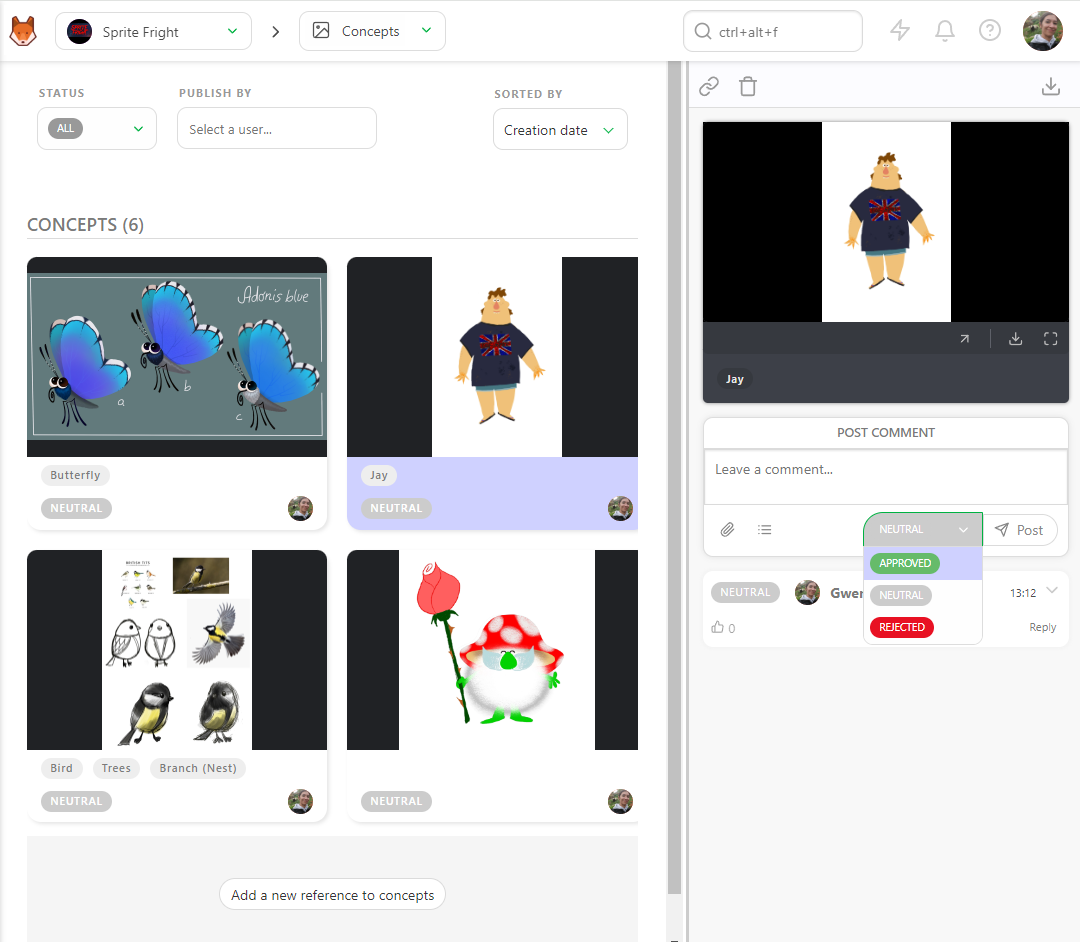
You can filter the page with the Status filter to display all the Neutral status concepts.
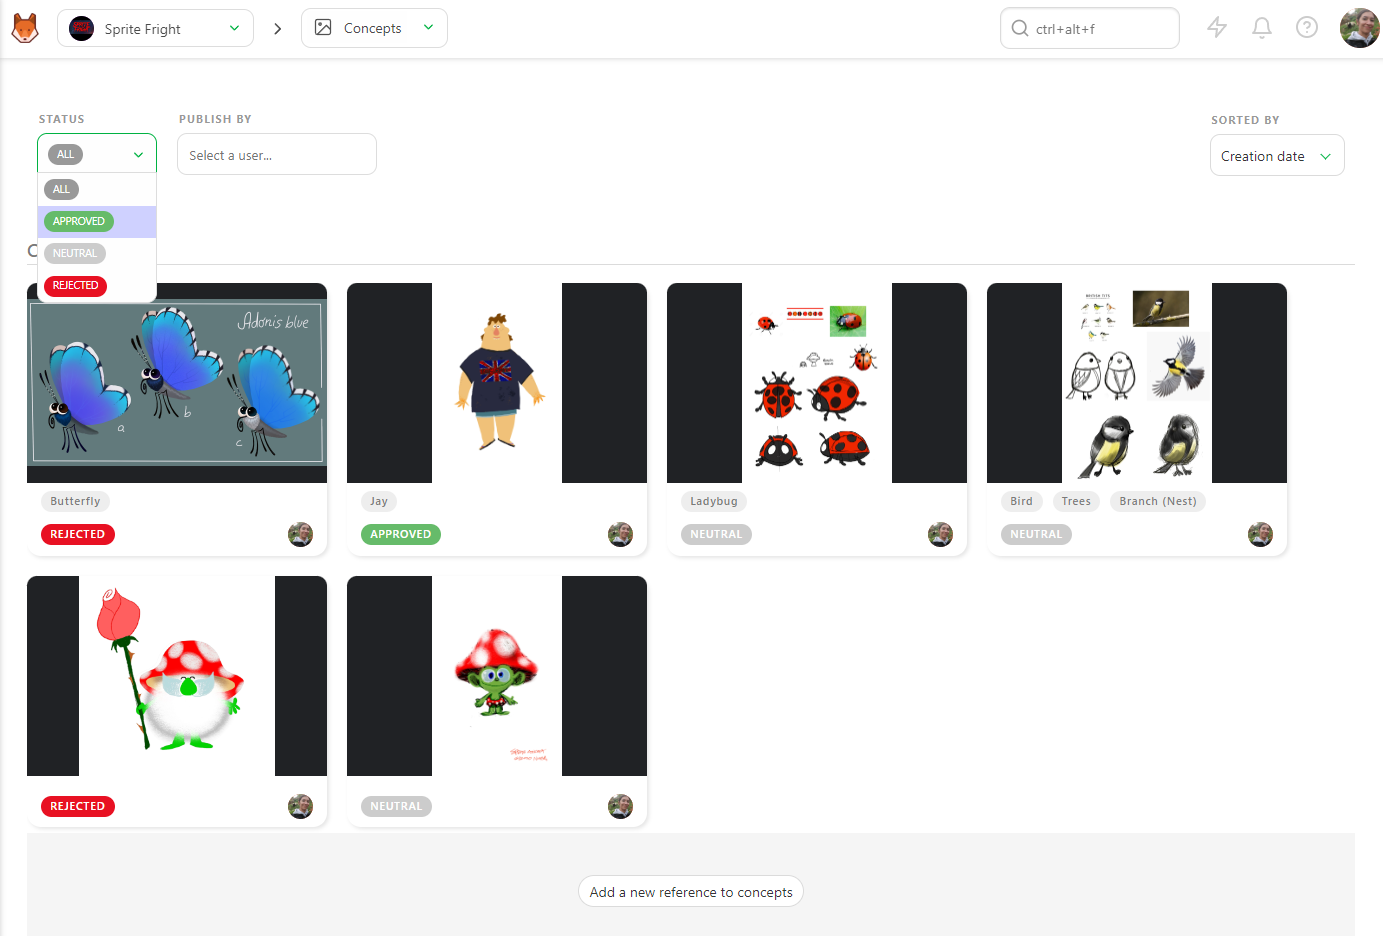
You can also filter per artist and change the order sort.
# Add Multiple Previews as one Version
You can add multiple images simultaneously, or once you have uploaded an image, you can add another one.
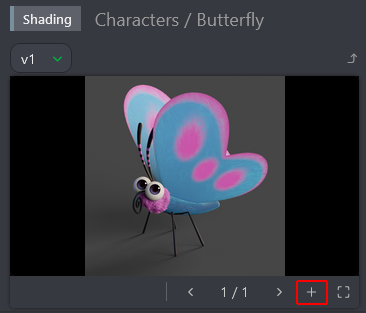
The Add preview pop-up asks you to choose a file.
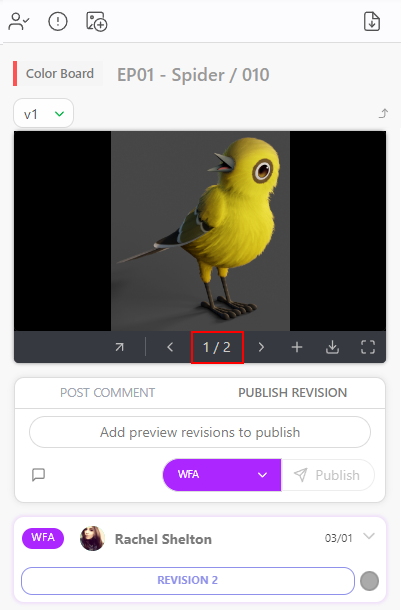
You can navigate through the pictures uploaded.
You can change the preview order by clicking the number and then dragging and dropping them.
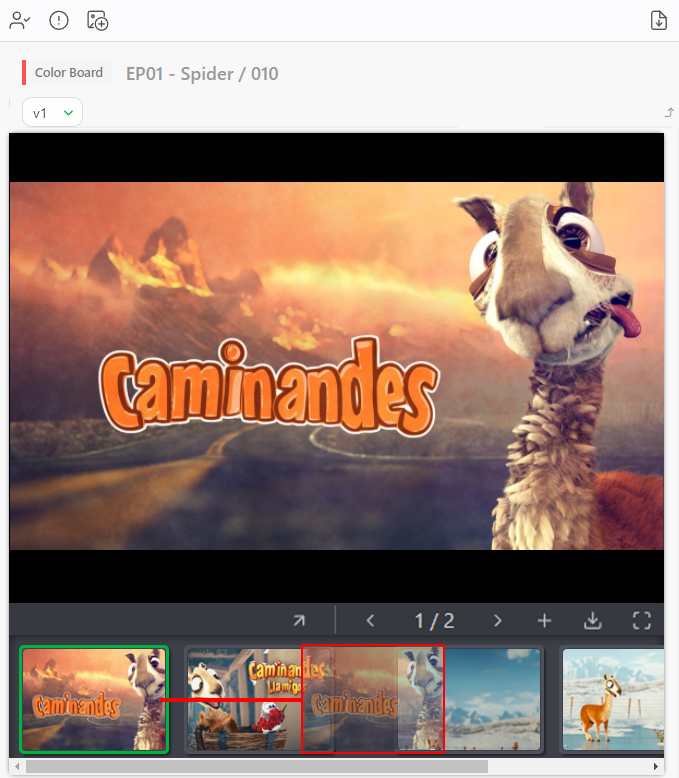
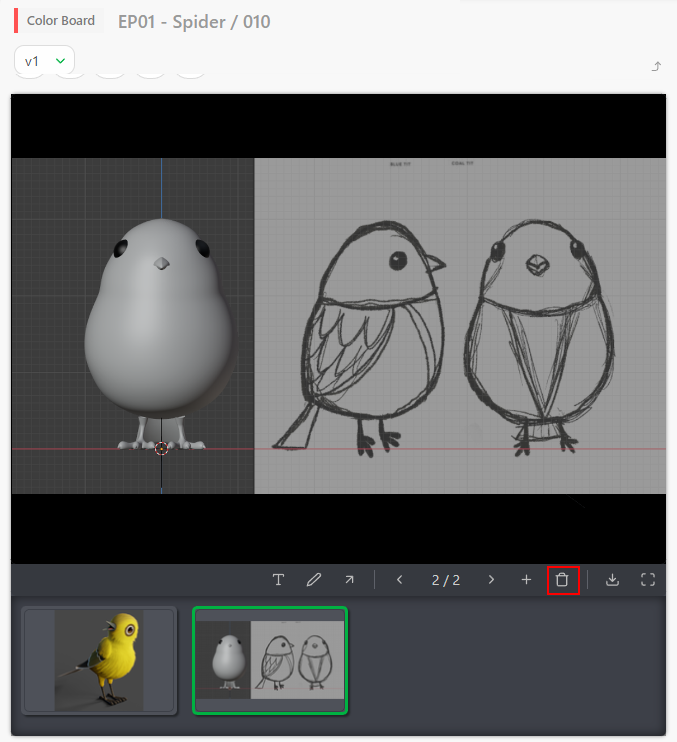
To delete an additional preview, you need to enlarge the comment panel by dragging it and clicking on the number of versions.
And then click on the
# Change Status per Batch
Alternatively, you can do it per batch.
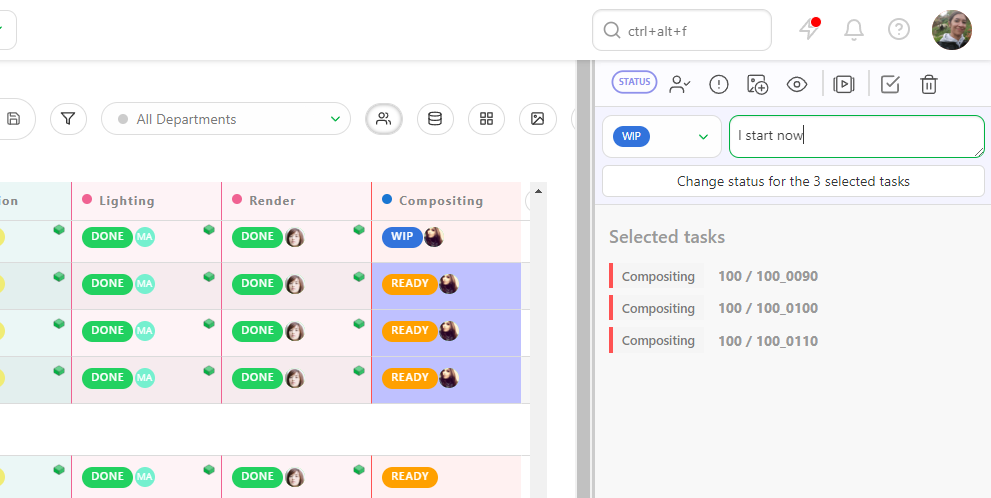
You can select multiple shots or assets by pressing the ctrl or shift key.
Then, go to the Change status section on the action menu.
Choose the new status for your selected tasks (1). You can also add a comment for all the selected tasks (2) You validate the new status with the Confirm button.
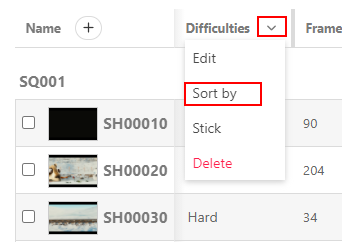
The shots are not sorted by name but by the metadata column information.
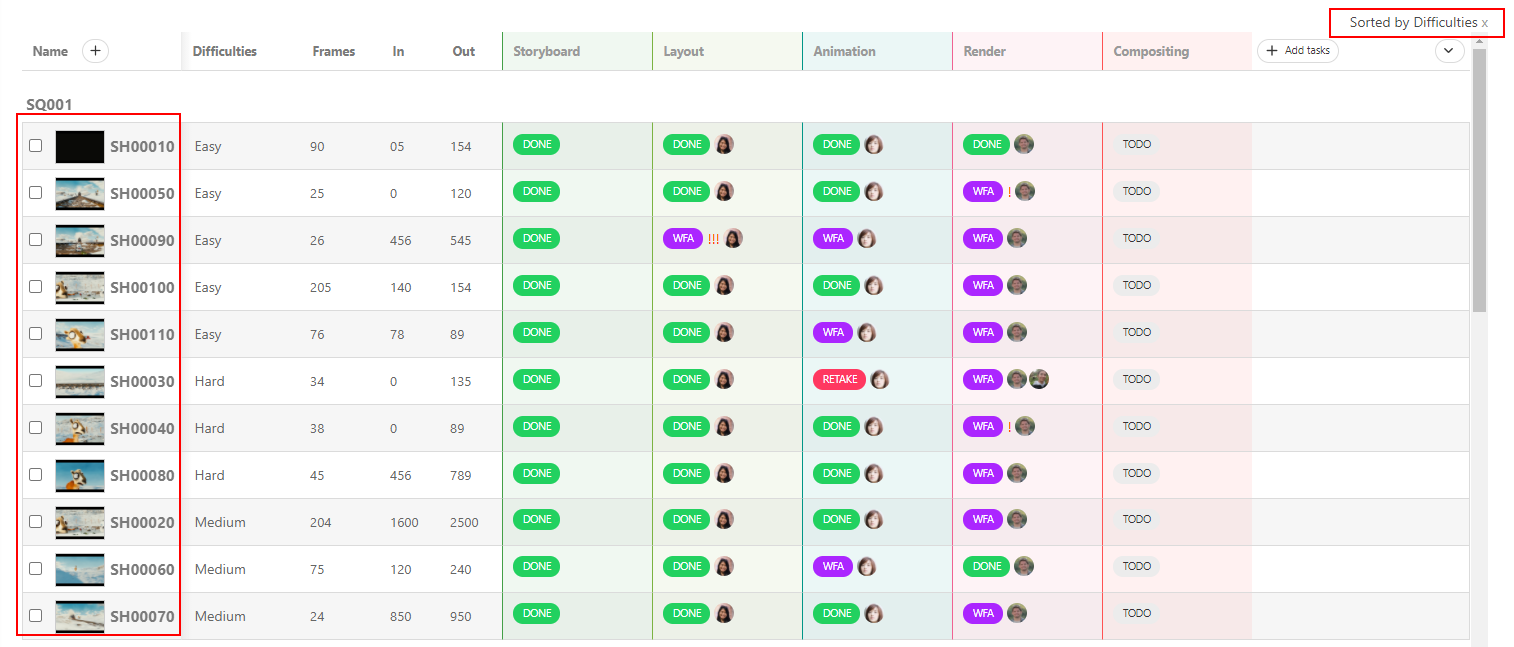
You can also select in the menu if you want to edit the name of the metadata column and its information or if you want to delete it.
You can also use the CSV Import to fill your custom metadata column quickly. First, you must create your Metadata column into Kitsu, add it to your spreadsheet, and copy-paste your data into the CSV Import.
Update Shots information with CSV Import
# Playlists
# Create a Playlist
You can find the Playlists page on the drop-down menu.
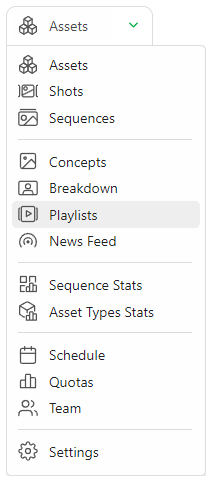
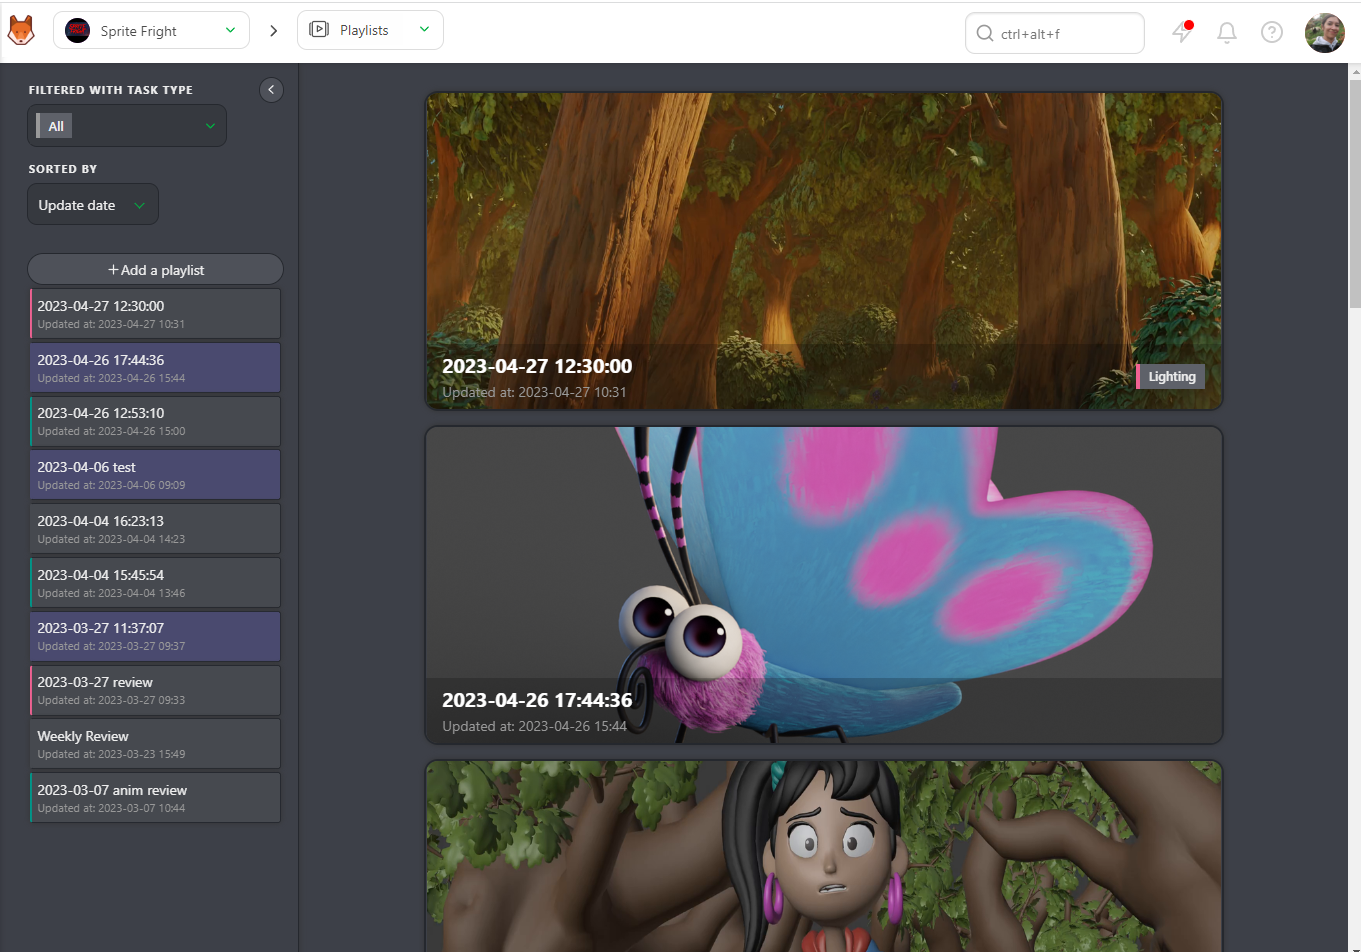
The playlist page is separated into two parts:
- (1) The playlist list where you can create a playlist or load an existing one.
- (2) The last created playlists and the last modified playlists
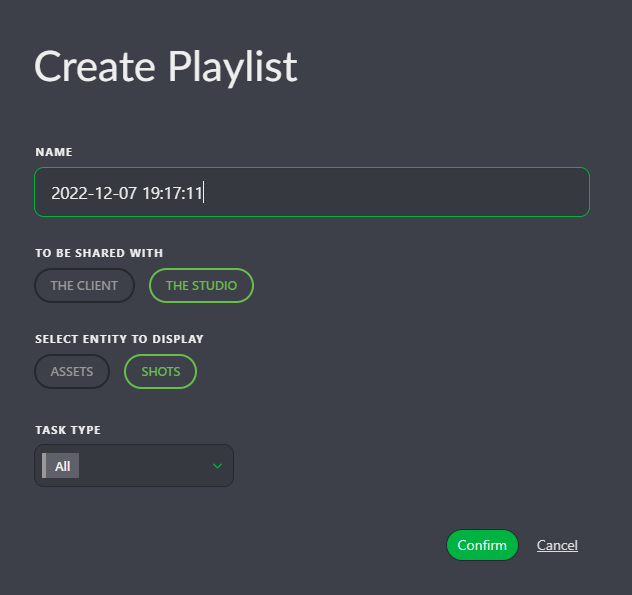
Start by creating a Playlist . Your default name
is the date and the hour. You can change it immediately. You can choose if the playlist
will be shared with the studio or the client and if it's a shot or asset playlist.
You can also add a Task Type tag to the playlist.
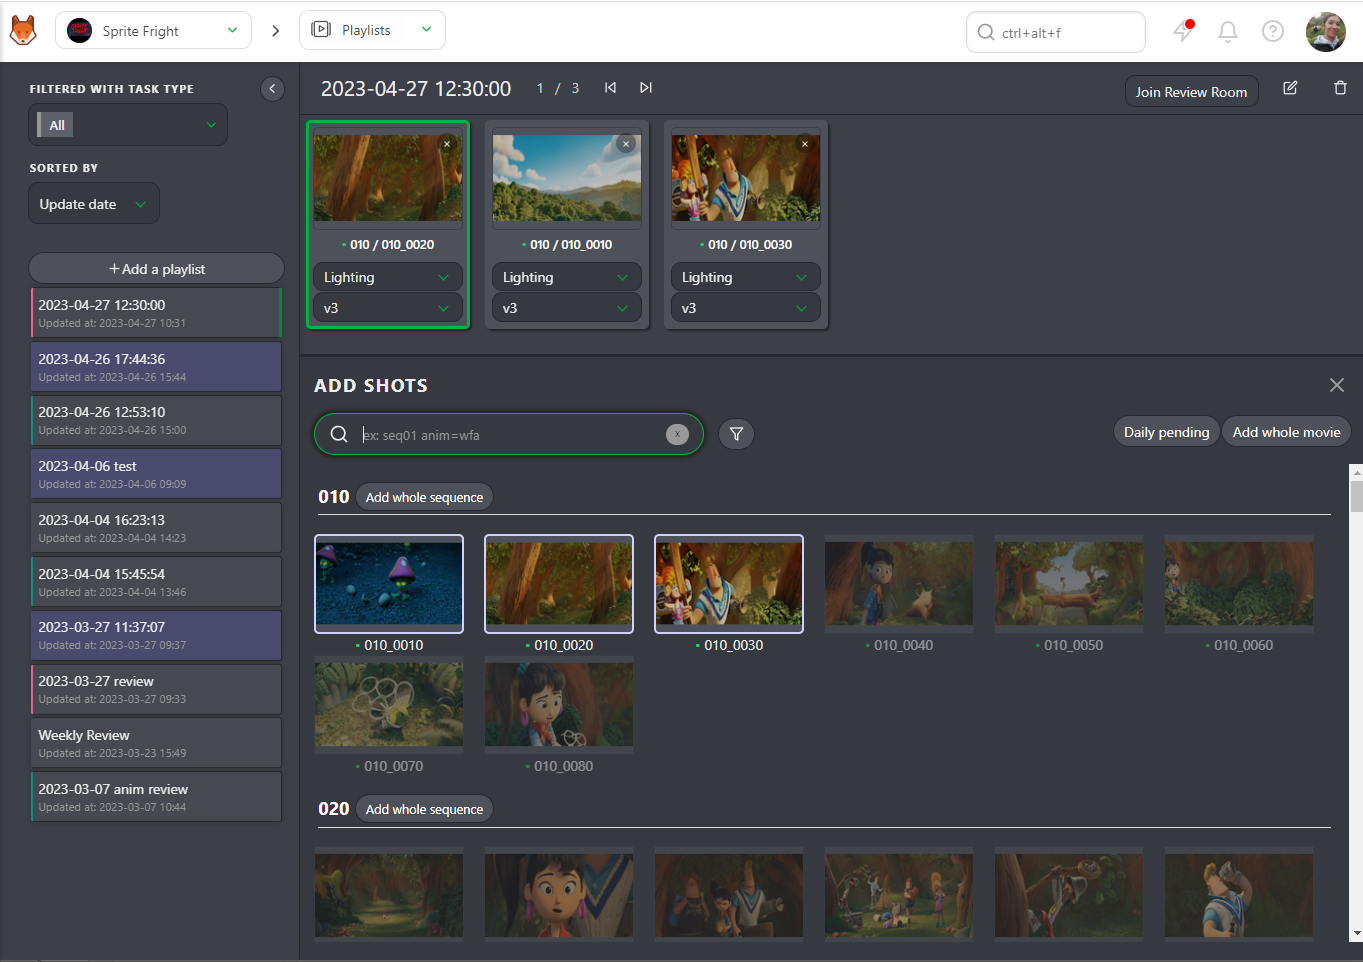
Once the playlist created, via the search/filter bar, you can select which shots to add to your playlist.
You can also choose to add whole movie, and it will add all the shots of the movie.
You can select Daily pending, which will add all the WFA tasks of the day.
Otherwise, you can Add the whole sequence if you want to focus only on a particular sequence.
You can use the same filter than on the global shot/asset page. For example, you can select all the WFA short for the animation stage. You have to type animation=wfa in the search bar. Valid your selection with the Add selection button. Kitsu will select the shots that have the WFA status at the Animation stage, but Kitsu will automatically load the latest uploaded version.
The shots appear on the top part of the screen. Every change are automatically saved.
# Review and Validations
Once you have created a playlist; you have several options:
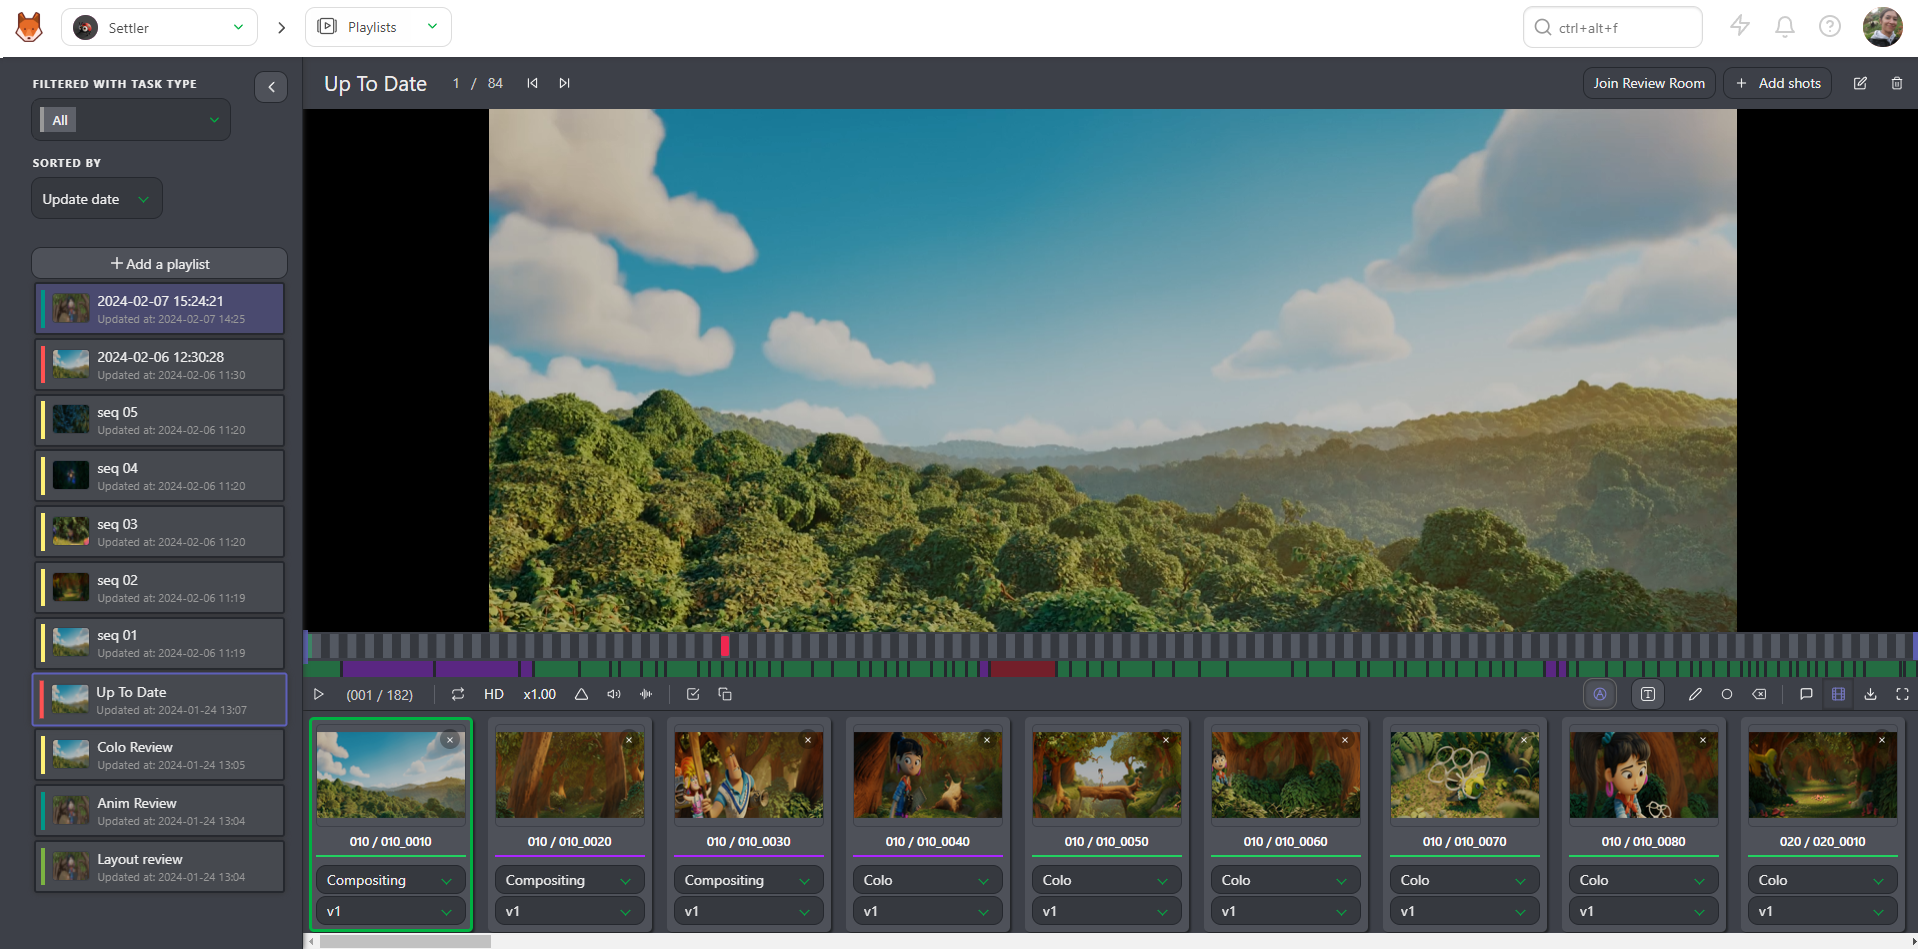
Play or Pause
Navigate from element to element
See the position of the selected element compare to the total number of elements
Mute or unmute the sound
Change the speed, double speed (x2), full speed (x1), half of the speed (x0.50), or a quarter of the speed (x0.25)
Loop on one element
Display the sound wave
Display annotations during the play
TC of the element compared to the TC of the whole playlist
Number of frame
Navigate frame per frame on the preview. You can also do it with the arrow on the Keyboard.
Compare tool
Undo and Redo option for the drawing comment
Text and drawing option, and delete selection
Change the task type of all the elements of the playlist
Display the comment section
Hide the elements of the playlist
Switch between LD (low definition) to HD (High definition)
Download the playlist as a Zip files with all the separated elements, a .csv text file, or Build .mp4 to create the whole movie (only for shots)
Fullscreen
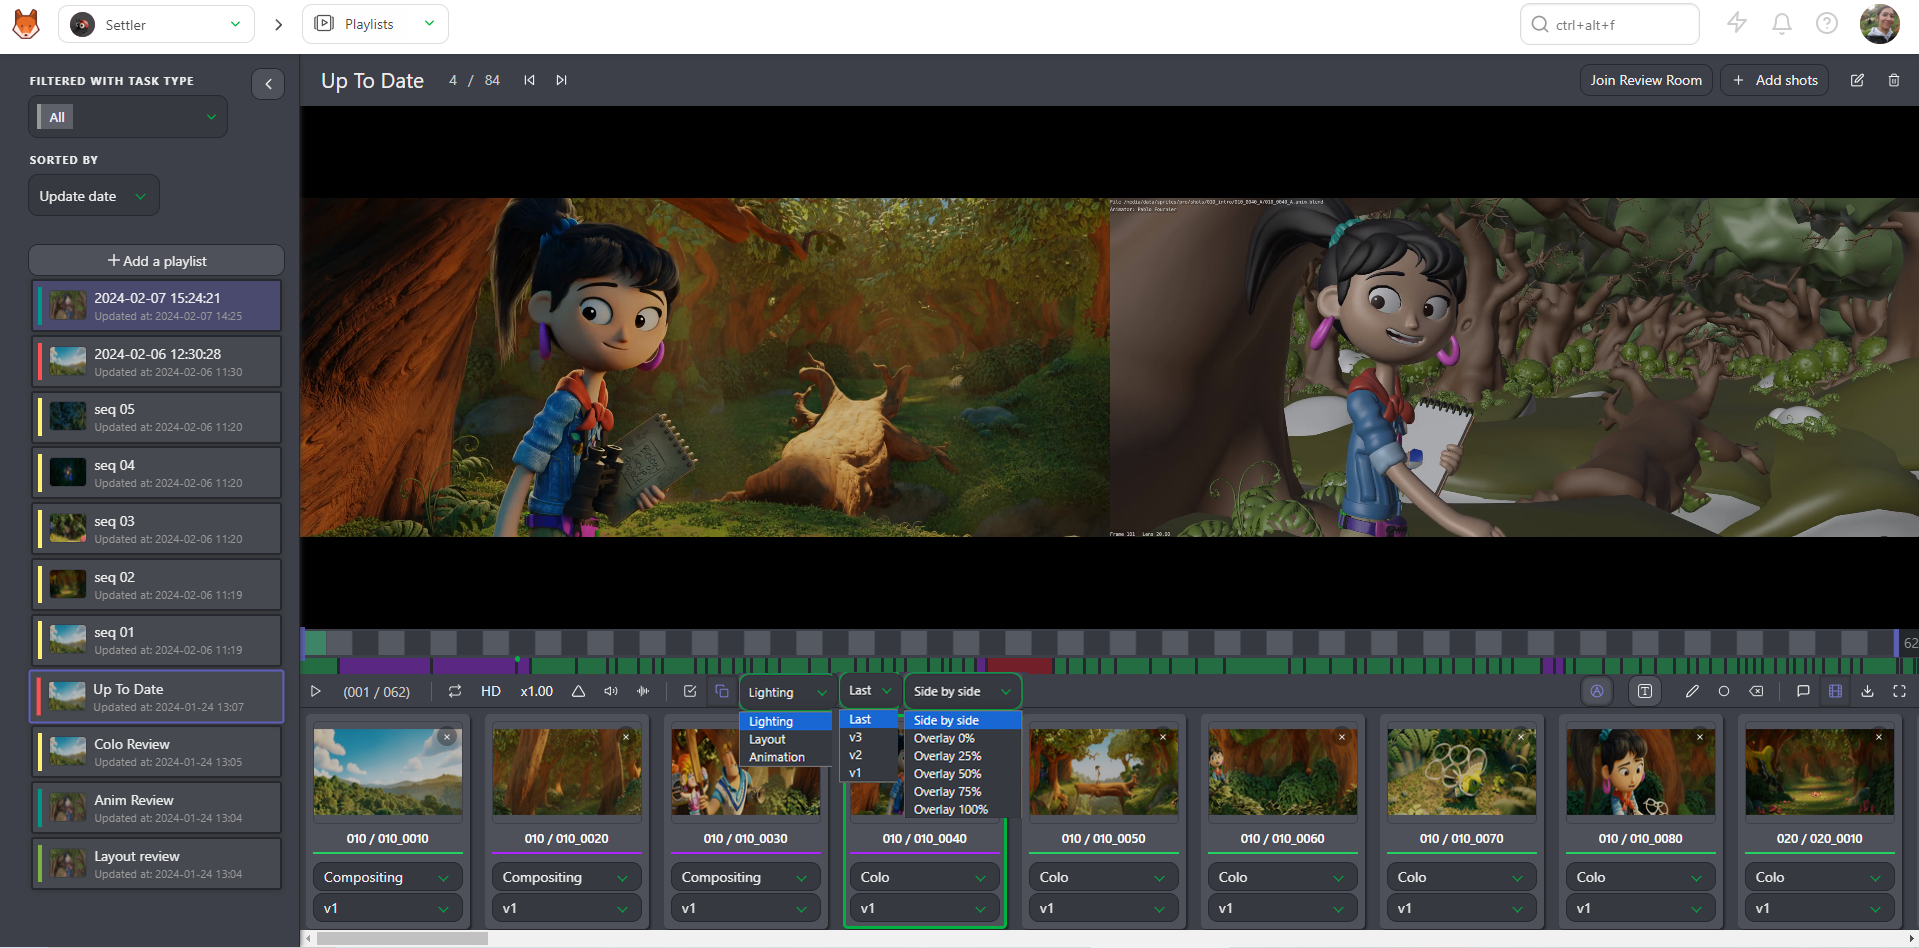
For each playlisted shot/asset, you can choose the task and the version you want to see.
You can also play side by side two tasks of a shot.
Click on the Compare button and choose the second task type.
The primary purpose of the playlist is to help you with the review of the shots and assets.
You can comment on the shots directly from the preview.
Click on the comment button.
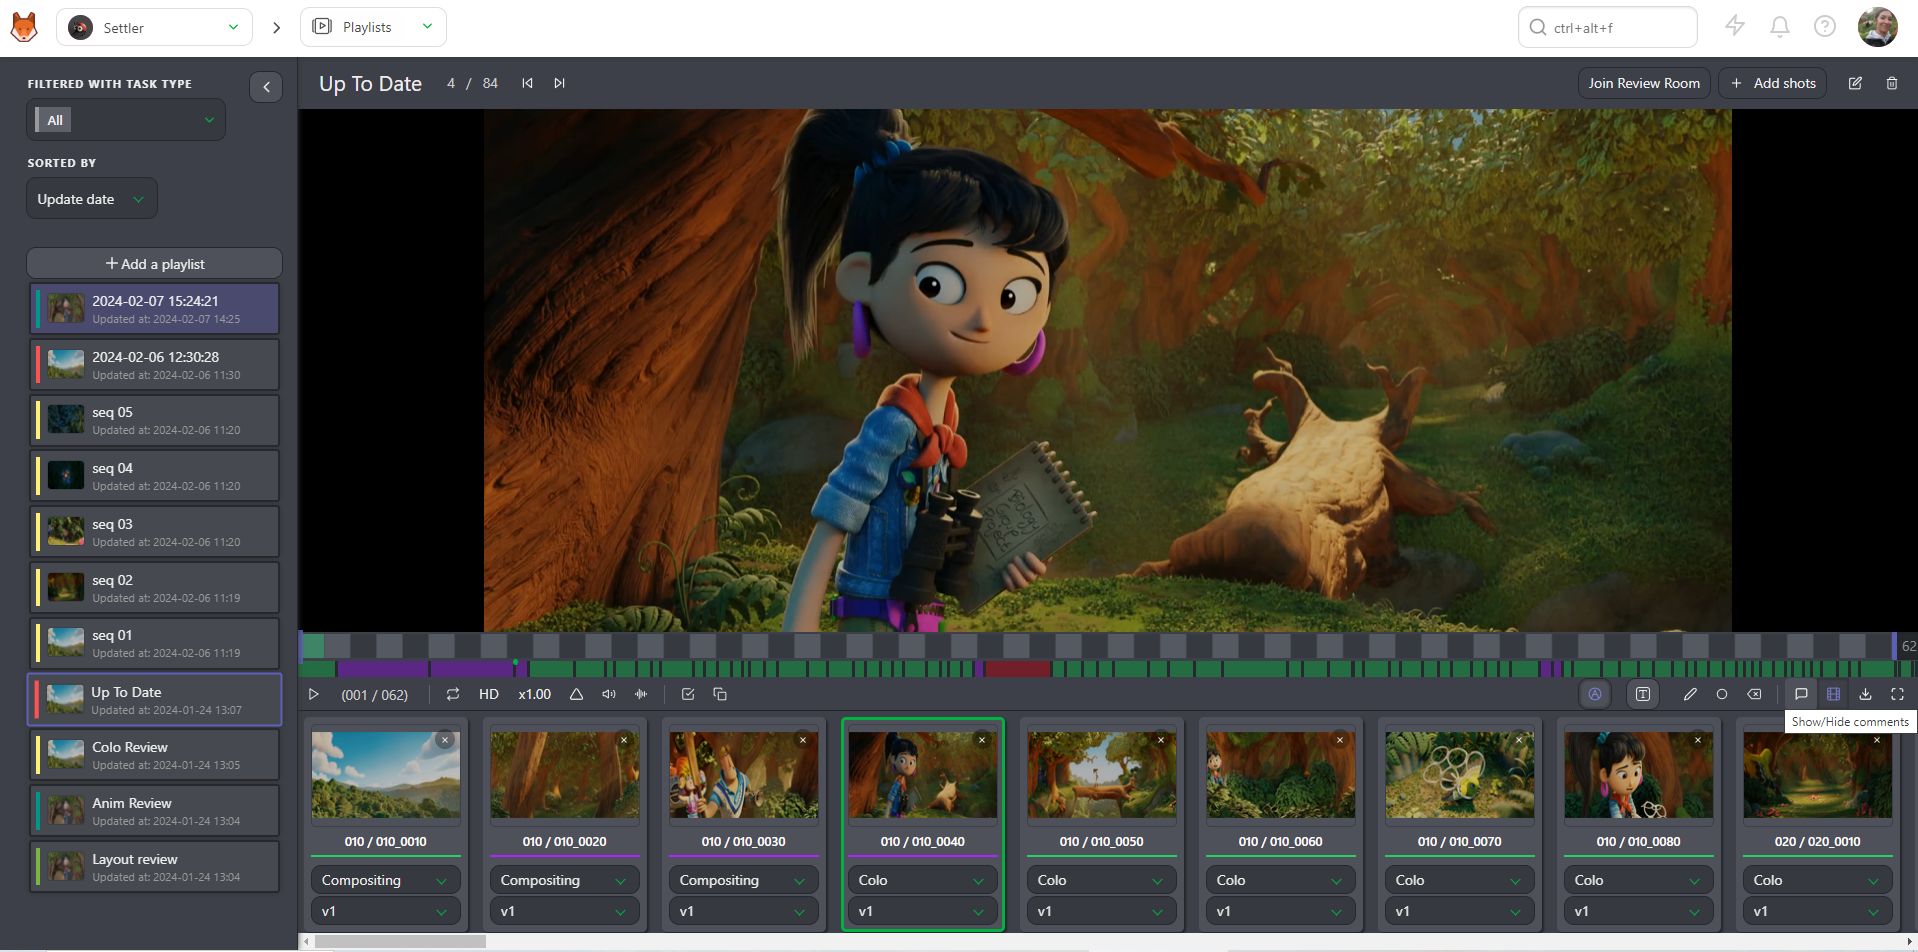
You now have access to the right panel, with all the history of the comments and status.
You can see the drawing comment on the video (the red dot below the timeline).
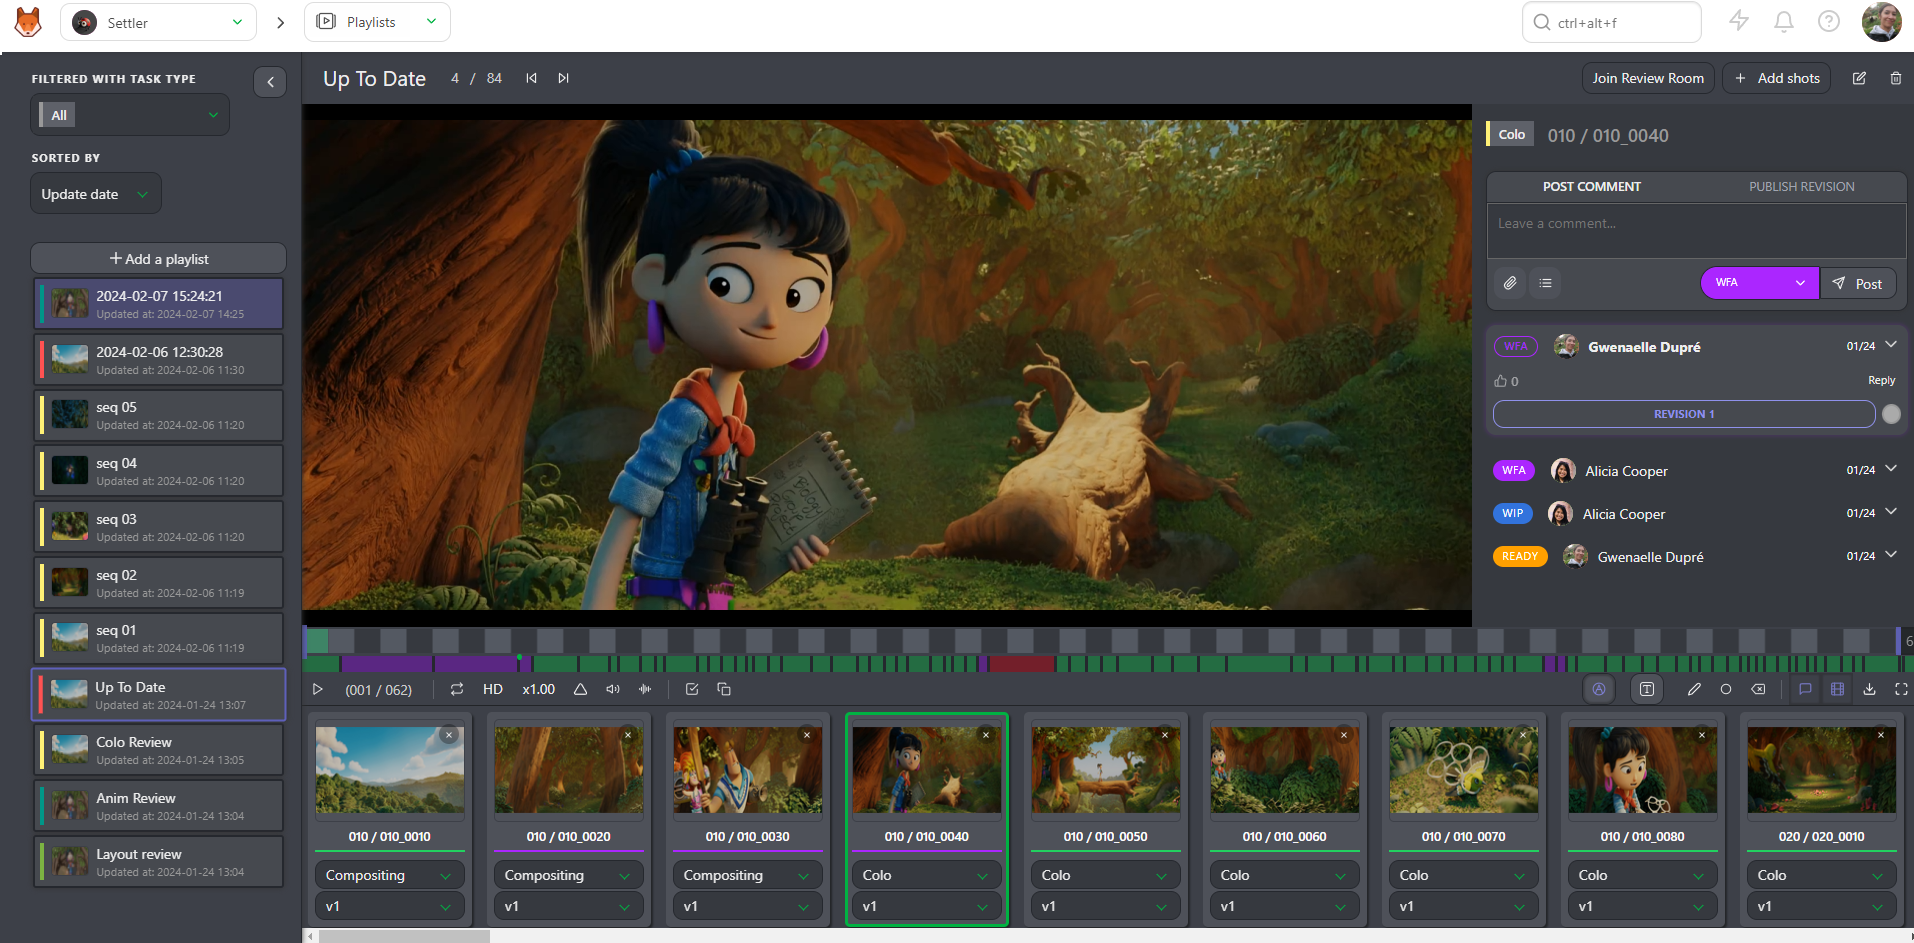
You can draw or type on the video (same than
Perform a review), with the draw button
# Review Room
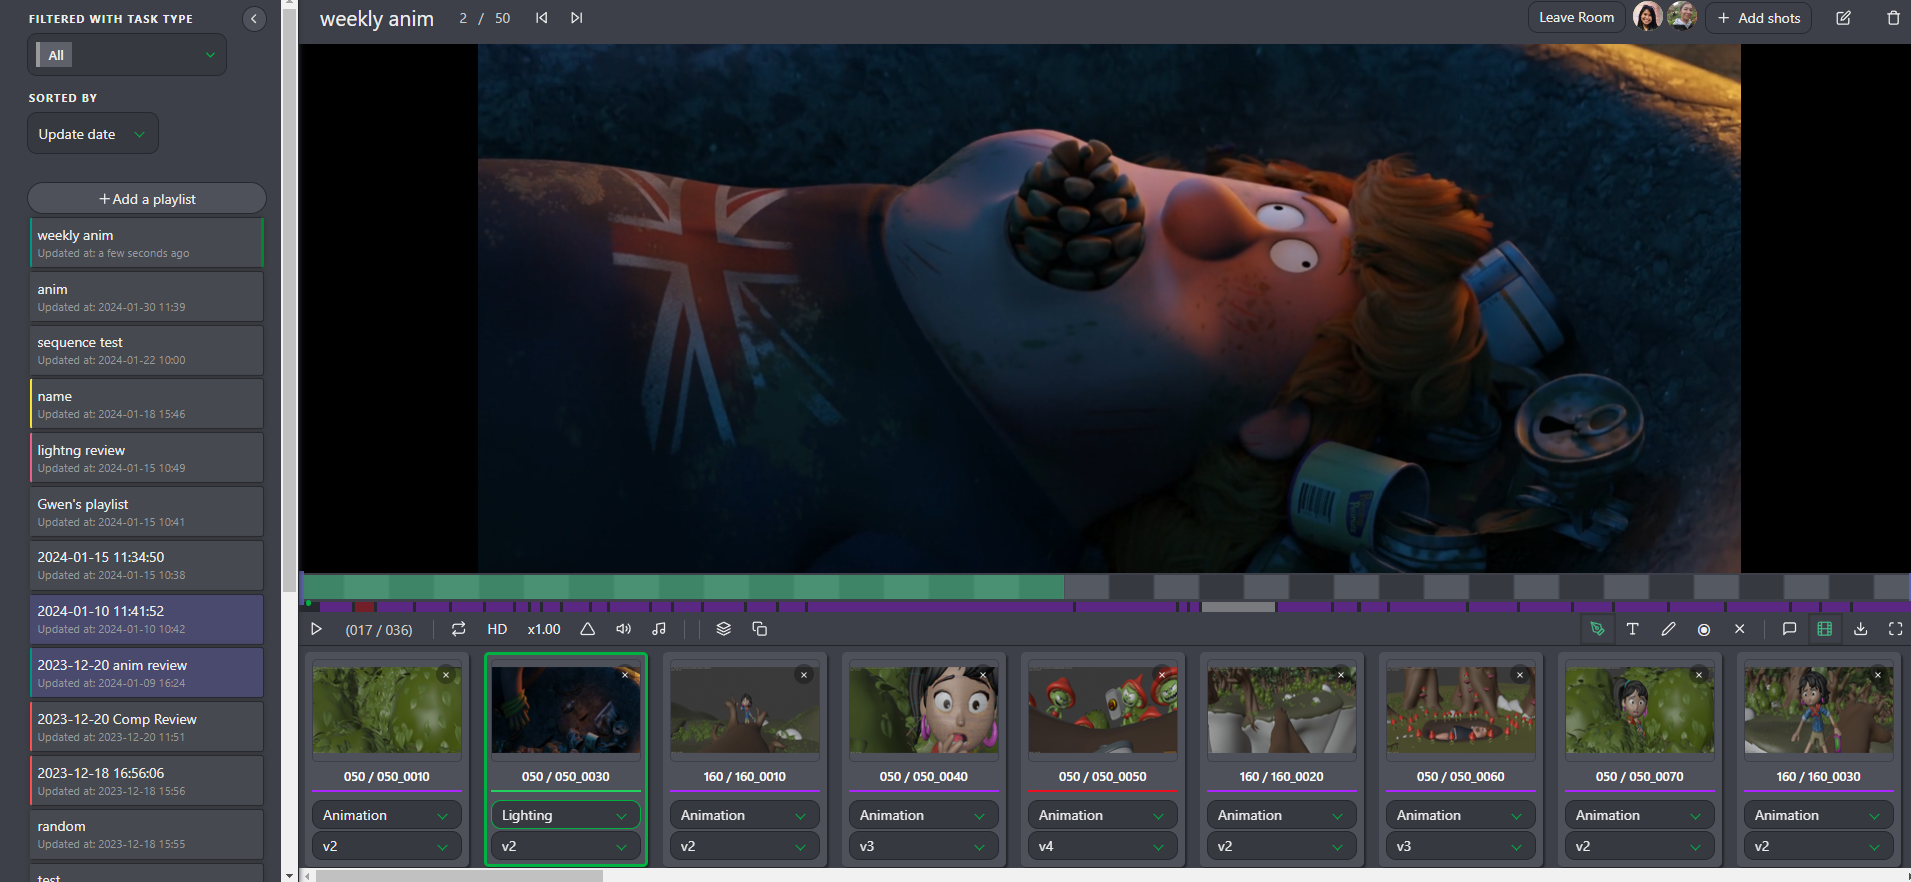
On top of the playlist you have a button to Join Review Room. The review room will synchronize all the participants.
Everybody in the review room will see in real time the play and pause, the shots and frame selection.
The people in the review room will also see the drawing annotation synchronized.
# Batch Upload Previews (as Thumbnails)
You can use the Add Thumbnails button on the global page to massively import thumbnails.
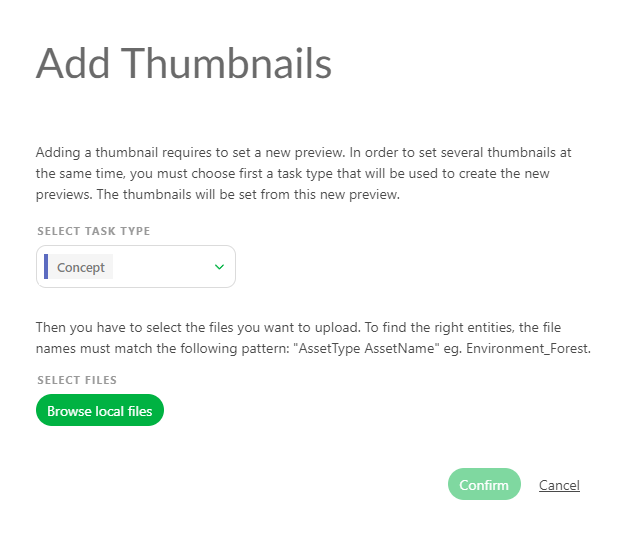
A new pop-up opens and asks you to choose which task types the thumbnails are linked.
Thumbnails batch import accept images files and video files.
For the video files, only the first frame is used as the thumbnail.
You have to name your thumbnails as sequence_shot.