# Pipeline Customization
You can modify Kitsu to fit your studio vocabulary for the asset / Pre-production, task type, Status, etc.
You can also add custom metadata columns on the global page of the asset, edit, episode, sequence, and shot.
In Kitsu, you have two kinds of libraries:
The first is the Global Library at the studio level. Only the Studio manager has access to it.
The second is the Production Library, where you will pick elements created on the global library to fill it.
The idea is to keep each production separated with a specific pipeline.
You can create and modify the department, task type, task status, asset type, and status automation on the Global Library.
You can create as many elements as possible, give the name you want, and choose the best color and options that fit your needs.
Once your Global Library is populated, you can fill the Production Library with the newly created element from the Global Library.
# Task Type
# Create a New Task Type
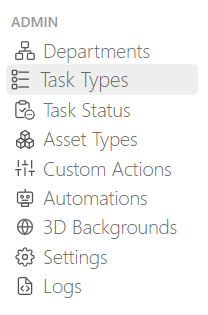
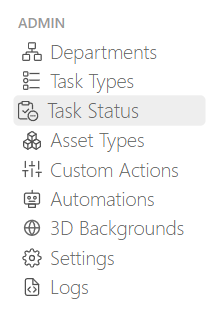
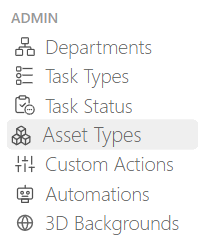
On the main menu  select
the TASK TYPES page under the Admin section.
select
the TASK TYPES page under the Admin section.
On the main page, click on the  button.
On the new pop-up, you can define your personalized task:
- The name of the task type
- For which entity it is used
- If the artists need to time log their work for tasks with this task type
- To which department is it linked
- The color
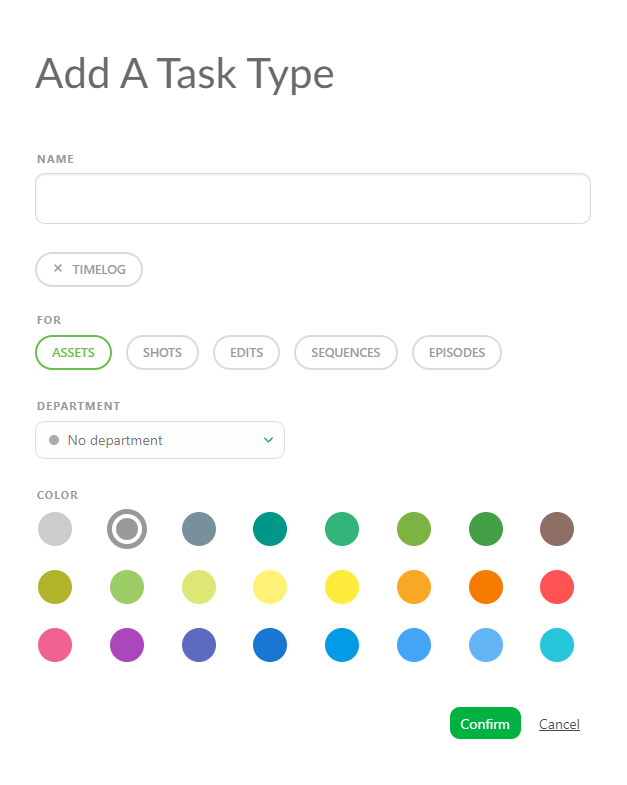
Click on Confirm to save your changes.
Per default, the new task type will be at the bottom of the list. To change the order, grab the Task Type and move it to its rightful place.

Now your task is created on your Global Library. You need to add it to your Production Library to be able to use it.
You need to return to your production with the Return To Production button on top of the screen.
Then, with the navigation menu, choose Settings
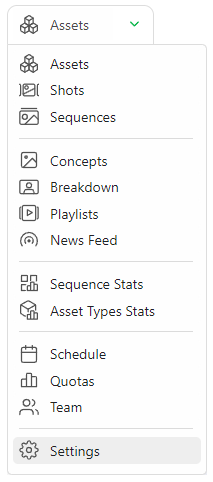
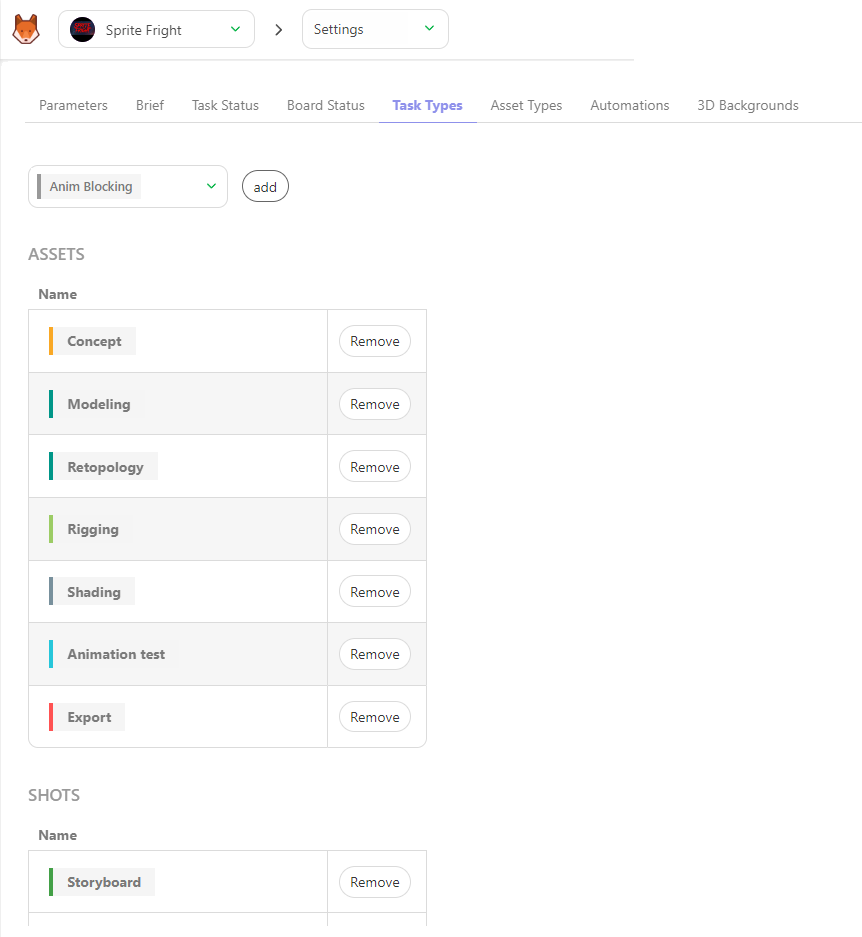
On the Drop down menu, you can choose which Task Type you want to add to this production.

Validate your choice with the add button.
You can return to the global asset or shot page and add the new task type column to your production.
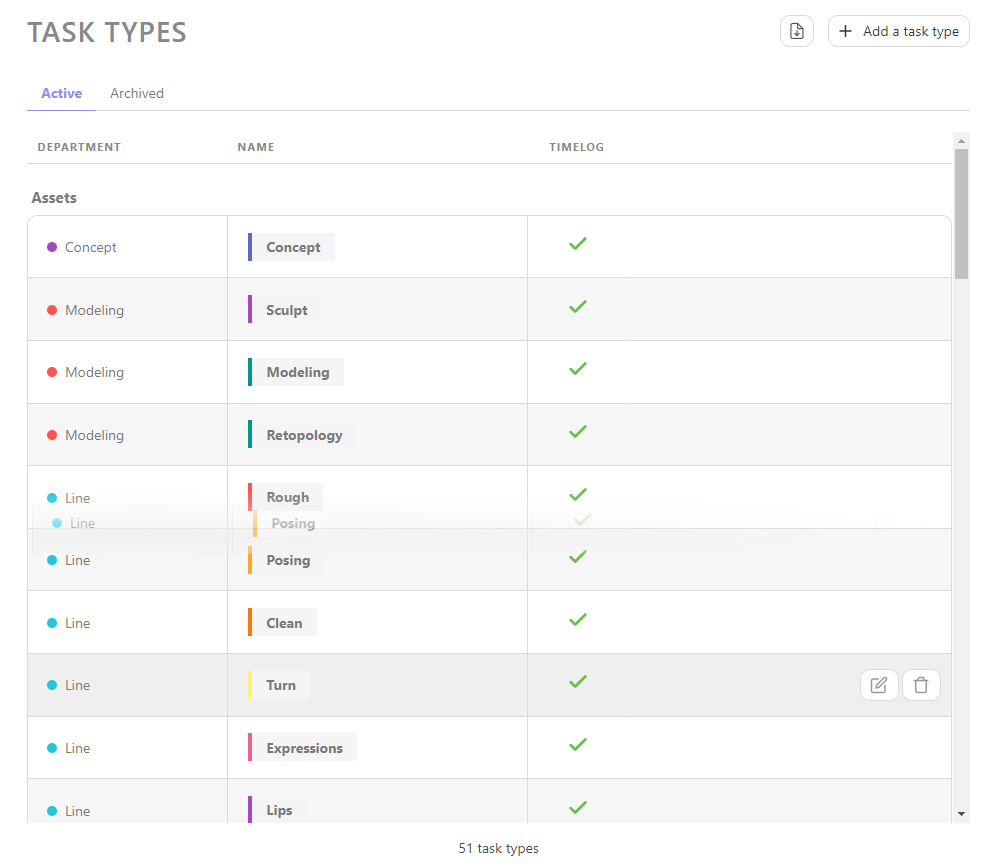
# Modify an Existing Task Type
On the main menu select the
TASK TYPES page under the Admin section.
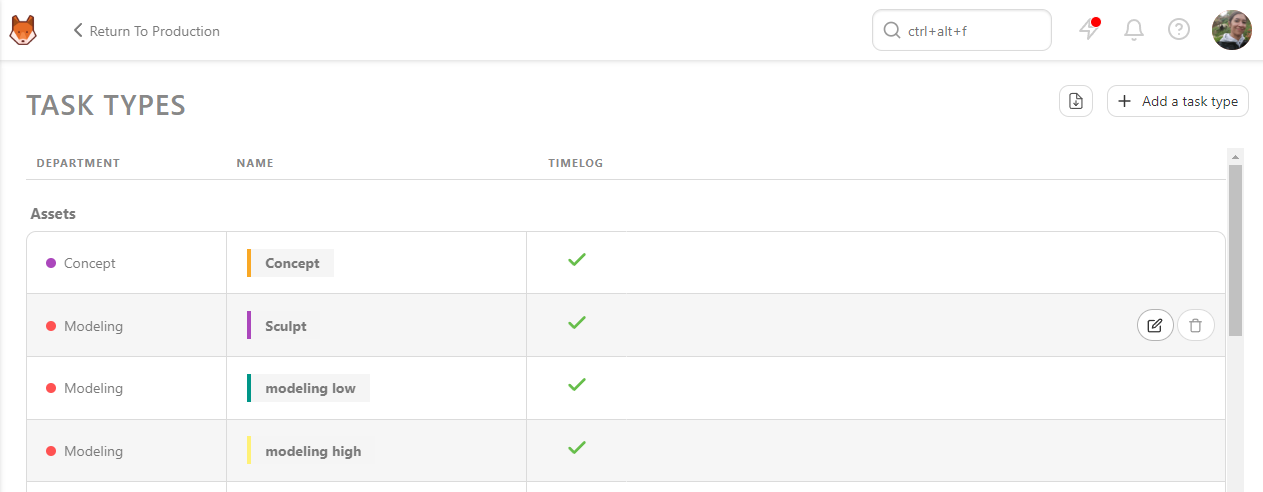
On the main page, you can edit all the tasks already created
 .
.
You can change:
The order of the tasks by dragging and moving them to the wanted position.
- The name of the task type
- If the artists need to time log their work on this task type
- To which department is it linked
- The color
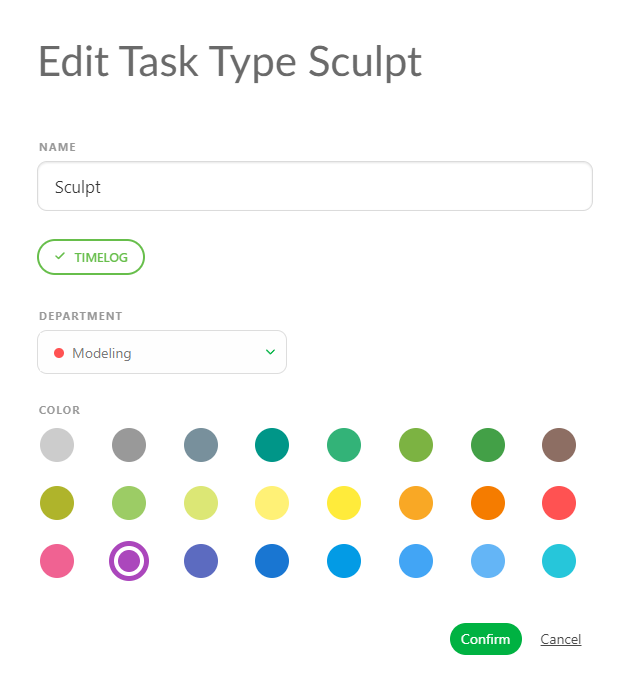
Click on Confirm to save your changes. Now your changes are applied on all the productions the Task Type is used.
# Task Status
# Create a New Task Status
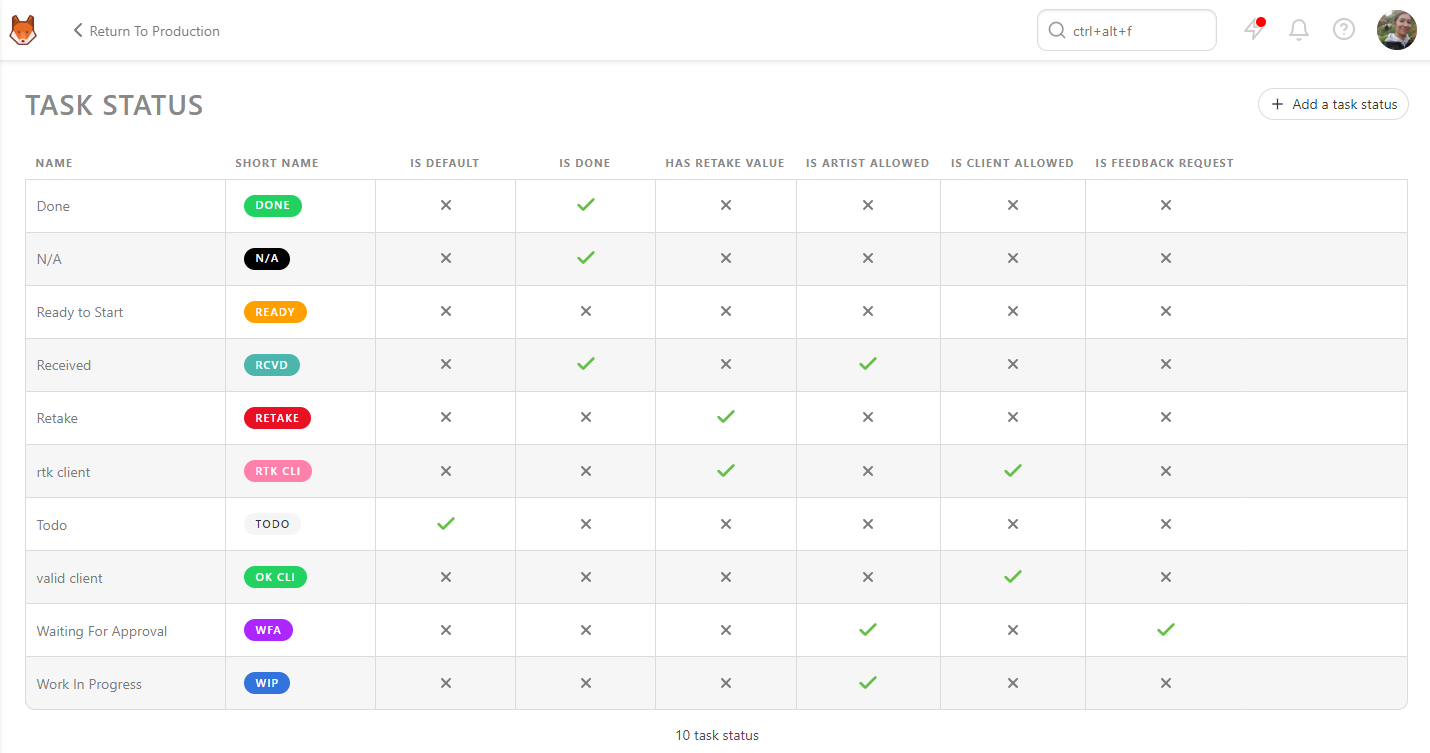
On the main menu select the
TASK STATUS page under the Admin section.
On the main page, click on the  button.
On the new pop-up, you can define your personalized task :
- The name of the Status
- His short name, useful for the filters
- If this Status is used to validate a task (useful for the quota, to clean the todo list, and episode stat page)
- If this Status is used to comment on a task (useful to keep track of the back and forth in the task type page and for the episode stats page)
- Can the artist use this Status? If No the artist won't see this Status on his list. But he can post on top of it.
- Can the client use this Status? If No the client won't see this Status on his list
- If this Status is used to ask for a review (useful to keep track of the quotas if you don't use timesheet)
- Is is a Status dedicated for the Concept
- Choose a color you like
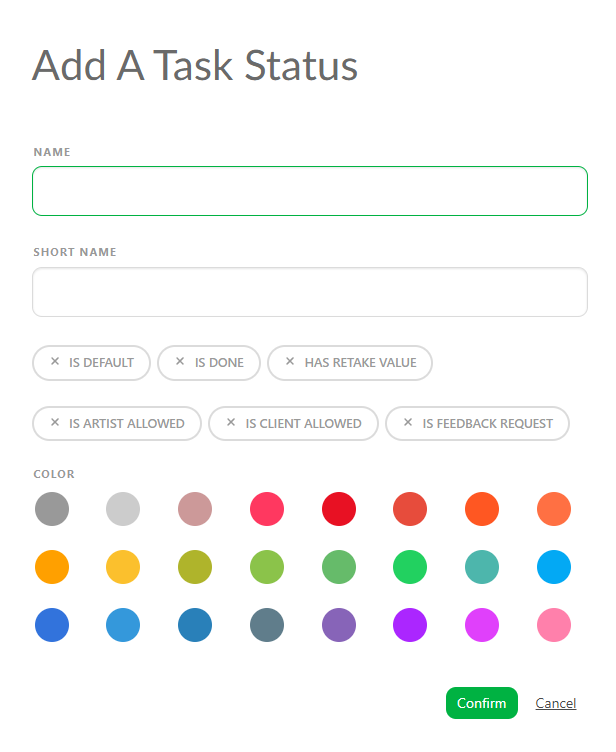
Click on Confirm to save your changes.
Now your Status is created on your Global Library. You need to add it to your Production Library to be able to use it.
You need to return to your production with the Return To Production button on top of the screen.
Then, with the navigation menu, choose Settings.
On the Drop down menu, you can choose which Status you want to add to this production.
Validate your choice with the add button.
You can return to the global asset or shot page and use the new Status on your comments.
# Modify an Existing Task Status
On the main menu select the
TASK STATUS page under the Admin section.
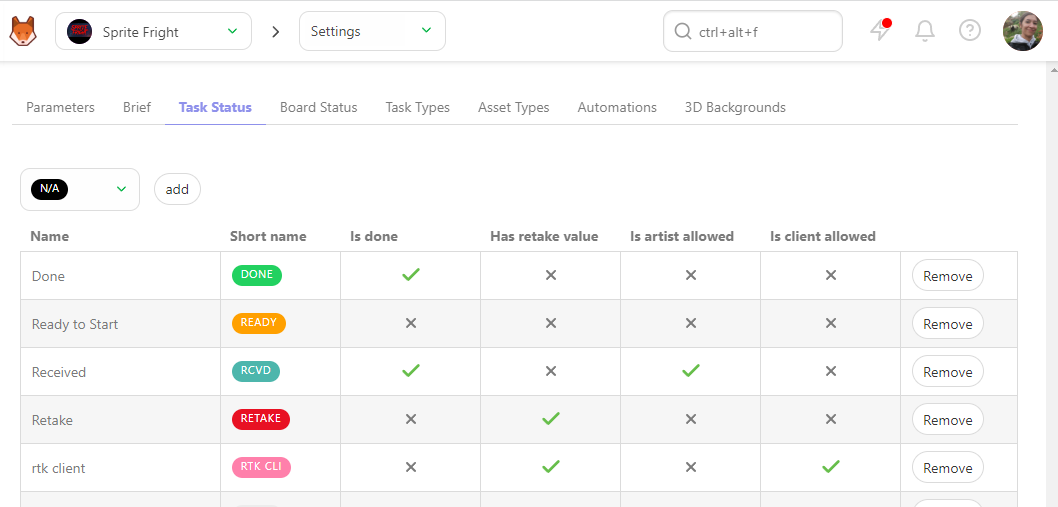
On the main page, you can edit some statuses already created
.
Except  , which is part of the core
system.
But you can create a new custom Default status if needed.
, which is part of the core
system.
But you can create a new custom Default status if needed.
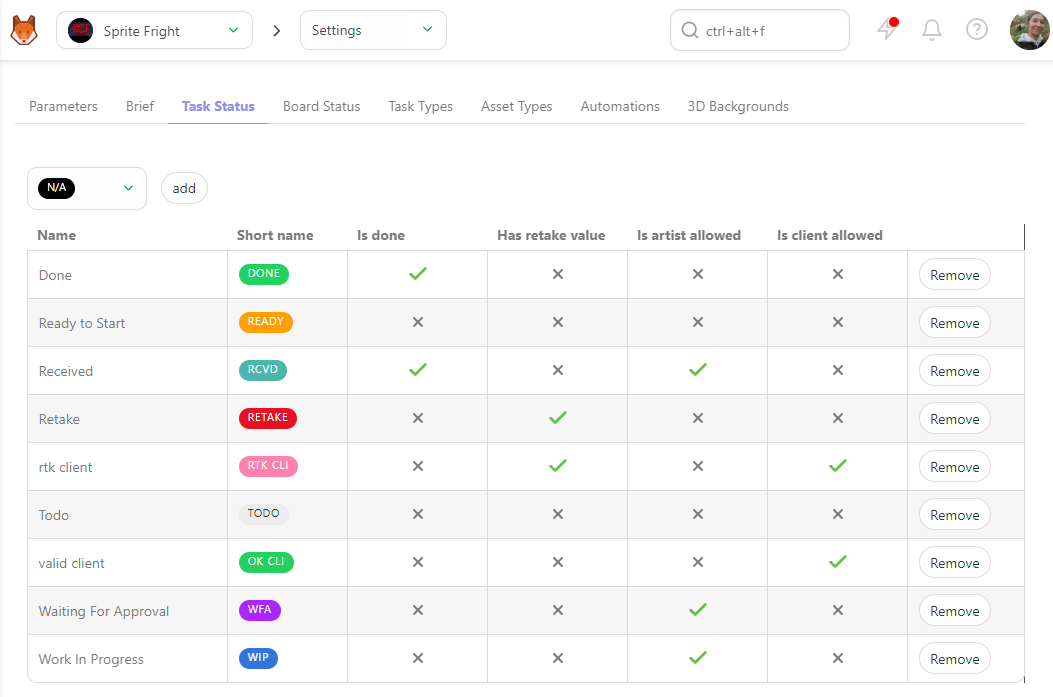
You can change :
- The name of the Status
- Its short name, useful for the filters
- If this Status is used to validate a task (useful for the quota, to clean the todo list, and episode stat page)
- If this Status is used to comment on a task (useful to keep track of the back and forth in the task type page and for the episode stats page)
- Can the artist use this Status? If No the artist won't see this Status on his list. But he can post on top of it.
- Can the client use this Status? If No the client won't see this Status on his list
- This option is linked to the quotas. This designed Status will stop the calculation of the quota
- Choose a color you like
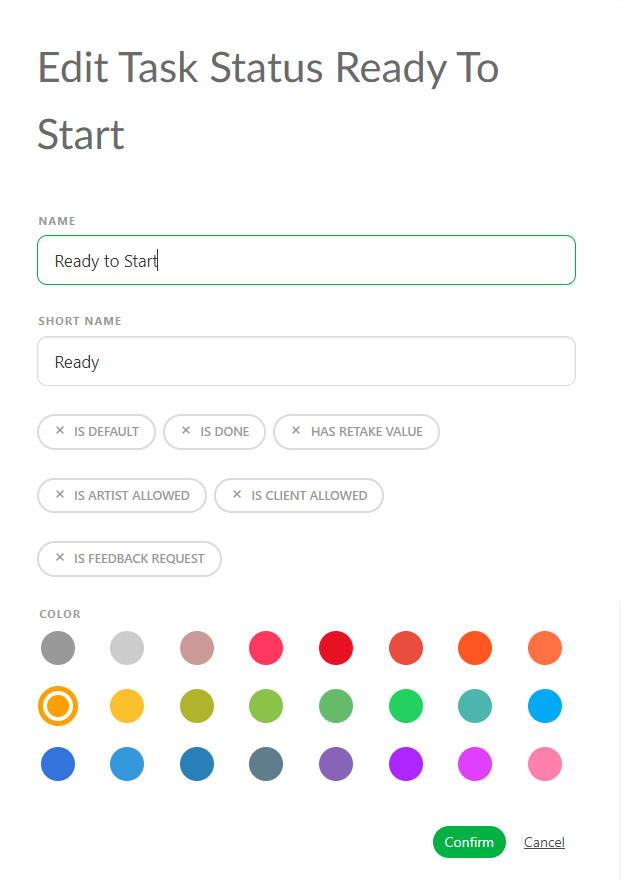
Click on Confirm to save your changes. Now your changes are applied on all the production the Status is used.
# Asset Types
# Create a New Asset Types
On the main menu select the
ASSET TYPES page under the Admin section.
On the main page, click on the  button.
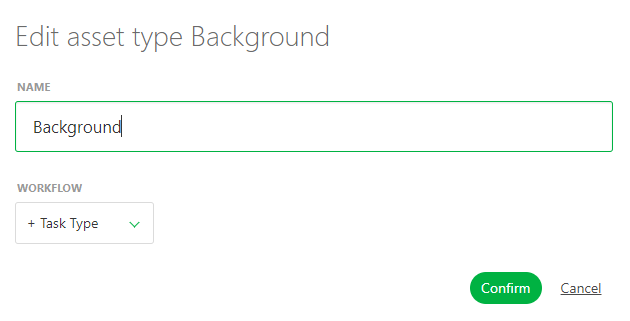
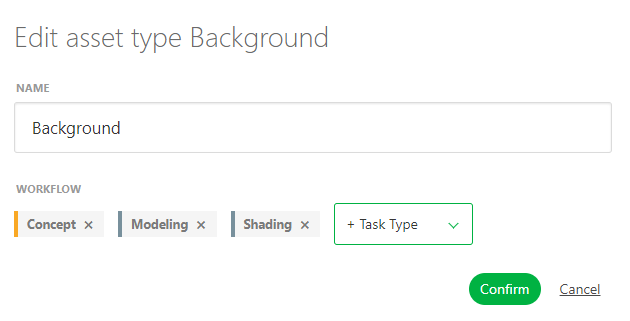
On the new pop-up, you can define your personalized Asset Type:
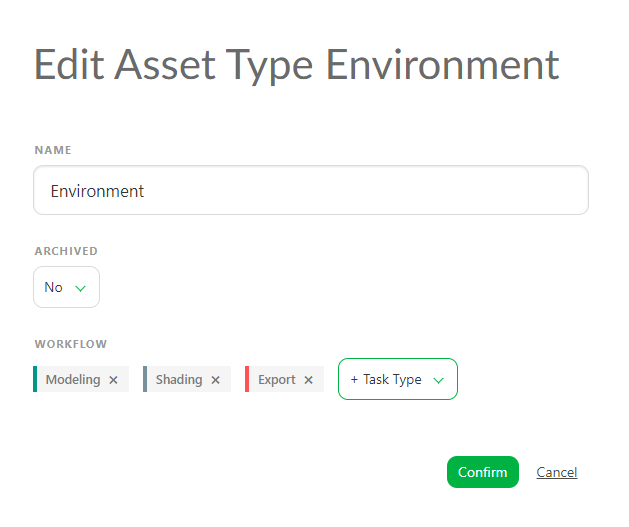
You will be able to choose a name and a specific workflow for this new Asset Type.
Click on Confirm to save your changes.
Now your new Asset Type is created on your Global Library. You need to add it to your Production Library to be able to use it.
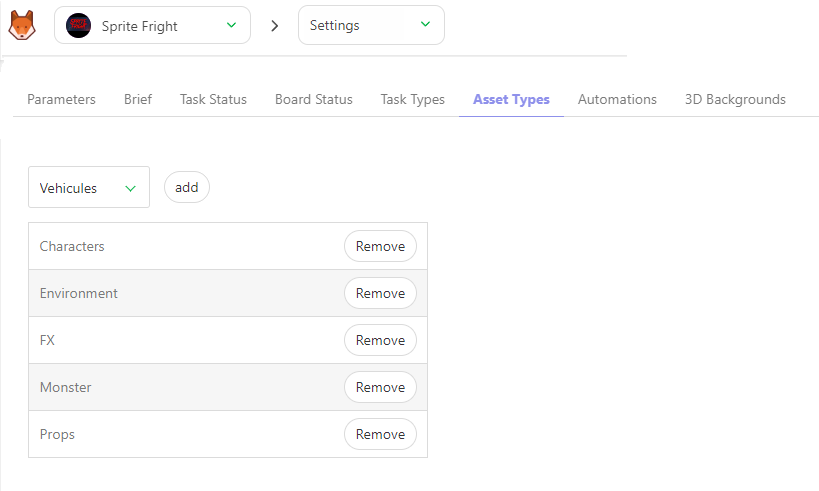
You need to return to your production with the Return To Production button on top of the screen.
On the Navigation Menu, choose on the drop-down menu the Setting.
On the Asset Types tab, you can choose which Asset Types you want to add or remove on this production,
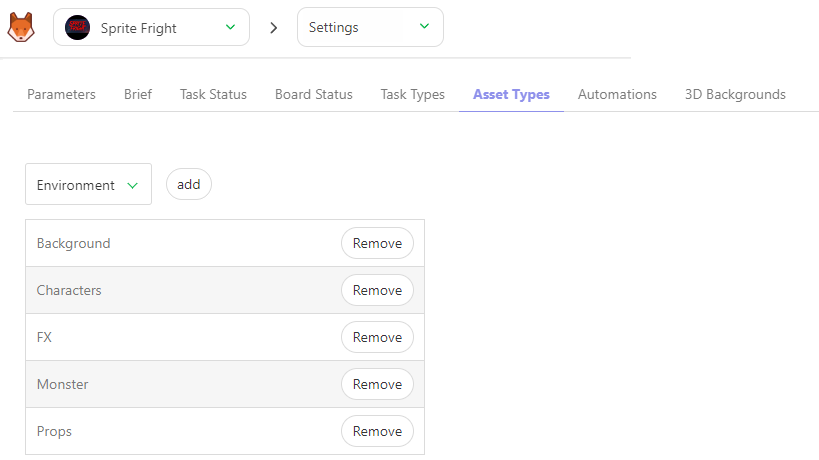
Validate your choice with the add button.
You can now create a new asset under this Asset Type.
# Modify an Existing Asset Types
On the main menu select the
ASSET TYPES page under the Admin section.
On the main page, you can edit some Asset Types already created
.
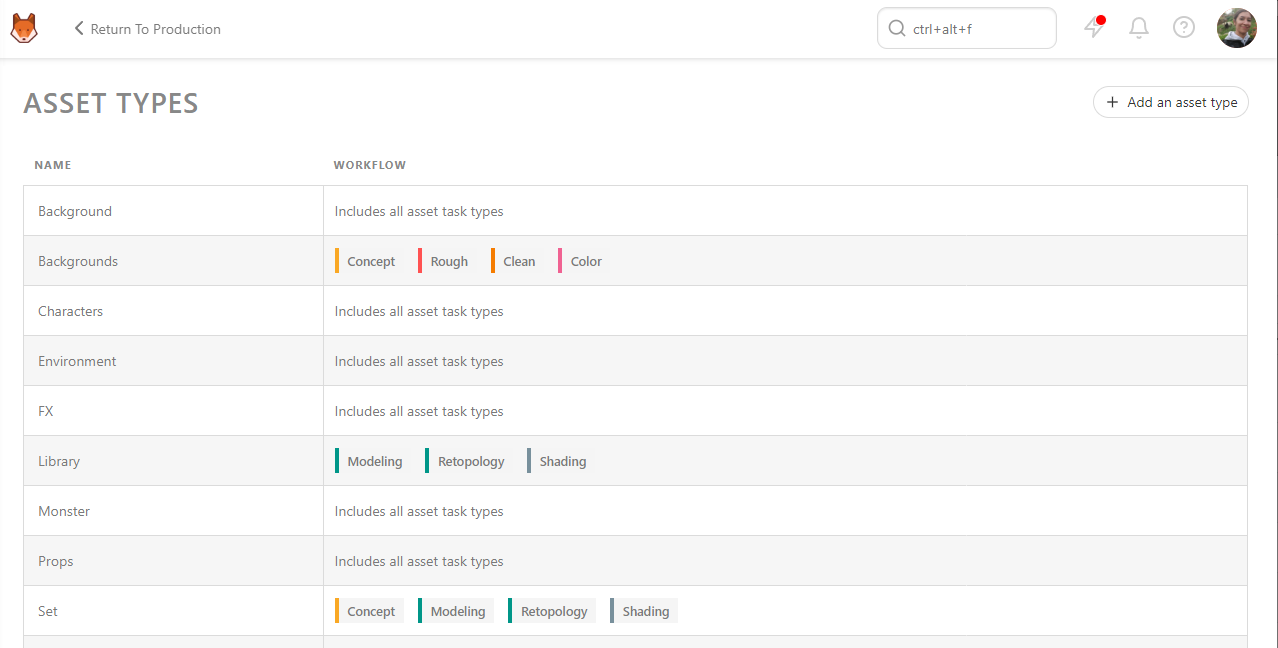
You can change the name of the Asset Type and define its workflow.
For example, characters and backgrounds won't have similar Task Types pipeline. The background won't use the rig for example.
Per default, all the Asset Types will use all the task types. You can select the task type you want to use for each asset types.
Click on Confirm to save your changes.
Your changes are applied to all the productions where the asset type is used, same for its workflow.
# Status Automation
# Create a New Status Automation
Status Automation is here to do the heavy lifting for you.
You can create Status Automation for the asset and the shot tasks.
For the asset, you can choose to create Status Automation between tasks. For example, the modeling status must be ready when the concept is validated.
You can also create status automation that changes the asset status according to a task status; for example, when the concept is validated, the asset is ready for the storyboard.
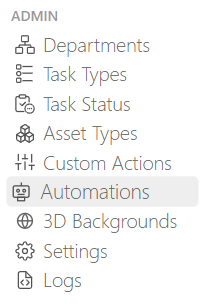
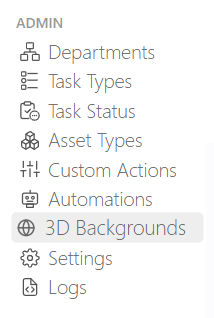
Go to the main menu, and select Status Automation.
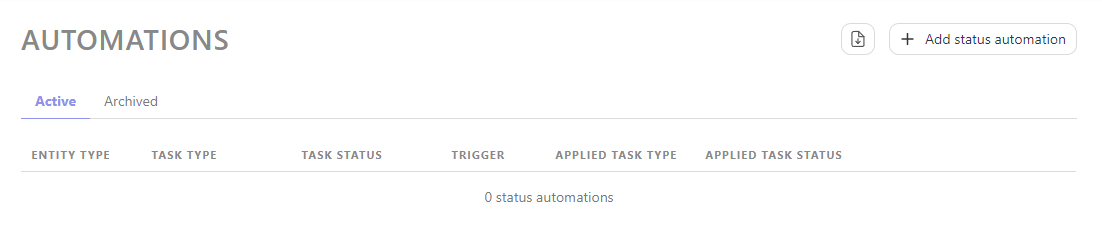
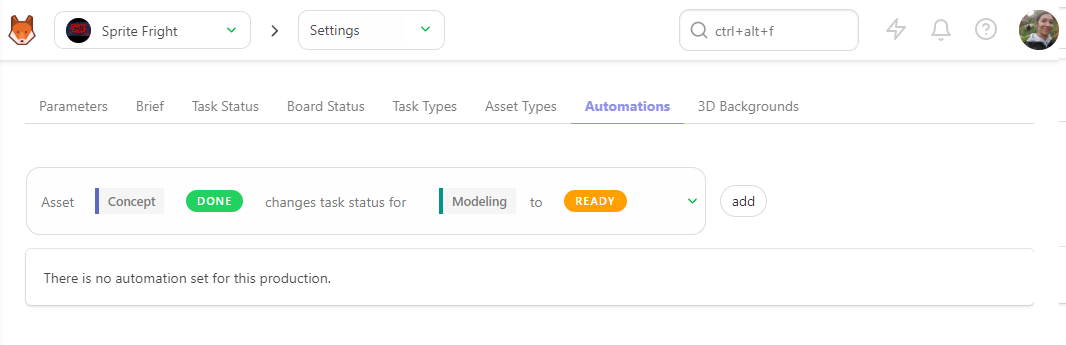
Once on the new page, you can create Status Automation by clicking the +Add status automation button.
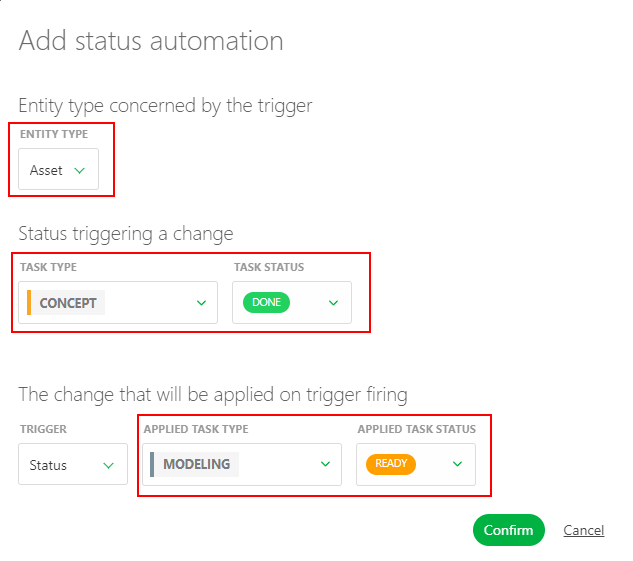
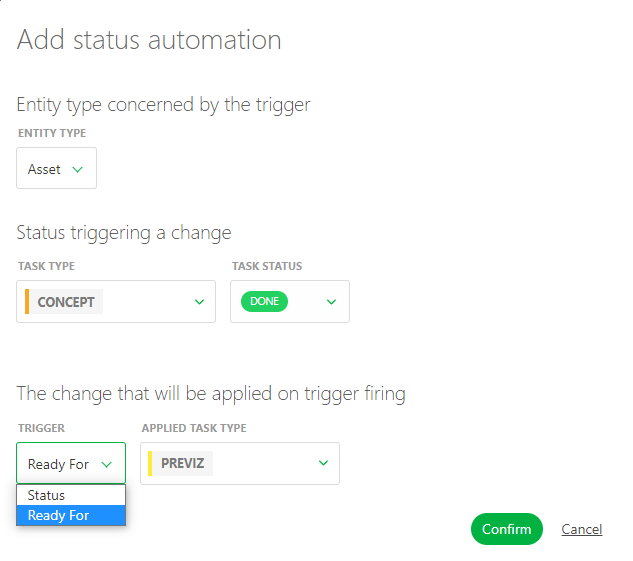
You can choose between creating Status Automation for the asset or the shot.
Then you can choose the task type and the Status that will trigger the Automation.
Then you can select which Task Type will react to the Automation and choose the Status that will be changed.
To trigger the change of Ready For Status, you need to change the trigger from Status to Ready For.
You will notice the Applied task type will now display Shot task type.
To create Status Automation for shots, you must change the Entity Type to shots.
Now your new Status Automation is created on your Global Library. You need to add it to your production Library to be able to use it.
You need to return to your production with the Return To Production button on top of the screen.
On the Navigation Menu, choose on the drop-down menu the Setting.
On the Status Automation tab, you can choose which Automation you want to add or remove on this production,
Validate your choice with the add button.
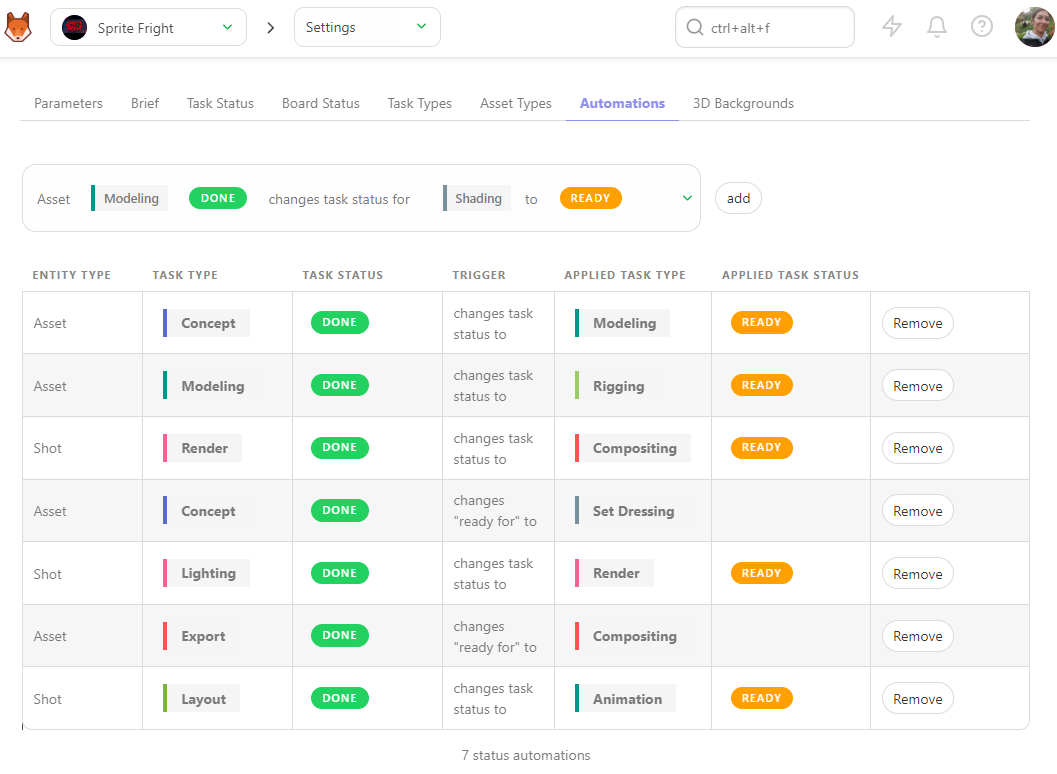
You can see your Status updating thanks to the Automation.
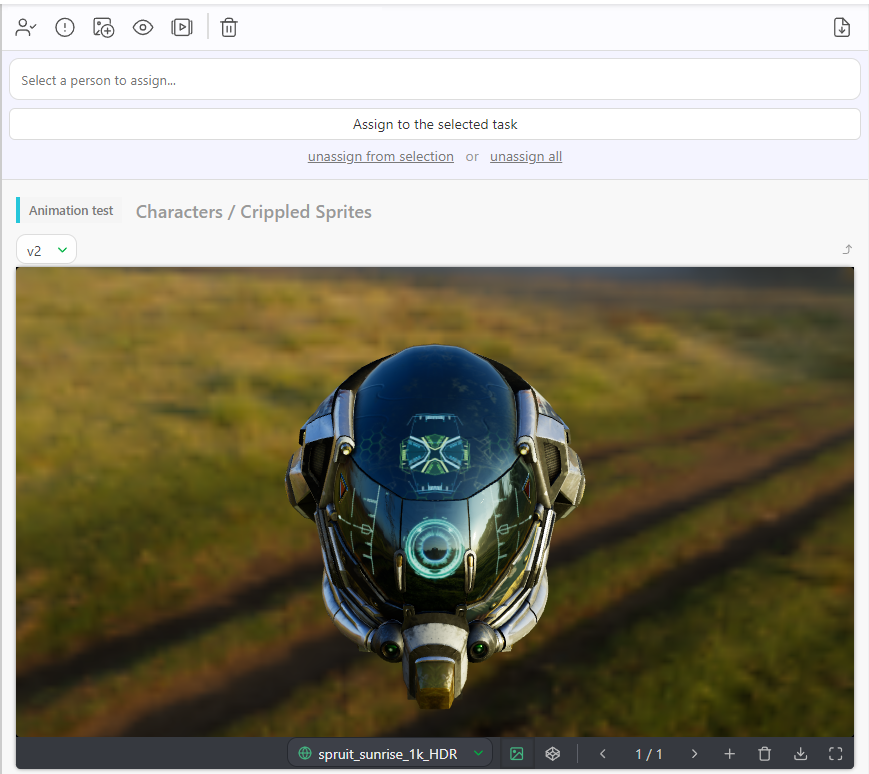
# Preview backgrounds
# Create your global library of HDR files
The Preview Backgrounds help better review your 3D preview file (.glb).
In this section, you can create your .HDRlibrary file that you can use in your production.
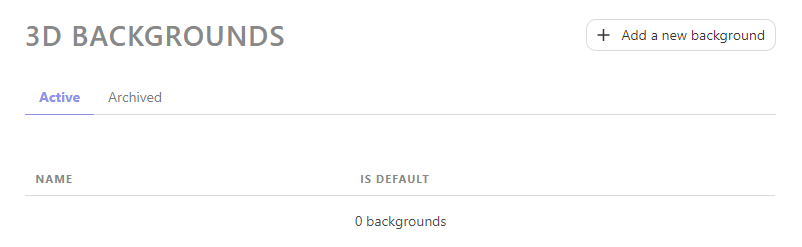
Go to the main menu, and select Preview Backgrounds.
Once on the new page, you can add a HDR Preview Background by clicking the +Add a new background button.
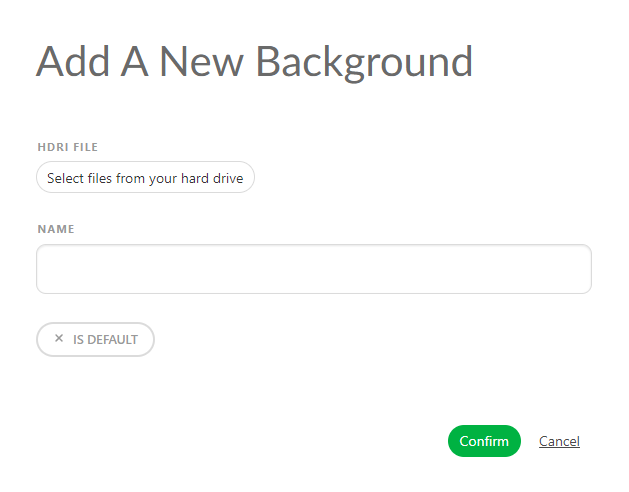
From here, you need to select your HDR preview background, name it, and choose if you want this HDR to be the default background.
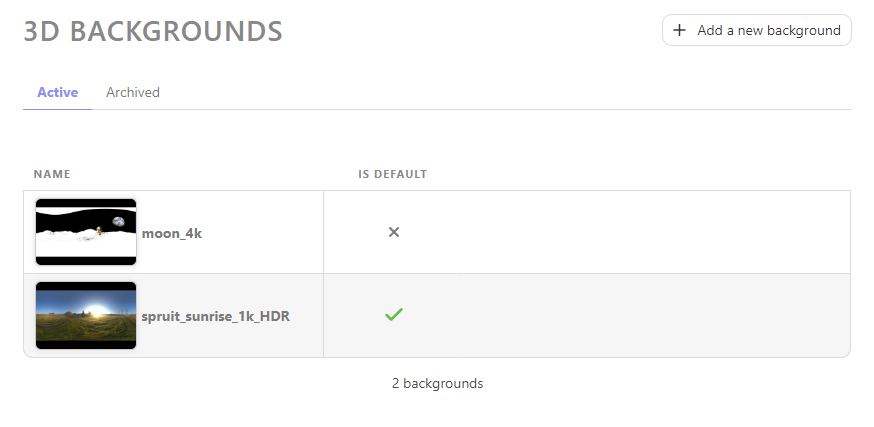
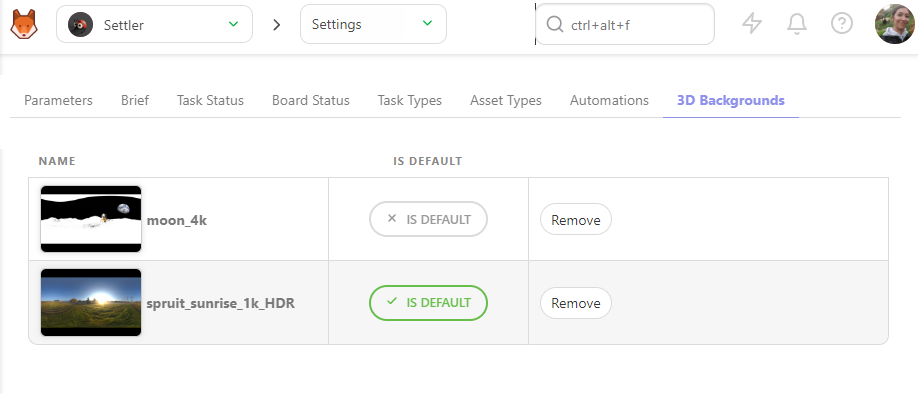
Once you have uploaded all your HDR files, Kitsu will display them as a list.
Your new Preview Background is now created on your Global Library. You must add it to your production Library to use it.
You must return to your production with the Return To Production button on top of the screen.
On the Navigation Menu, choose on the drop-down menu the Setting.
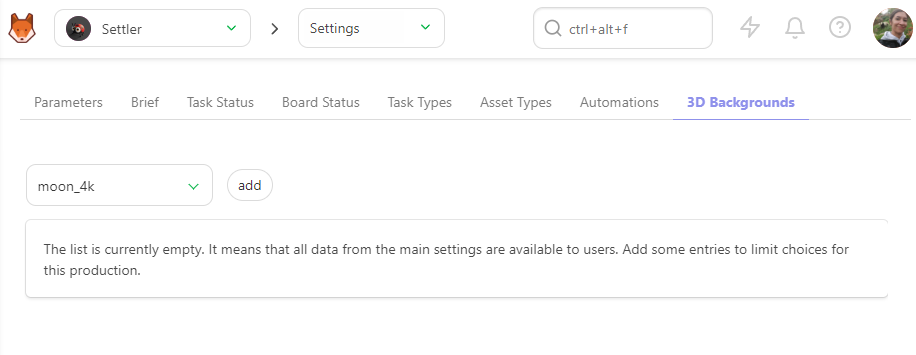
On the Preview Backgrounds tab, you can choose which HDR file you want to add or remove on this production,
Validate your choice with the add button.
You can review your 3D file with an HDR background.